Pfaff performance 2054 Owner's Manual - Page 88
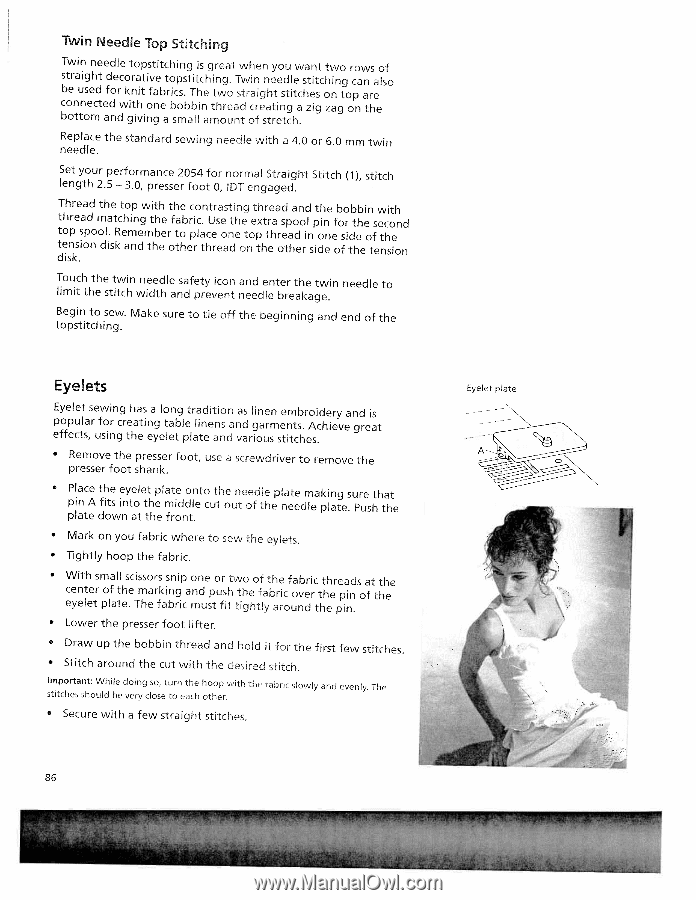
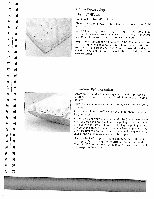
Eyelets
 |
View all Pfaff performance 2054 manuals
Add to My Manuals
Save this manual to your list of manuals |
Page 88 highlights
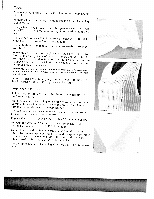
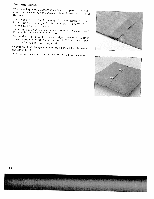
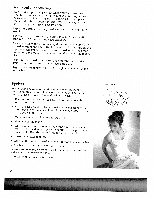
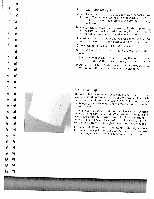
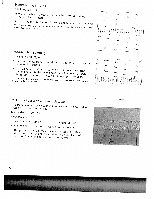
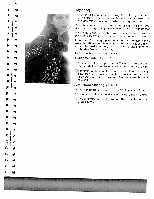
Twin Needle Top Stitching sTbtewraiunigsenhdet efddoelrceoktrnoaipttisvftaeibtctrohicpisns.gtTithicsehgitnrwegao.tTswwtrhianeignnheyteosdutlietwchsatenisttcohtwninogtorpcoawanrseaolsfo connected with one bobbin thread bottom and giving a small amount creating a of stretch. zig zag on the Replace needle. the standard sewing needle with a 4.0 or 6.0 mm twin Set your performance 2054 for normal Straight Stitch (1), stitch length 2.5 - 3.0, presser foot 0, iDT engaged. tdttTeohihsnprkrese.iasoapddnoomtdhli.asetkRctheoaminpndegwmttihhtbheeerotfhtatohebercpircola.tnhcUterresaeoasndttihenoegtnoetptxhhtrtreehaarodestpahaodenordlinspitodhineneefobofsoritdbhtehbeieontfeswenthcsiotiehonnd Touch the twin needle safety icon limit the stitch width and prevent and enter the twin needle breakage. needle to Begin to sew. topstitch ing. Make sure to tie off the beginning and end of the Eyelets epEfoyfpeecluetltsa,sreufwsoiirnngcgrtehhaaetsineagyeltolaenbtglpetlraalitdneietanionsdnanvadsarligionauersmn seetnimttcsbh.reoAsi.cdheireyveangdreias t • Remove the presser foot, use a screwdriver to remove the presser foot shank. • Place pin A plate the fits einyteolettheplmateiddolnetocuttheounteoefdlteheplnaeteedmleakpilnagte.suPrueshthtahte down at the front. • Mark on you fabric where to sew the eyiets. • Tightly hoop the fabric. • eW cyeinetlhteetrsmpolfaalttlhes.ecTimshsoearrsfkaisbnnrgiipcaonmnduesptoufrsihttwttihogehotflfaytbhareircofuoanvbderirctththheerpepiaindn.soaftththee • Lower the presser foot lifter. • Draw up the bobbin thread and hold it for the first few stitches. • Stitch around the cut with the desired stitch. important: While doing so, turn the hoop with the fabric slowly and evenly. The stitches should be very close to each other. • Secure with a few straight stitches. 86 Eyelet plate
-
 1
1 -
2
-
3
-
4
-
5
-
6
-
7
-
8
-
9
-
10
-
11
-
12
-
13
-
14
-
15
-
16
-
17
-
18
-
19
-
20
-
21
-
22
-
23
-
24
-
25
-
26
-
27
-
28
-
29
-
30
-
31
-
32
-
33
-
34
-
35
-
36
-
37
-
38
-
39
-
40
-
41
-
42
-
43
-
44
-
45
-
46
-
47
-
48
-
49
-
50
-
51
-
52
-
53
-
54
-
55
-
56
-
57
-
58
-
59
-
60
-
61
-
62
-
63
-
64
-
65
-
66
-
67
-
68
-
69
-
70
-
71
-
72
-
73
-
74
-
75
-
76
-
77
-
78
-
79
-
80
-
81
-
82
-
 83
83 -
 84
84 -
 85
85 -
 86
86 -
 87
87 -
 88
88 -
 89
89 -
 90
90 -
 91
91 -
 92
92 -
 93
93 -
94
-
95
-
96
-
97
-
98
-
99
-
100
-
101
-
102
-
103
-
104
-
105
-
106
-
107
-
108
-
109
-
110
-
111
-
112
-
113
-
114
-
115
-
116
-
117
-
118
-
119
-
120
-
121
-
122
-
123
-
124
 |
 |