TP-Link TL-R460 User Guide - Page 19
TL-R460, Step 3, PPPoE, Username, Password, Step 4, Dynamic IP, Step 5, Static IP
 |
UPC - 845973040031
View all TP-Link TL-R460 manuals
Add to My Manuals
Save this manual to your list of manuals |
Page 19 highlights
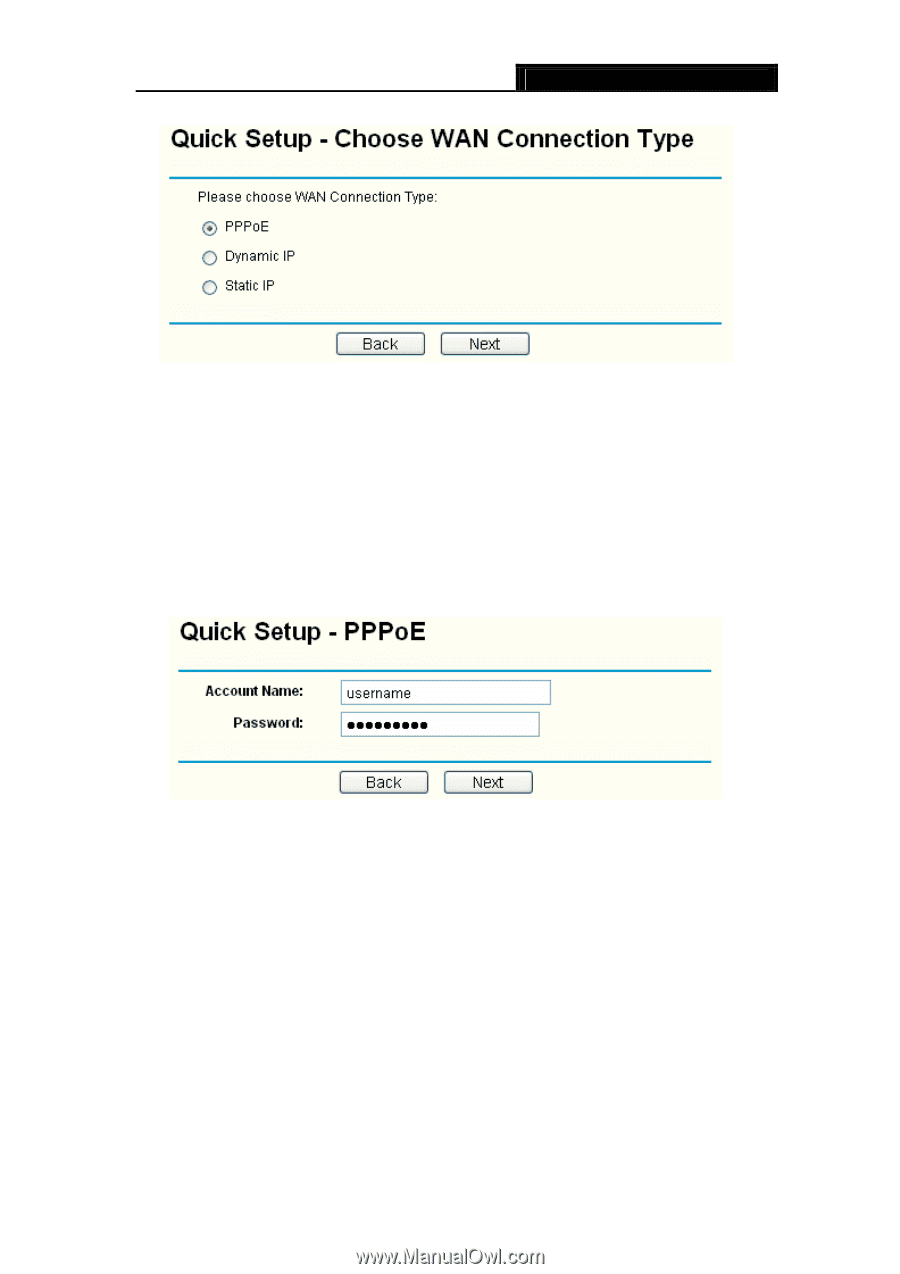
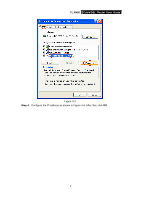
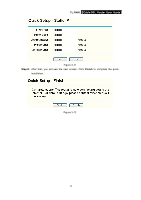
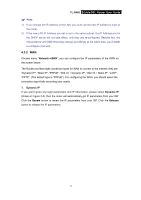
TL-R460 Cable/DSL Router User Guide Figure 3-9 ) Note: The router supports three popular ways to connect to Internet. Please select one compatible with your ISP, if you are given another way that is not listed here, refer to Network→ WAN for detailed list. Step 3: If you choose PPPoE, you will see the screen as shown in Figure 3-10, enter the Username and Password provided by your ISP. These fields are case sensitive. If you have difficulty with this process, please contact your ISP. Figure 3-10 Step 4: If you choose Dynamic IP in Figure 3-9, the router will automatically receive the IP parameters from your ISP without needing to enter any parameters. Step 5: If you Choose Static IP, you should enter the detailed IP information in Figure 3-11. Click the Next button 12
-
 1
1 -
2
-
3
-
4
-
5
-
6
-
7
-
8
-
9
-
10
-
11
-
12
-
13
-
 14
14 -
 15
15 -
 16
16 -
 17
17 -
 18
18 -
 19
19 -
 20
20 -
 21
21 -
 22
22 -
 23
23 -
 24
24 -
25
-
26
-
27
-
28
-
29
-
30
-
31
-
32
-
33
-
34
-
35
-
36
-
37
-
38
-
39
-
40
-
41
-
42
-
43
-
44
-
45
-
46
-
47
-
48
-
49
-
50
-
51
-
52
-
53
-
54
-
55
-
56
-
57
-
58
-
59
-
60
-
61
-
62
-
63
-
64
-
65
-
66
-
67
-
68
-
69
-
70
-
71
-
72
-
73
-
74
-
75
-
76
 |
 |