Toshiba Air10 User Guide - Page 28
Video Setting options, Menu options/operations
 |
View all Toshiba Air10 manuals
Add to My Manuals
Save this manual to your list of manuals |
Page 28 highlights
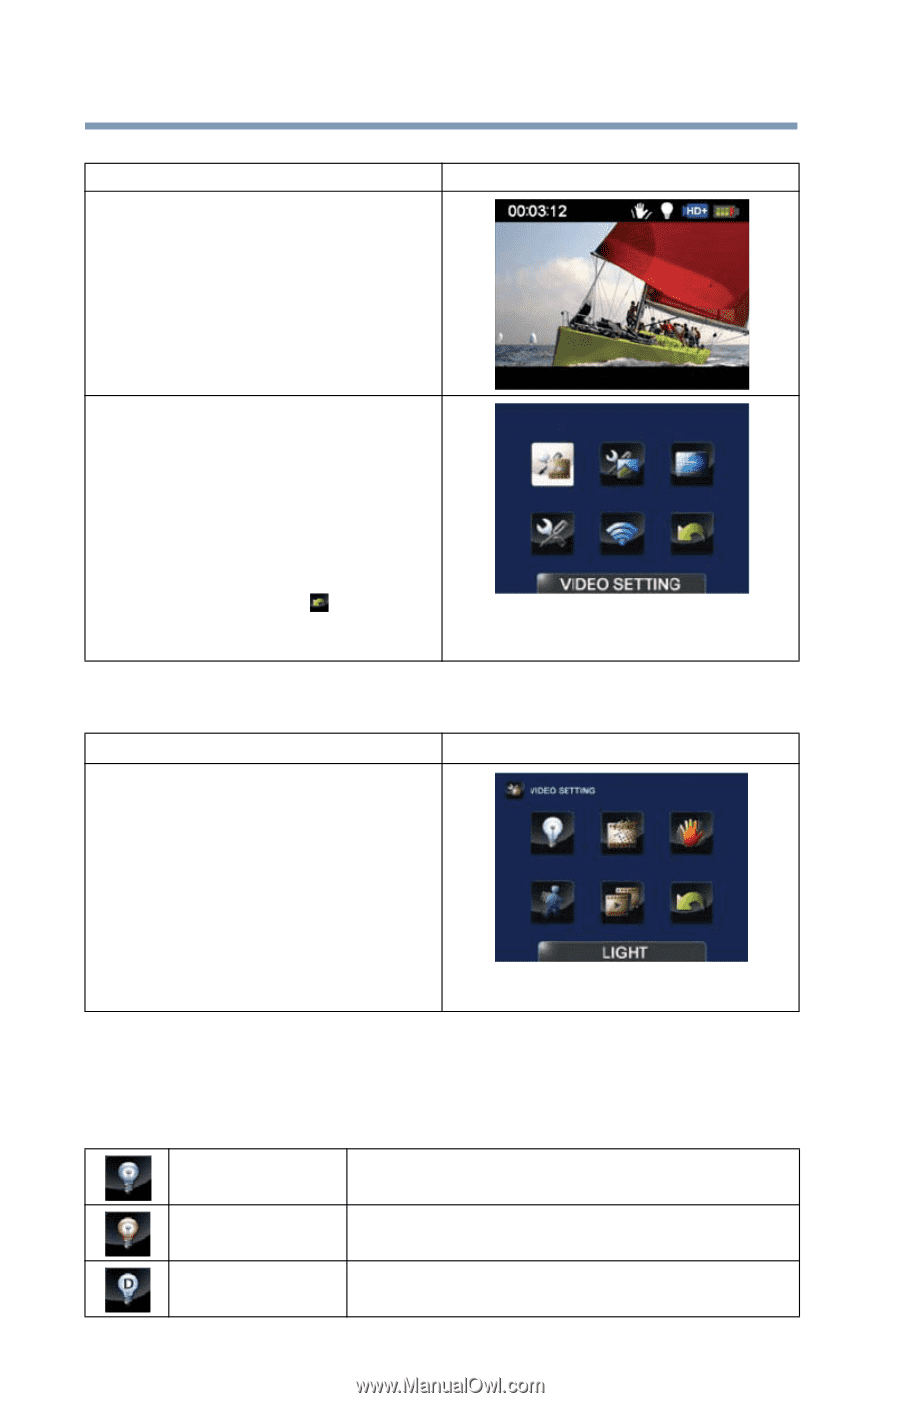
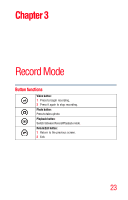
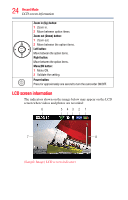
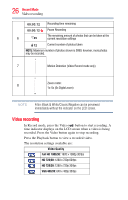
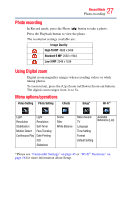
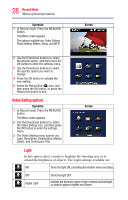
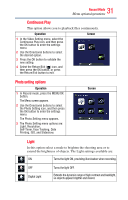
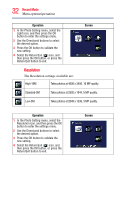
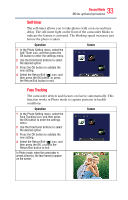
28 Record Mode Menu options/operations Operation 1 In Record mode, Press the MENU/OK button. The Menu screen appears. The options available are: Video Setting, Photo Setting, Effects, Setup, and Wi-Fi. Screen 2 Use the Directional buttons to select the desired option, and then press the OK button to enter the settings menu. 3 Use the Directional buttons to select the specific option you want to change. 4 Press the OK button to validate the new setting. 5 Select the Return/Exit ( ) icon, and then press the OK button, or press the Return/Exit button to exit. Video Setting options Operation 1 In Record mode, Press the MENU/OK button. The Menu screen appears. 2 Use the Directional buttons to select the Video Setting icon, and then press the OK button to enter the settings menu. 3 The Video Setting menu options are: Light, Resolution, Stabilization, Motion Detect, and Continuous Play. Screen Light In this option select a mode to brighten the shooting area or to extend the brightness of objects. The Light settings available are: ON Turns the light ON, providing illumination when recording. OFF Digital Light Turns the light OFF. Extends the dynamic range of high contrast and backlight, so objects appear brighter and clearer.
-
 1
1 -
2
-
3
-
4
-
5
-
6
-
7
-
8
-
9
-
10
-
11
-
12
-
13
-
14
-
15
-
16
-
17
-
18
-
19
-
20
-
21
-
22
-
 23
23 -
 24
24 -
 25
25 -
 26
26 -
 27
27 -
 28
28 -
 29
29 -
 30
30 -
 31
31 -
 32
32 -
 33
33 -
34
-
35
-
36
-
37
-
38
-
39
-
40
-
41
-
42
-
43
-
44
-
45
-
46
-
47
-
48
-
49
-
50
-
51
-
52
-
53
-
54
-
55
-
56
-
57
-
58
-
59
-
60
-
61
-
62
-
63
-
64
-
65
-
66
-
67
-
68
-
69
-
70
-
71
-
72
-
73
-
74
 |
 |