Toshiba Air10 User Guide - Page 55
Using CAMILEO AIR10 Connect via USB
 |
View all Toshiba Air10 manuals
Add to My Manuals
Save this manual to your list of manuals |
Page 55 highlights
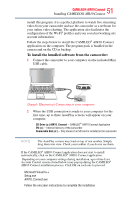
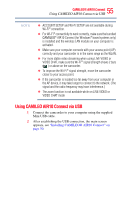
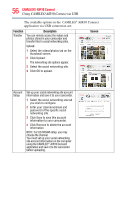
55 CAMILEO® AIR10 Connect Using CAMILEO AIR10 Connect via USB NOTE ❖ ACCOUNT SETUP and Wi-Fi SETUP are not available during Wi-Fi® connection. ❖ For Wi-Fi® connectivity to work correctly, make sure the bundled CAMILEO® AIR10 Connect (for Windows® based systems only) is installed and the wireless LAN module on your computer is activated. ❖ Make sure your computer connects with your access point (AP) correctly and your camcorder is in the same range as the WLAN. ❖ For more stable video streaming when using LIVE VIDEO or VIDEO CHAT, make sure the Wi-Fi® signal strength shows 2 bars ( ) or above on the camcorder. ❖ To improve the Wi-Fi® signal strength, move the camcorder closer to your access point. ❖ If the camcorder is located too far away from your computer or the AP device, it may take longer to connect to the network. (The signal and the radio frequency may have interference.) ❖ The zoom function is not available while on LIVE VIDEO or VIDEO CHAT mode Using CAMILEO AIR10 Connect via USB 1 Connect the camcorder to your computer using the supplied Mini USB cable. 2 After establishing the USB connection, the main screen appears, see "Installing CAMILEO® AIR10 Connect" on page 50.
-
 1
1 -
2
-
3
-
4
-
5
-
6
-
7
-
8
-
9
-
10
-
11
-
12
-
13
-
14
-
15
-
16
-
17
-
18
-
19
-
20
-
21
-
22
-
23
-
24
-
25
-
26
-
27
-
28
-
29
-
30
-
31
-
32
-
33
-
34
-
35
-
36
-
37
-
38
-
39
-
40
-
41
-
42
-
43
-
44
-
45
-
46
-
47
-
48
-
49
-
 50
50 -
 51
51 -
 52
52 -
 53
53 -
 54
54 -
 55
55 -
 56
56 -
 57
57 -
 58
58 -
 59
59 -
 60
60 -
61
-
62
-
63
-
64
-
65
-
66
-
67
-
68
-
69
-
70
-
71
-
72
-
73
-
74
 |
 |