Toshiba Air10 User Guide - Page 61
After the connection to the AP is established, follow the steps
 |
View all Toshiba Air10 manuals
Add to My Manuals
Save this manual to your list of manuals |
Page 61 highlights
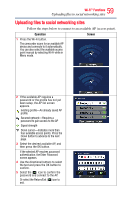
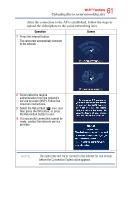
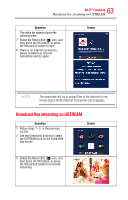
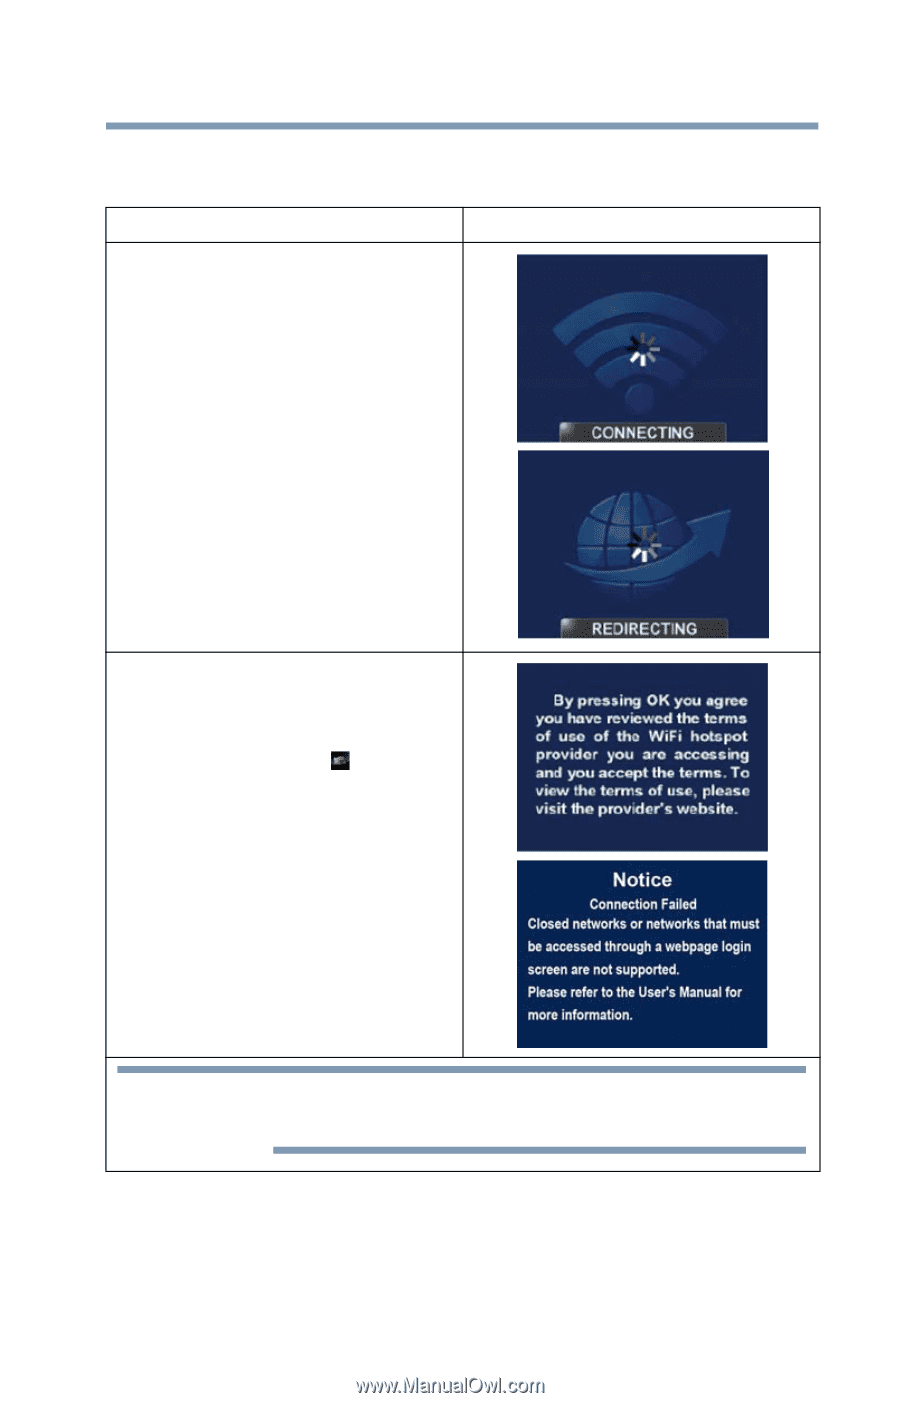
61 Wi-Fi® Functions Uploading files to social networking sites After the connection to the AP is established, follow the steps to upload the video/photo to the social networking sites. Operation Screen 1 Press the Internet button. The camcorder automatically connects to the network. 2 Some networks require authentication from the network's service provider (NSP). Follow the onscreen instructions. 3 Select the Return/Exit ( ) icon, and then press the OK button, or press the Return/Exit button to exit. 4 If a successful connection cannot be made, contact the network service provider. NOTE The camcorder will try to connect to the Internet for one minute before the Connection Failed notice appears
-
 1
1 -
2
-
3
-
4
-
5
-
6
-
7
-
8
-
9
-
10
-
11
-
12
-
13
-
14
-
15
-
16
-
17
-
18
-
19
-
20
-
21
-
22
-
23
-
24
-
25
-
26
-
27
-
28
-
29
-
30
-
31
-
32
-
33
-
34
-
35
-
36
-
37
-
38
-
39
-
40
-
41
-
42
-
43
-
44
-
45
-
46
-
47
-
48
-
49
-
50
-
51
-
52
-
53
-
54
-
55
-
 56
56 -
 57
57 -
 58
58 -
 59
59 -
 60
60 -
 61
61 -
 62
62 -
 63
63 -
 64
64 -
 65
65 -
 66
66 -
67
-
68
-
69
-
70
-
71
-
72
-
73
-
74
 |
 |
61
Wi-Fi
®
Functions
Uploading files to social networking sites
After the connection to the AP is established, follow the steps to
upload the video/photo to the social networking sites.
Operation
Screen
1
Press the Internet button.
The camcorder automatically connects
to the network.
2
Some networks require
authentication from the network’s
service provider (NSP). Follow the
onscreen instructions.
3
Select the Return/Exit (
) icon, and
then press the OK button, or press
the Return/Exit button to exit.
4
If a successful connection cannot be
made, contact the network service
provider.
The camcorder will try to connect to the Internet for one minute
before the Connection Failed notice appears
NOTE