Toshiba Air10 User Guide - Page 71
The color of the video/photo, is not natural
 |
View all Toshiba Air10 manuals
Add to My Manuals
Save this manual to your list of manuals |
Page 71 highlights
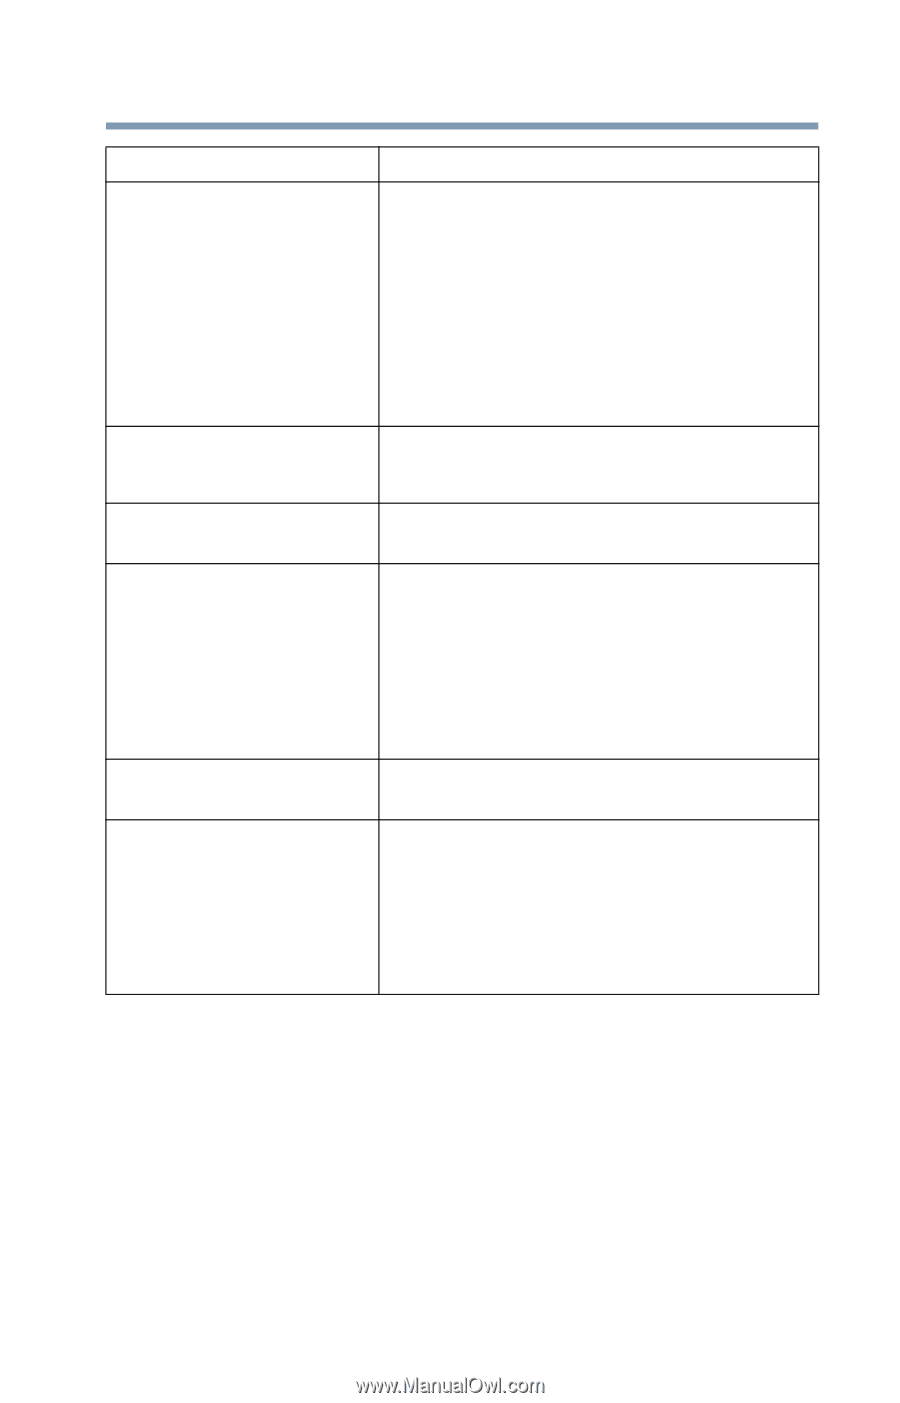
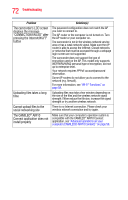
71 Troubleshooting Problem How do I charge the battery? The camcorder is freezing up The date imprinted on the photo is incorrect Why do some of my indoor photos look blurry and dark? The color of the video/photo is not natural USB connection to the computer indications: Solution(s) You must use the supplied AC adaptor or the mini USB cable, see "Charging the battery" on page 16. The camcorder must be turned OFF. A blinking light indicates active charging and a solid light indicates that charging is complete. In AC charging mode, the full charge time is approximately up to 4 hours and the light will turn Off automatically after approximately 3~5 minutes even though charging continues. (Actual charging time may vary, depending on the battery's condition.) Try turning OFF the camcorder and removing the battery. Then re-insert the battery and turn the camcorder ON again. Set the date and time in the Setup menu, see "Time settings" on page 47. The lighting may be poor. Check your surroundings for a better lit area. The camcorder extends photo exposure time under low light/indoor conditions. Keep the camcorder (and the target subject) steady for several seconds when taking photos, see "Photo setting options" on page 31. Place the camcorder on a flat and steady surface, or use a tripod when taking photos. Select the proper white balance option to match the light source, see "White Balance" on page 38. DV: Indicates the internal memory of the camcorder. Removable Disk: Indicates the external memory (SD/SDHC/SDXC card) installed in the camcorder. AIR10 Connect: Indicates the bundled program. If you want to install this program, double-click on the icon to begin the installation automatically, see "Installing CAMILEO® AIR10 Connect" on page 50.
-
 1
1 -
2
-
3
-
4
-
5
-
6
-
7
-
8
-
9
-
10
-
11
-
12
-
13
-
14
-
15
-
16
-
17
-
18
-
19
-
20
-
21
-
22
-
23
-
24
-
25
-
26
-
27
-
28
-
29
-
30
-
31
-
32
-
33
-
34
-
35
-
36
-
37
-
38
-
39
-
40
-
41
-
42
-
43
-
44
-
45
-
46
-
47
-
48
-
49
-
50
-
51
-
52
-
53
-
54
-
55
-
56
-
57
-
58
-
59
-
60
-
61
-
62
-
63
-
64
-
65
-
 66
66 -
 67
67 -
 68
68 -
 69
69 -
 70
70 -
 71
71 -
 72
72 -
 73
73 -
 74
74
 |
 |