2015 Kawasaki MULE PRO-FXT Owners Manual - Page 50
2015 Kawasaki MULE PRO-FXT Manual

Page 50 highlights
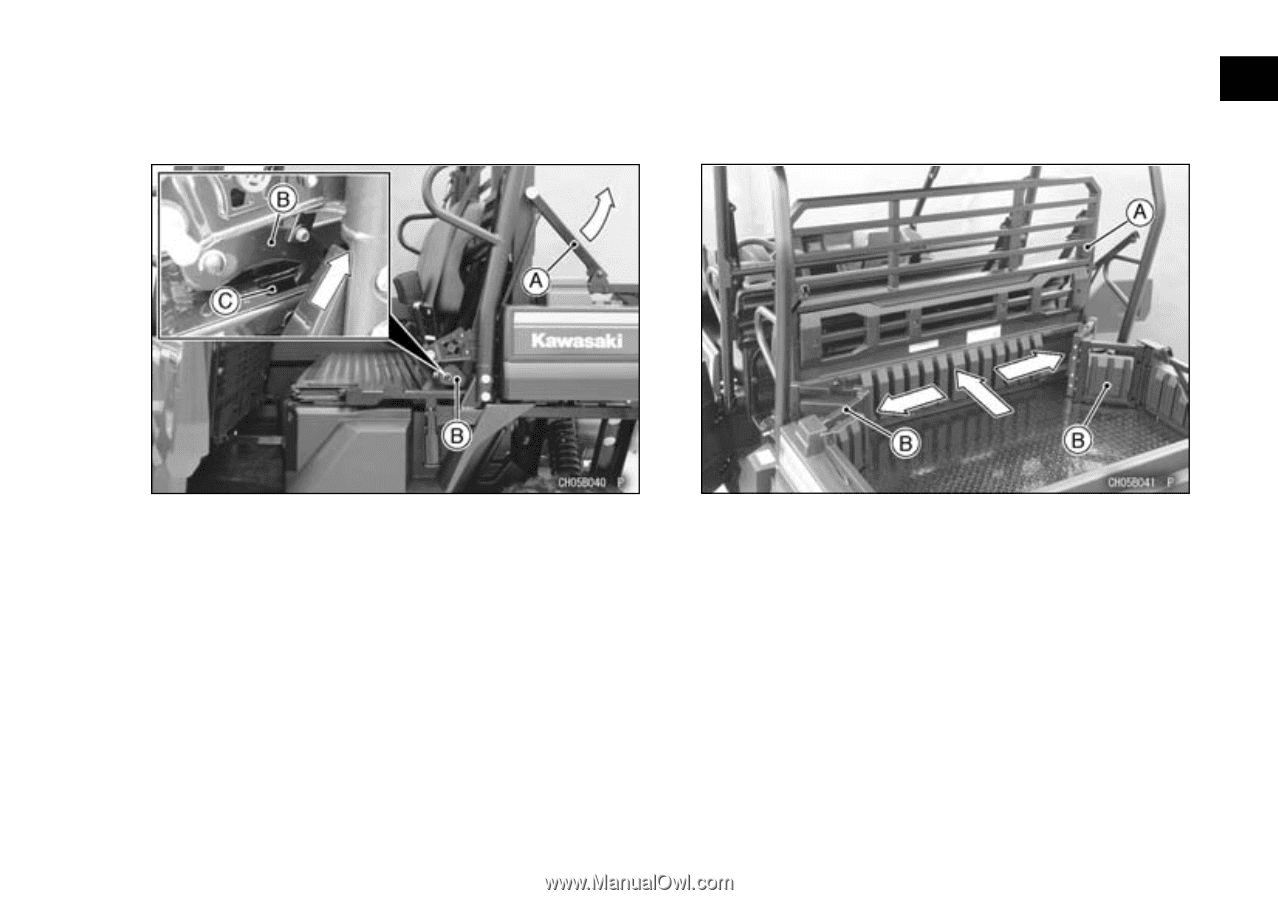
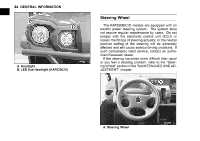
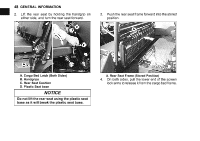
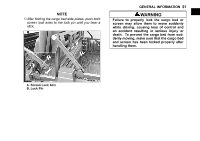
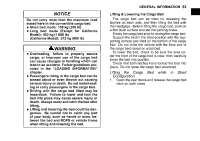
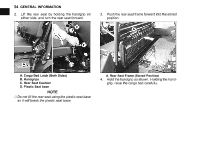
GENERAL INFORMATION 49 5. Turn the screen lock arms upward until lower locking arm is released from the lock pin in the cargo bed base. 6. Slide the cargo bed screen forward in conjunction with pushing the hinge between the cargo bed side plates on both sides. j A. Screen Lock Arm (Both Sides) B. Lower Locking Arm (Both Sides) C. Lock Pin (Both Sides) A. Cargo Bed Screen B. Cargo Bed Side Plates ○To move the screen smoothly, 7. NOTE push both cargo bed side plates evenly as much as possible. After fully extending the cargo bed side plates, lower both screen lock arms, aligning their lower locking arms with the lock pins in the cargo bed base. Push the screen lock arms into the brackets on the side plates on both sides until you hear a click. Secure the cargo bed side plates with the cargo bed latches on both sides. 8. 9.
-
 1
1 -
2
-
3
-
4
-
5
-
6
-
7
-
8
-
9
-
10
-
11
-
12
-
13
-
14
-
15
-
16
-
17
-
18
-
19
-
20
-
21
-
22
-
23
-
24
-
25
-
26
-
27
-
28
-
29
-
30
-
31
-
32
-
33
-
34
-
35
-
36
-
37
-
38
-
39
-
40
-
41
-
42
-
43
-
44
-
 45
45 -
 46
46 -
 47
47 -
 48
48 -
 49
49 -
 50
50 -
 51
51 -
 52
52 -
 53
53 -
 54
54 -
 55
55 -
56
-
57
-
58
-
59
-
60
-
61
-
62
-
63
-
64
-
65
-
66
-
67
-
68
-
69
-
70
-
71
-
72
-
73
-
74
-
75
-
76
-
77
-
78
-
79
-
80
-
81
-
82
-
83
-
84
-
85
-
86
-
87
-
88
-
89
-
90
-
91
-
92
-
93
-
94
-
95
-
96
-
97
-
98
-
99
-
100
-
101
-
102
-
103
-
104
-
105
-
106
-
107
-
108
-
109
-
110
-
111
-
112
-
113
-
114
-
115
-
116
-
117
-
118
-
119
-
120
-
121
-
122
-
123
-
124
-
125
-
126
-
127
-
128
-
129
-
130
-
131
-
132
-
133
-
134
-
135
-
136
-
137
-
138
-
139
-
140
-
141
-
142
-
143
-
144
-
145
-
146
-
147
-
148
-
149
-
150
-
151
-
152
-
153
-
154
-
155
-
156
-
157
-
158
-
159
-
160
-
161
-
162
-
163
-
164
-
165
-
166
-
167
-
168
-
169
-
170
-
171
-
172
-
173
-
174
-
175
-
176
 |
 |