Acer INTPJ-STK1 User Manual - Page 7
Adjust the hardware, Software installation
 |
View all Acer INTPJ-STK1 manuals
Add to My Manuals
Save this manual to your list of manuals |
Page 7 highlights
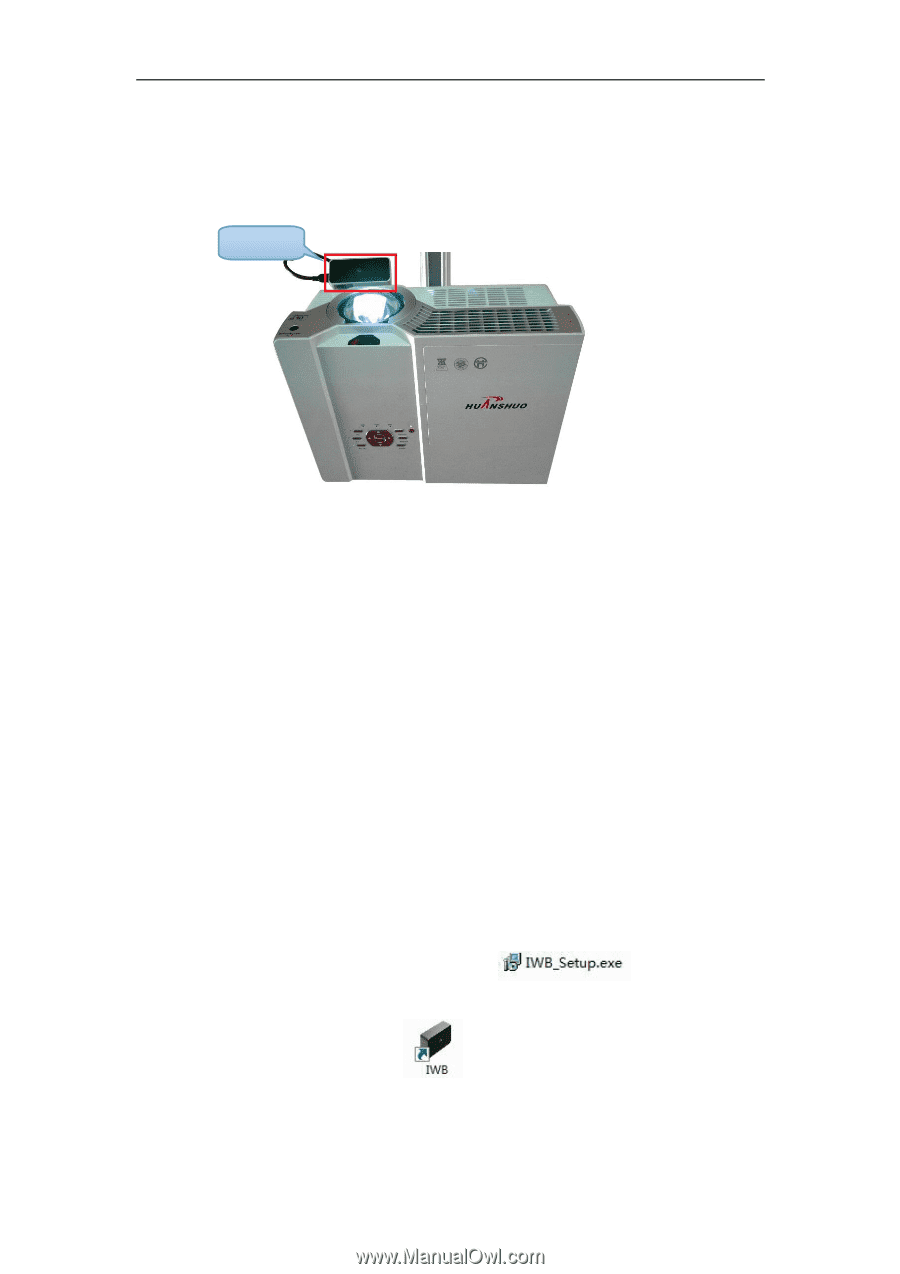
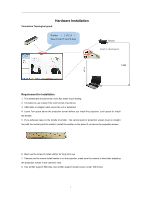
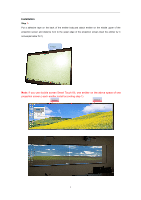
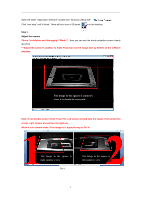
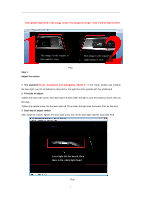
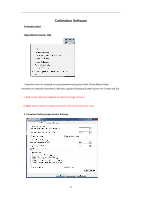
Step 2: Sensor Installation: attach it to projector or attach it on ceiling. Make sure the Capture viewing is erected. For 80" active size (Projection screen), the installation distance is about 1m-1.2m for short throw Sensor part, 0.6-0.8m short throw Sensor and about 2.2m-3.2m for long throw Sensor part. Sensor Note: if use double screen, two cameras install on two projectors separately. Step 3. Cable connect: Use the USB cable connect camera to computer, and the adapter connect to power Note:if use double screen, two camera use USB cable connect to the same computer. Adjust the hardware Software installation Step1. Calibration software installation: Open the small CD and copy the "Calibration Software" and "Application Software" file folders into your computer. Open the file of Calibration Software, run "IWB_Setup.exe"; , according to the type of the camera install it in correct way,such as :the throw ratio is 0.34,then choose short throw,and click next step,Then there will be icon on desk : Education software installation 1. GL Board installation 5
-
 1
1 -
 2
2 -
 3
3 -
 4
4 -
 5
5 -
 6
6 -
 7
7 -
 8
8 -
 9
9 -
 10
10 -
 11
11 -
 12
12 -
13
-
14
-
15
-
16
-
17
-
18
-
19
-
20
-
21
-
22
-
23
-
24
 |
 |