Adobe 26001648 Migration Guide - Page 40
Printing
 |
UPC - 883919060125
View all Adobe 26001648 manuals
Add to My Manuals
Save this manual to your list of manuals |
Page 40 highlights
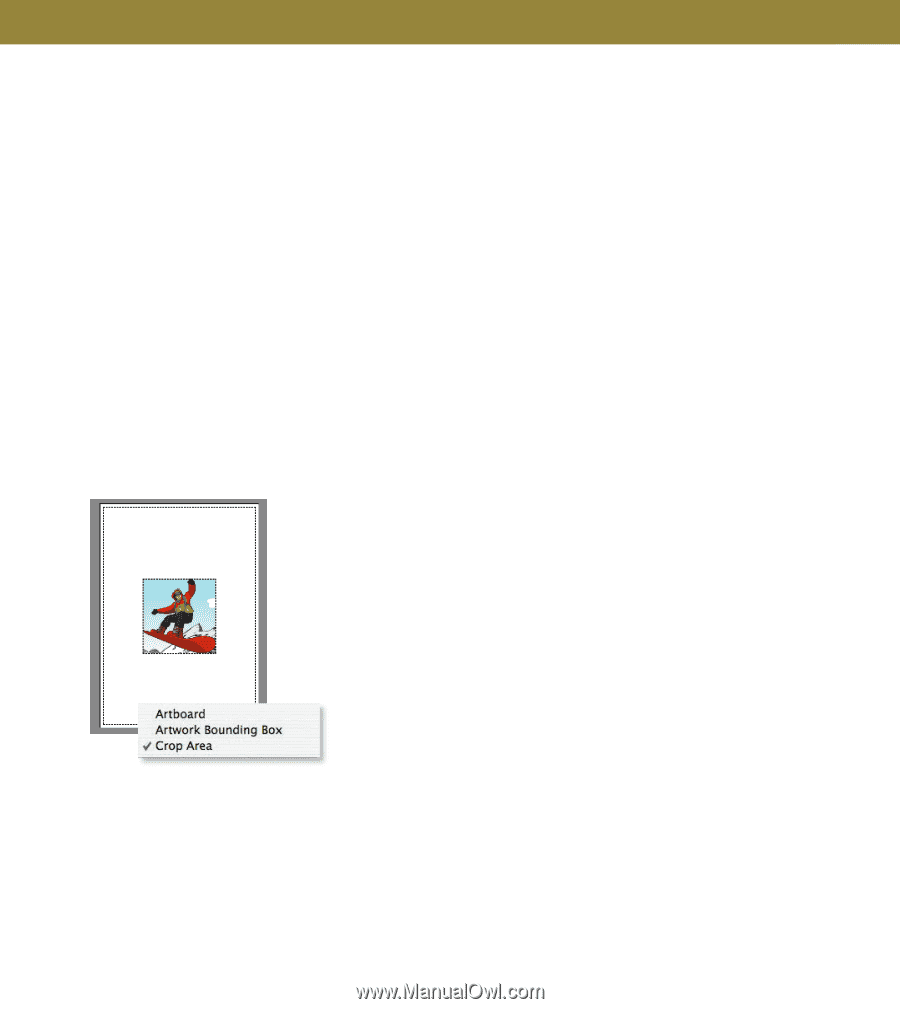
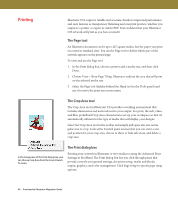
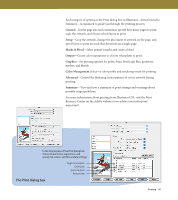
Printing Illustrator CS3 output is reliable and accurate, thanks to improved performance and such features as transparency flattening and overprint preview, whether you output to a printer or export as Adobe PDF. Feel confident that your Illustrator CS3 artwork will print as you have created it. The Page tool An Illustrator document can be up to 227 square inches, but the paper you print on comes in standard sizes. You use the Page tool to define which part of the artwork appears on the printed page. To view and use the Page tool: 1. In the Print dialog box, choose a printer and a media size, and then click Done. 2. Choose View > Show Page Tiling. Illustrator outlines the area that will print on the selected media size. 3. Select the Page tool (hidden behind the Hand tool in the Tools panel) and use it to move the print area as necessary. The Crop Area tool The Crop Area tool in Illustrator CS3 provides a working environment that includes dimensions and units tailored to your output. For print, the web, video, and film, predefined Crop Area characteristics set up your workspace so that it's automatically efficient for the type of media that will display your designs. Select the Crop Area tool in the toolbar and simply pull open any size rectangular area to crop. Look at the Control panel and see that you can enter a size and position for your crop area, choose to show or hide safe areas, and delete a crop area. In the Setup pane of the Print dialog box, you can choose Crop Area from the Crop Artwork To menu. The Print dialog box Printing your artwork in Illustrator is very similar to using the Advanced Print Settings in FreeHand. The Print dialog box lets you click through panes that provide controls over general settings, document setup, marks and bleeds, output, graphics, and color management. Click Page Setup to specify page setup options. 40 FreeHand to Illustrator Migration Guide
-
 1
1 -
2
-
3
-
4
-
5
-
6
-
7
-
8
-
9
-
10
-
11
-
12
-
13
-
14
-
15
-
16
-
17
-
18
-
19
-
20
-
21
-
22
-
23
-
24
-
25
-
26
-
27
-
28
-
29
-
30
-
31
-
32
-
33
-
34
-
 35
35 -
 36
36 -
 37
37 -
 38
38 -
 39
39 -
 40
40 -
 41
41 -
 42
42 -
 43
43 -
 44
44 -
 45
45 -
46
-
47
-
48
 |
 |