Brother International BAS-300 Series Programmer Instruction Manual - English - Page 26
O110O
 |
View all Brother International BAS-300 Series manuals
Add to My Manuals
Save this manual to your list of manuals |
Page 26 highlights
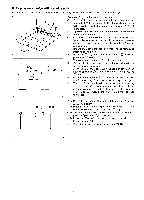
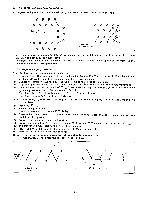
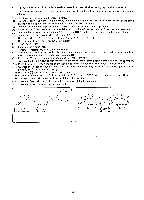
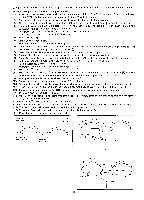
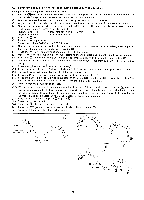
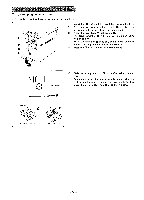
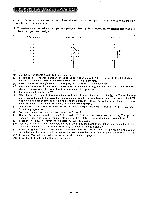
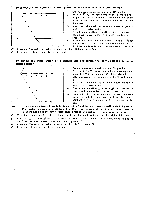
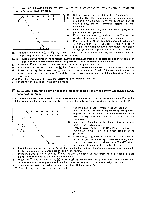
g To program enlargement/reduction patterns • Any previously programmed pattern can be enlarged or reduced. Example: Program the pattern in the figures below. (1) Turn the power on. 0 0 (2) Press the ©key. The work clamp will move to the point of origin (X-0; Y-0), "0" will appear in the STEP display, and command indicator "F" will light. ® (3) Insert the disk and read the desired pattern (previously programmed) from disk. (4) Use the direction keys to position the needle at enlarge- ment/reduction reference point ® (any desired point). If the needle is not moved, the initial stitch position of the work clamp (X-0; Y-0) becomes the enlargement/ reduction reference point. 0 0 (5) Press the (I] key three times to display "888" in the STEP display, and then press the El key. The X-Y indicators will go out, and the STEP display will read "000". The enlargement/reduction mode is now set. (6) Use the numerical keypad to enter the X-axis ratio in the J Standard point STEP display, "150" in this example. The enlargement/reduction ratio can be set from "000" -- "199" (i.e., 0% to 199%). Press the 1 key, and the upper two digits "15" will be displayed in the "X" indicator. If a different ratio is to be used for the X-axis, enter this ratio. Any ratio over 199% will be invalid. (7) Use the numerical keypad to enter the Y-axis ratio in the STEP display, "150" in this example. The enlarge- O110O ment/reduction ratio can be set from "000" - "199" (i.e., 0% to 199%). Press the Erj key, and the upper two digits "15" will be displayed in the "Y" indicator. If a different ratio is to be used for the Y-axis, enter this ratio. Any ratio over 199% will be invalid. (8) Use the numeral keys to enter the stitch length in the STEP display. (e.g., If the stitch length is 3 mm. "030" Reference point (origin should be displayed.) If the stitch length is not specified (the STEP display remains "000"), the same number of stitches used in the original pattern will be used to sew the enlargement or reduction version. g (9) Press the key. If the stitch length was specified, an electronic alarm will beep, indicating the pattern is being processed. If the same number of stitches is used, the STEP display will decrement one step at a time, indicating processing of the program. (10) Select a different program number, and press the data switch to write the pattern to disk. (Refer to page 24.) Press the El key to enter the sewing mode. Note 1 Enlargement/reduction patterns are enlarged or reduced using the point at which "888" EI key was pressed as the reference point. Note 2 If the stitch length of an enlarged pattern exceeds 8.0 mm, or if the sewing area exceeds X = 50 mm and Y = 50 mm, all indicators will go out, and enlargement/reduction will be terminated. If this happens, use a different ratio and repeat from step 2. 11 If a command key is pressed accidentally • Data contents will not be modified if one of the command keys ( cancel the command key selection, simply press [1] or 0 . pr_j] N ) is pressed accidentally. To
-
 1
1 -
2
-
3
-
4
-
5
-
6
-
7
-
8
-
9
-
10
-
11
-
12
-
13
-
14
-
15
-
16
-
17
-
18
-
19
-
20
-
 21
21 -
 22
22 -
 23
23 -
 24
24 -
 25
25 -
 26
26 -
 27
27 -
 28
28 -
 29
29 -
 30
30 -
 31
31 -
32
-
33
-
34
-
35
-
36
 |
 |
