Brother International Innov-is NS80e Operation Manual - Page 26
Using the foot controller
 |
View all Brother International Innov-is NS80e manuals
Add to My Manuals
Save this manual to your list of manuals |
Page 26 highlights
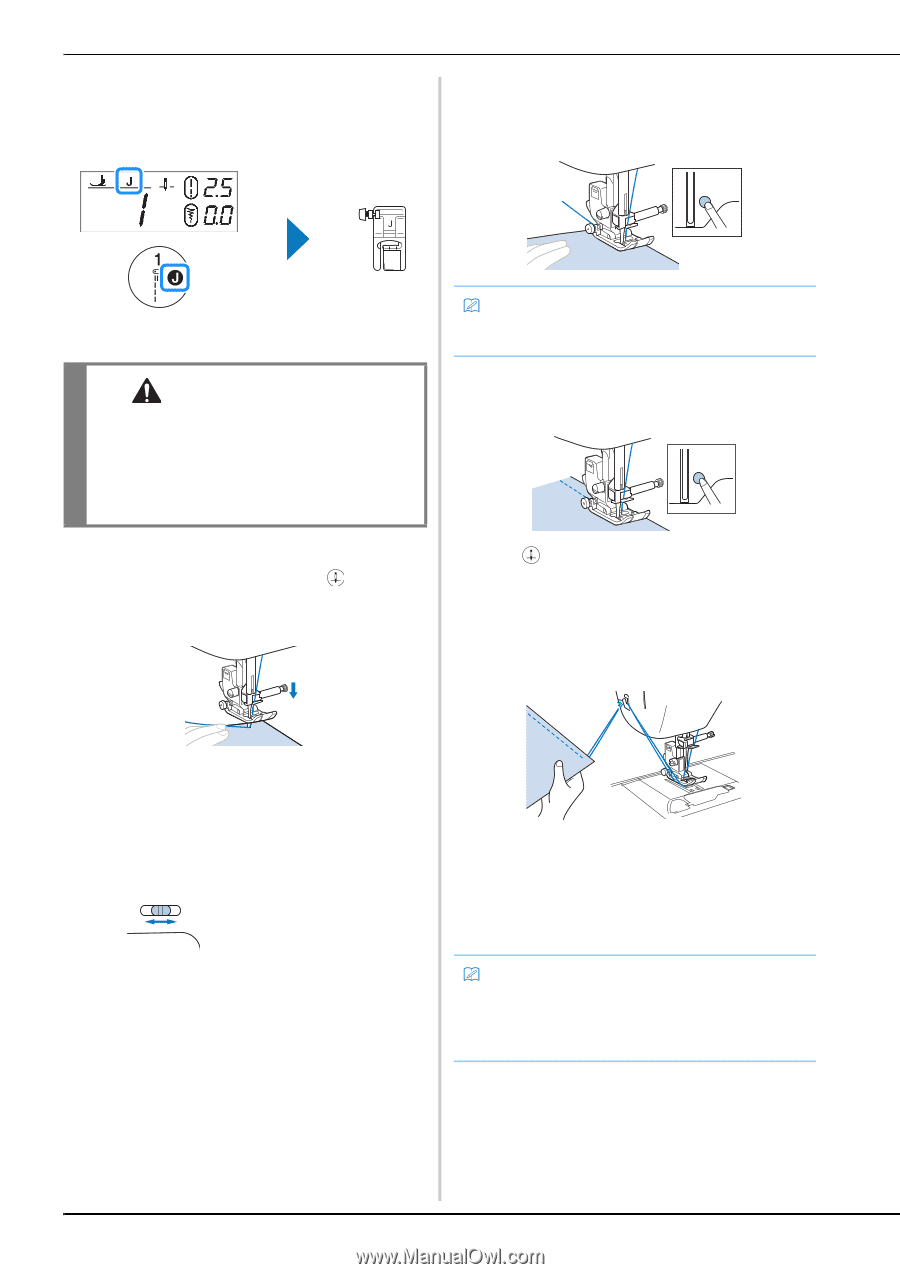
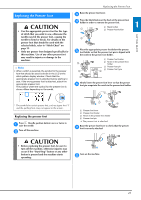
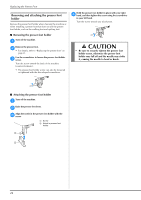
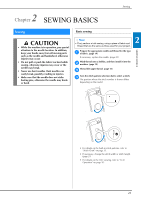
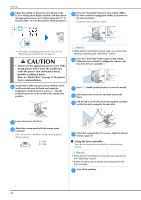
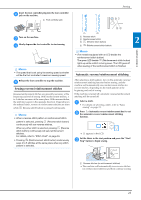
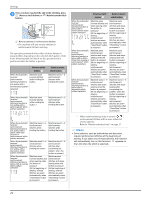
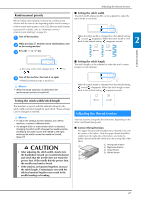
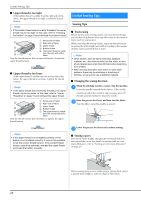
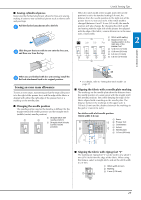
Sewing Check the symbol for the presser foot shown in the e LCD or stitch pattern display window, and then attach the appropriate presser foot. Attach zigzag foot "J" in this procedure. (It is on the machine when purchased.) Press the "Start/Stop" button to start sewing. (When i the foot controller is plugged in, slowly press down on the foot controller.) Guide the fabric lightly by hand. • For details on changing the presser foot, refer to "Replacing the Presser Foot" on page 21. CAUTION • Always use the appropriate presser foot. If the wrong presser foot is used, the needle may strike the presser foot and bend or break, possibly resulting in injury. Refer to "Stitch Chart" on page 33 for presser foot recommendations. Set the fabric under the presser foot. Hold the fabric f and thread with your left hand, and rotate the handwheel counterclockwise or press (Needle position button) to set the needle in the sewing start position. Memo • When the foot controller is being used, you cannot start sewing by pressing the "Start/Stop" button. Press the "Start/Stop" button again to stop sewing. j (When the foot controller is plugged in, remove your foot from the foot controller.) Press (Needle position button) to raise the needle. k Raise the presser foot lever, and then remove the l fabric. Pull the fabric to the left side of the machine, and then m cut the threads by using the thread cutter. Lower the presser foot lever. g Adjust the sewing speed with the sewing speed h controller. You can use this controller to adjust sewing speed during sewing. b a 1 Fast 2 Slow Check the sewing finish. If necessary, adjust the thread n tension. (page 27) ■ Using the foot controller You can also use the foot controller to start and stop sewing. Memo • When the foot controller is connected, you cannot use the "Start/Stop" button. • Bobbin winding can be started and stopped with the foot controller. Turn off the machine. a 24
-
 1
1 -
2
-
3
-
4
-
5
-
6
-
7
-
8
-
9
-
10
-
11
-
12
-
13
-
14
-
15
-
16
-
17
-
18
-
19
-
20
-
 21
21 -
 22
22 -
 23
23 -
 24
24 -
 25
25 -
 26
26 -
 27
27 -
 28
28 -
 29
29 -
 30
30 -
 31
31 -
32
-
33
-
34
-
35
-
36
-
37
-
38
-
39
-
40
-
41
-
42
-
43
-
44
-
45
-
46
-
47
-
48
-
49
-
50
-
51
-
52
-
53
-
54
-
55
-
56
-
57
-
58
-
59
-
60
-
61
-
62
-
63
-
64
-
65
-
66
-
67
-
68
-
69
-
70
-
71
-
72
 |
 |