Brother International Innov-is NS80e Operation Manual - Page 29
Adjusting the thread tension
 |
View all Brother International Innov-is NS80e manuals
Add to My Manuals
Save this manual to your list of manuals |
Page 29 highlights
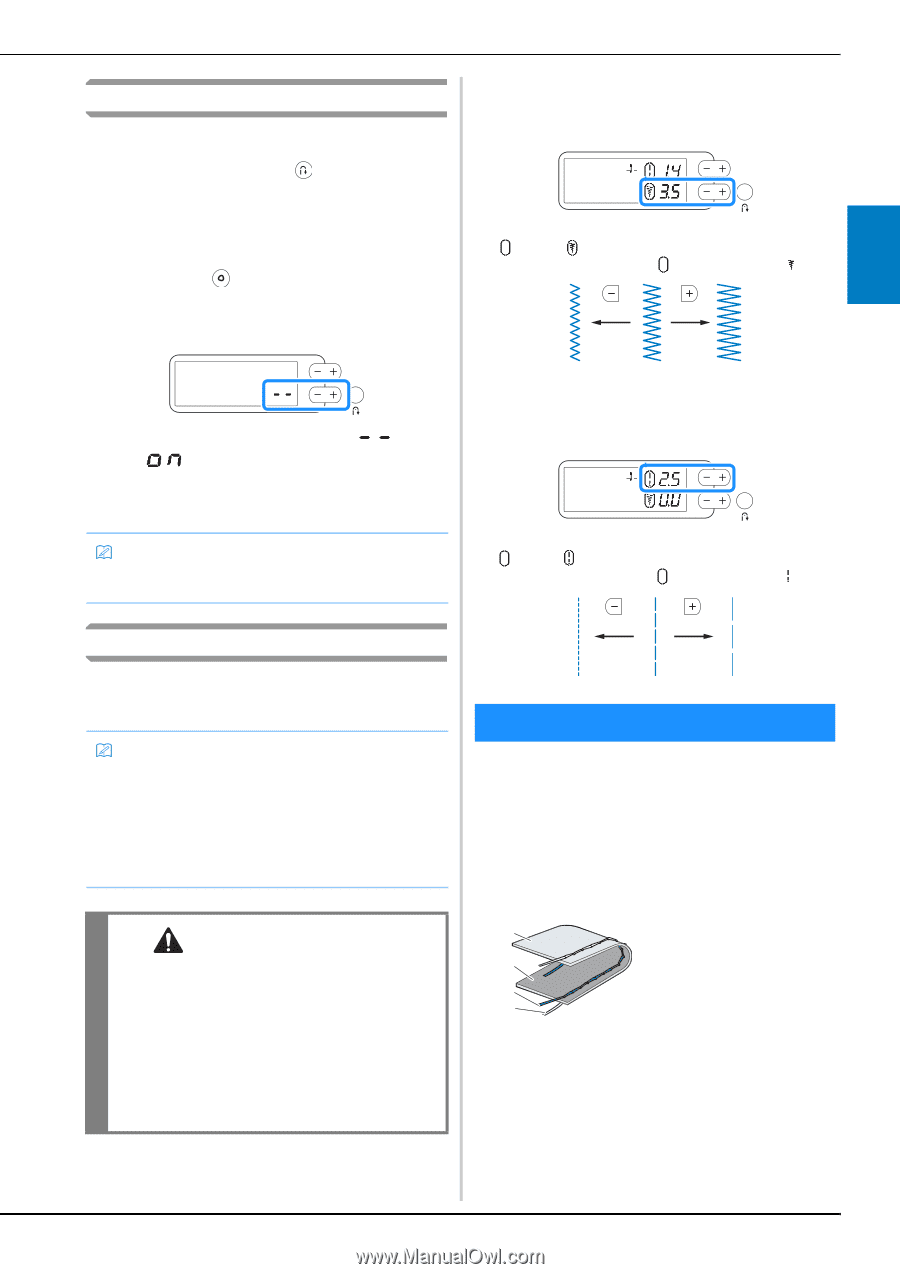
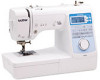
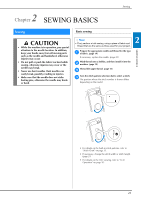
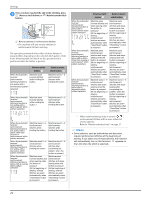
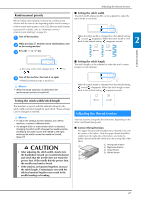
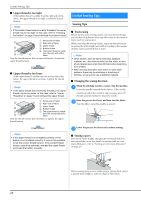
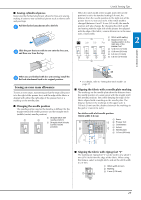
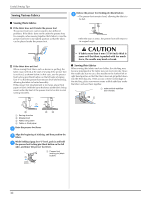
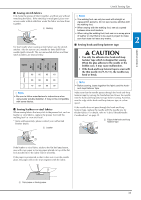
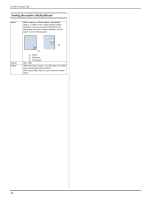
Reinforcement priority When reinforcement priority is turned on, reinforcement stitches will be sewn at the beginning and/or end of sewing a reinforcement stitch pattern, even if (Reverse stitch button) is pressed. For details, refer to "Automatic reverse/ reinforcement stitching" on page 25. Turn off the machine. a While pressing (Reinforcement stitch button), turn b on the sewing machine. Press the "-" or "+" key. c Adjusting the thread tension ■ Setting the stitch width The stitch width (zigzag width) can be adjusted to make the stitch wider or narrower. When the stitch width is changed from the default setting, around disappears. When the stitch width is reset back to the default setting, reappears around . 2 SEWING BASICS The value in the LCD changes from " " to " ". Turn off the machine, then turn it on again. d Reinforcement priority is turned on. Memo • When the same operation is performed, the reinforcement priority is turned off. ■ Setting the stitch length The stitch length can be adjusted to make the stitch coarser (longer) or finer (shorter). When the stitch length is changed from the default setting, around disappears. When the stitch length is reset back to the default setting, reappears around . Setting the stitch width/stitch length This machine is preset with the default settings for the stitch width and stitch length for each stitch. These settings can be changed as needed. Memo • To return the settings to their defaults, turn off the machine, or select a different stitch. • If a straight stitch or triple stretch stitch is selected, changing the stitch width changes the needle position. Increasing the width moves the needle to the right; reducing the width moves the needle to the left. (page 27) CAUTION • After adjusting the stitch width, slowly turn the handwheel toward you (counterclockwise) and check that the needle does not touch the presser foot. If the needle hits the presser foot, the needle may bend or break. • If the stitches are bunched together, increase the stitch length. Continuing to sew with the stitches bunched together may result in the needle bending or breaking. Adjusting the thread tension You may need to change the thread tension, depending on the fabric and thread being used. ■ Correct thread tension The upper thread and the bobbin thread should cross near the center of the fabric. Only the upper thread should be visible from the right side of the fabric, and only the bobbin thread should be visible from the wrong side of the fabric. 1 Wrong side of fabric 1 2 Right side of fabric 3 Upper thread 2 4 Bobbin thread 3 4 27
-
 1
1 -
2
-
3
-
4
-
5
-
6
-
7
-
8
-
9
-
10
-
11
-
12
-
13
-
14
-
15
-
16
-
17
-
18
-
19
-
20
-
21
-
22
-
23
-
 24
24 -
 25
25 -
 26
26 -
 27
27 -
 28
28 -
 29
29 -
 30
30 -
 31
31 -
 32
32 -
 33
33 -
 34
34 -
35
-
36
-
37
-
38
-
39
-
40
-
41
-
42
-
43
-
44
-
45
-
46
-
47
-
48
-
49
-
50
-
51
-
52
-
53
-
54
-
55
-
56
-
57
-
58
-
59
-
60
-
61
-
62
-
63
-
64
-
65
-
66
-
67
-
68
-
69
-
70
-
71
-
72
 |
 |