Canon Color imageCLASS MF8350Cdn Color imageCLASS MF8350Cdn/MF8050Cn Basic Ope - Page 115
Canon Color imageCLASS MF8350Cdn Manual
 |
View all Canon Color imageCLASS MF8350Cdn manuals
Add to My Manuals
Save this manual to your list of manuals |
Page 115 highlights
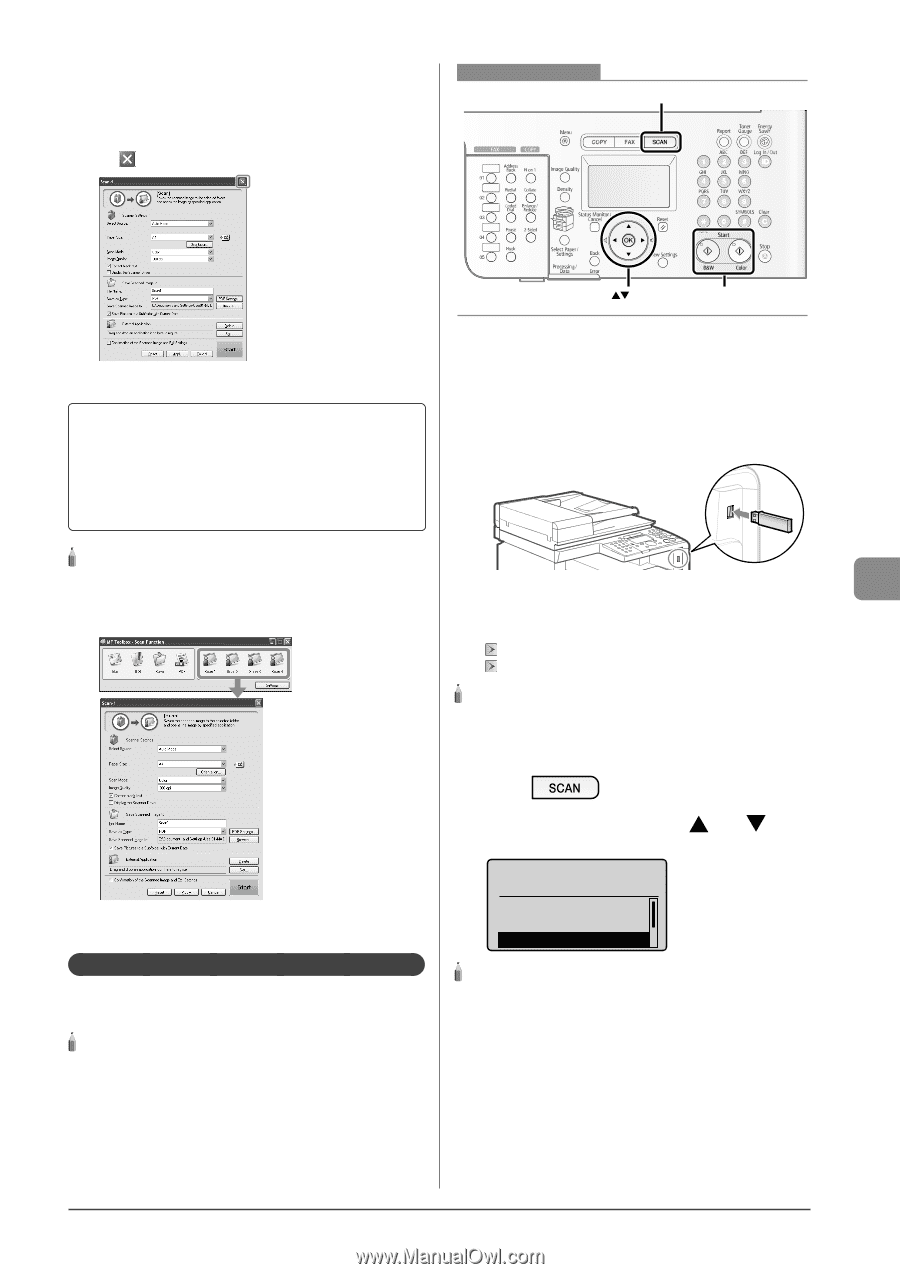
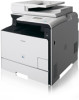
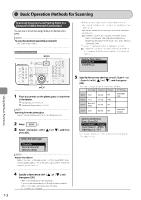
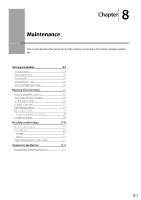
? You cannot scan when the setting screen of the MF Toolbox is displayed. Click [ ] to close the setting screen before scanning. Keys to be used for this operation If you cannot scan SCAN OK Start 1 The location to save the scanned images The folder where the images are saved opens automatically after scanning. By default, the folder for the date when you scanned the data is created in the [My Pictures] folder in [My Documents]. (For Windows Vista/7, the folder is created in the [Pictures] folder.) Connect the USB memory to the USB memory port. When the USB memory is connected, the access indicator turns on. When the access indicator is blinking, the memory media is being read or in other processes. Do not touch the USB memory and the surroundings of the USB memory port. NOTE To change the scanner settings You can change the settings for the location to save, the file format, or the resolution from a computer. For more details, see "Scan" in the e-Manual. 2 Place documents on the platen glass or load them in the feeder. "Placing Documents" (→P.2-4) "Documents Requirements" (→P.2-2) Using the Scan Functions NOTE Scanning from the platen glass You cannot scan multiple documents from the platen glass. 3 4 Press [ ]. ] or [ ], and Select with [ then press [OK]. Select the scan type. Computer Remote Scanner Memory Media Saving Scanned Documents in a USB Memory You can save scanned documents in a USB memory connected to the machine. NOTE About Select in the above screen, and then press [OK]. The fax sending screen appears. (This is the same state as where [FAX] on the operation panel is pressed.) NOTE Available USB memory and the file type of data Connect the USB memory formatted in FAT to the machine directly. Only PDF is supported as the file type to save. For more details, see "Scan" in the e-Manual. 7-3
-
 1
1 -
2
-
3
-
4
-
5
-
6
-
7
-
8
-
9
-
10
-
11
-
12
-
13
-
14
-
15
-
16
-
17
-
18
-
19
-
20
-
21
-
22
-
23
-
24
-
25
-
26
-
27
-
28
-
29
-
30
-
31
-
32
-
33
-
34
-
35
-
36
-
37
-
38
-
39
-
40
-
41
-
42
-
43
-
44
-
45
-
46
-
47
-
48
-
49
-
50
-
51
-
52
-
53
-
54
-
55
-
56
-
57
-
58
-
59
-
60
-
61
-
62
-
63
-
64
-
65
-
66
-
67
-
68
-
69
-
70
-
71
-
72
-
73
-
74
-
75
-
76
-
77
-
78
-
79
-
80
-
81
-
82
-
83
-
84
-
85
-
86
-
87
-
88
-
89
-
90
-
91
-
92
-
93
-
94
-
95
-
96
-
97
-
98
-
99
-
100
-
101
-
102
-
103
-
104
-
105
-
106
-
107
-
108
-
109
-
 110
110 -
 111
111 -
 112
112 -
 113
113 -
 114
114 -
 115
115 -
 116
116 -
 117
117 -
 118
118 -
 119
119 -
 120
120 -
121
-
122
-
123
-
124
-
125
-
126
-
127
-
128
-
129
-
130
-
131
-
132
-
133
-
134
-
135
-
136
-
137
-
138
-
139
-
140
-
141
-
142
-
143
-
144
-
145
-
146
-
147
-
148
-
149
-
150
-
151
-
152
-
153
-
154
-
155
-
156
-
157
-
158
-
159
 |
 |