D-Link DCS-6511 Product Manual - Page 14
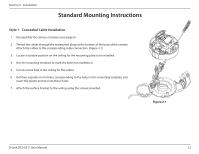
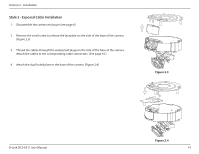
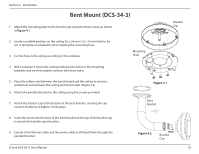
Style 2 - Exposed Cable Installation,
 |
View all D-Link DCS-6511 manuals
Add to My Manuals
Save this manual to your list of manuals |
Page 14 highlights
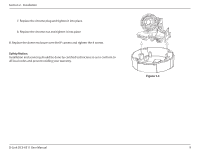
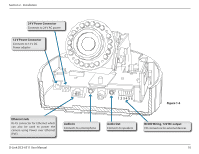
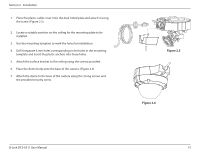
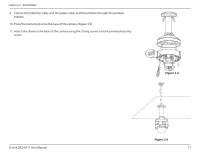
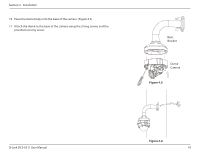
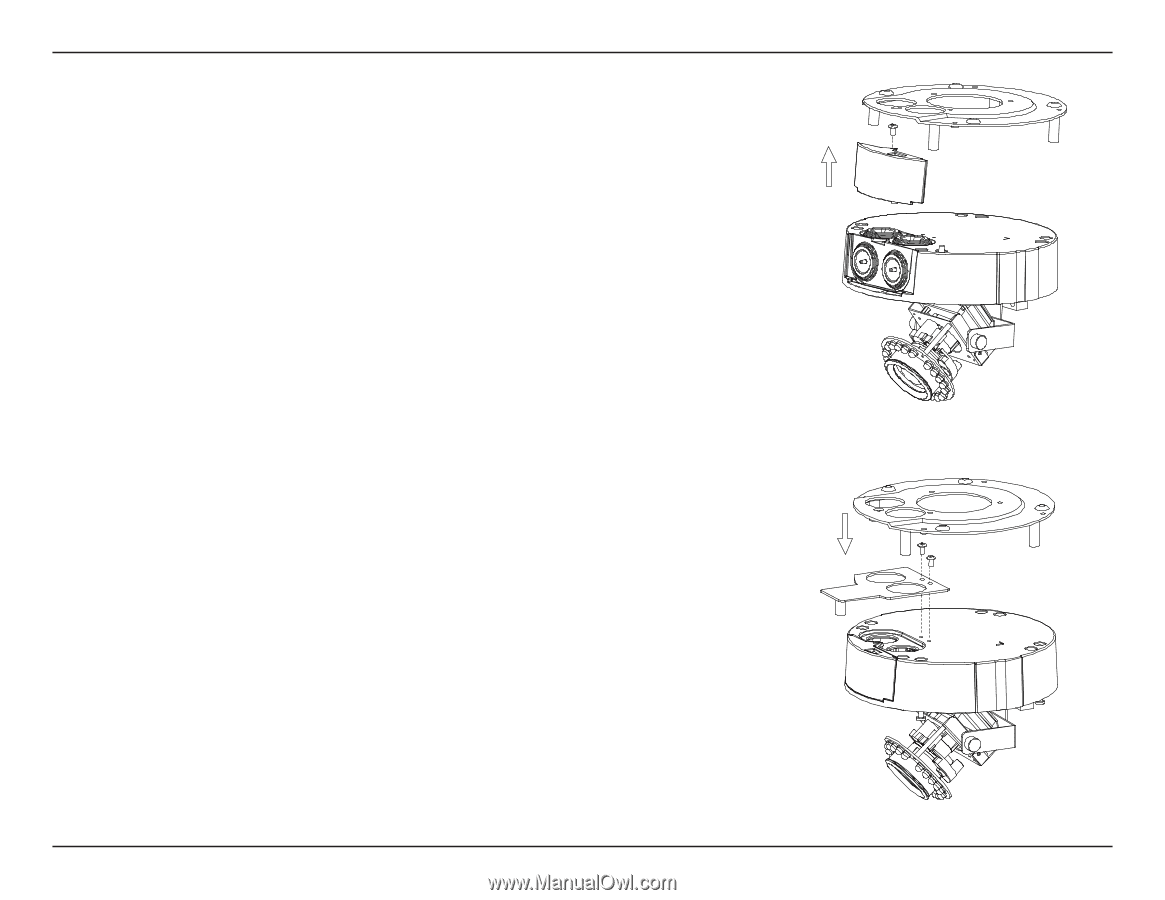
Section 2 - Installation Style 2 - Exposed Cable Installation 1. Disassemble the camera enclosure (see page 6). 2. Remove the small screw to release the faceplate on the side of the base of the camera. (Figure 2.3) 3. Thread the cables through the waterproof plugs on the side of the base of the camera. Attach the cables to the corresponding cable connectors. (See page 10.) 4. Attach the dual-holed plate to the base of the camera. (Figure 2.4) Figure 2.3 D-Link DCS-6511 User Manual Figure 2.4 14
-
 1
1 -
2
-
3
-
4
-
5
-
6
-
7
-
8
-
 9
9 -
 10
10 -
 11
11 -
 12
12 -
 13
13 -
 14
14 -
 15
15 -
 16
16 -
 17
17 -
 18
18 -
 19
19 -
20
-
21
-
22
-
23
-
24
-
25
-
26
-
27
-
28
-
29
-
30
-
31
-
32
-
33
-
34
-
35
-
36
-
37
-
38
-
39
-
40
-
41
-
42
-
43
-
44
-
45
-
46
-
47
-
48
-
49
-
50
-
51
-
52
-
53
-
54
-
55
-
56
-
57
-
58
-
59
-
60
-
61
-
62
-
63
-
64
-
65
-
66
-
67
-
68
-
69
-
70
-
71
-
72
-
73
-
74
 |
 |
14
D-Link DCS-6511 User Manual
Section 2 - Installation
Style 2 - Exposed Cable Installation
1.
Disassemble the camera enclosure (see page 6).
2.
Remove the small screw to release the faceplate on the side of the base of the camera.
(Figure 2.3)
3.
Thread the cables through the waterproof plugs on the side of the base of the camera.
Attach the cables to the corresponding cable connectors. (See page 10.)
4.
Attach the dual-holed plate to the base of the camera. (Figure 2.4)
Figure 2.3
Figure 2.4