Epson C80N Printer Basics - Page 52
Your printout is blurry or smeared., on Premium Glossy Photo Paper or
 |
UPC - 010343840935
View all Epson C80N manuals
Add to My Manuals
Save this manual to your list of manuals |
Page 52 highlights
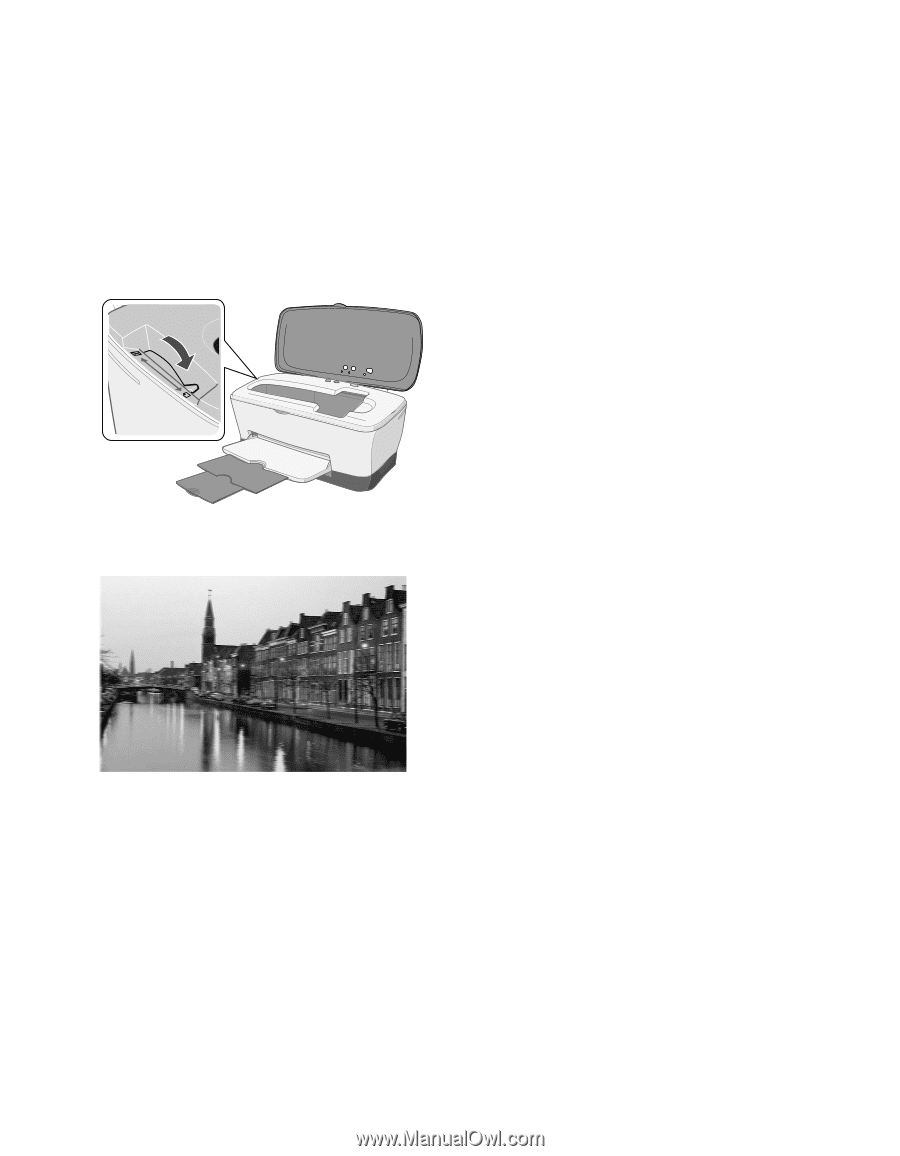
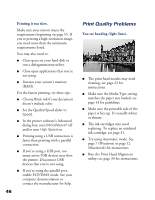
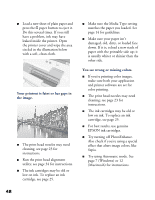
I Set the paper thickness lever to the m position. Set the lever to the ^ position when you print on thicker paper or envelopes. You may also need to turn off High Speed in the printer software. Your printout is blurry or smeared. I Make sure your paper isn't damp or curled, or loaded face down (the printable side should be face up). I Use a support sheet with special paper, or try loading your paper one sheet at a time. I Make sure your paper meets the specifications listed in the on-screen Reference Guide, and that it's compatible with your printer. Use plain paper or one of the media types listed on the inside back cover. I Use EPSON papers to ensure proper saturation and absorption of genuine EPSON inks. Non-EPSON media may not be compatible and may produce ink bleeding or pooling. I Run the Print Head Alignment utility. See page 34 for instructions. I Check the paper thickness lever position. If it's in the ^ position, your printer is set for thicker paper or envelopes and your image may smear. For most papers, set the paper thickness lever to the m position, as shown to the left. I Remove each sheet from the output tray after printing, especially when you're printing on transparencies. I Let your print dry completely before you handle it. Prints made on Premium Glossy Photo Paper or Premium Semigloss Photo Paper take longer to dry. Follow the instructions included in your media pack. 47
-
 1
1 -
2
-
3
-
4
-
5
-
6
-
7
-
8
-
9
-
10
-
11
-
12
-
13
-
14
-
15
-
16
-
17
-
18
-
19
-
20
-
21
-
22
-
23
-
24
-
25
-
26
-
27
-
28
-
29
-
30
-
31
-
32
-
33
-
34
-
35
-
36
-
37
-
38
-
39
-
40
-
41
-
42
-
43
-
44
-
45
-
46
-
 47
47 -
 48
48 -
 49
49 -
 50
50 -
 51
51 -
 52
52 -
 53
53 -
 54
54 -
 55
55 -
 56
56 -
 57
57 -
58
-
59
-
60
-
61
-
62
-
63
-
64
-
65
-
66
-
67
-
68
-
69
-
70
-
71
-
72
 |
 |