Fisher and Paykel DE7027P1 User Guide - Page 11
Important
 |
View all Fisher and Paykel DE7027P1 manuals
Add to My Manuals
Save this manual to your list of manuals |
Page 11 highlights
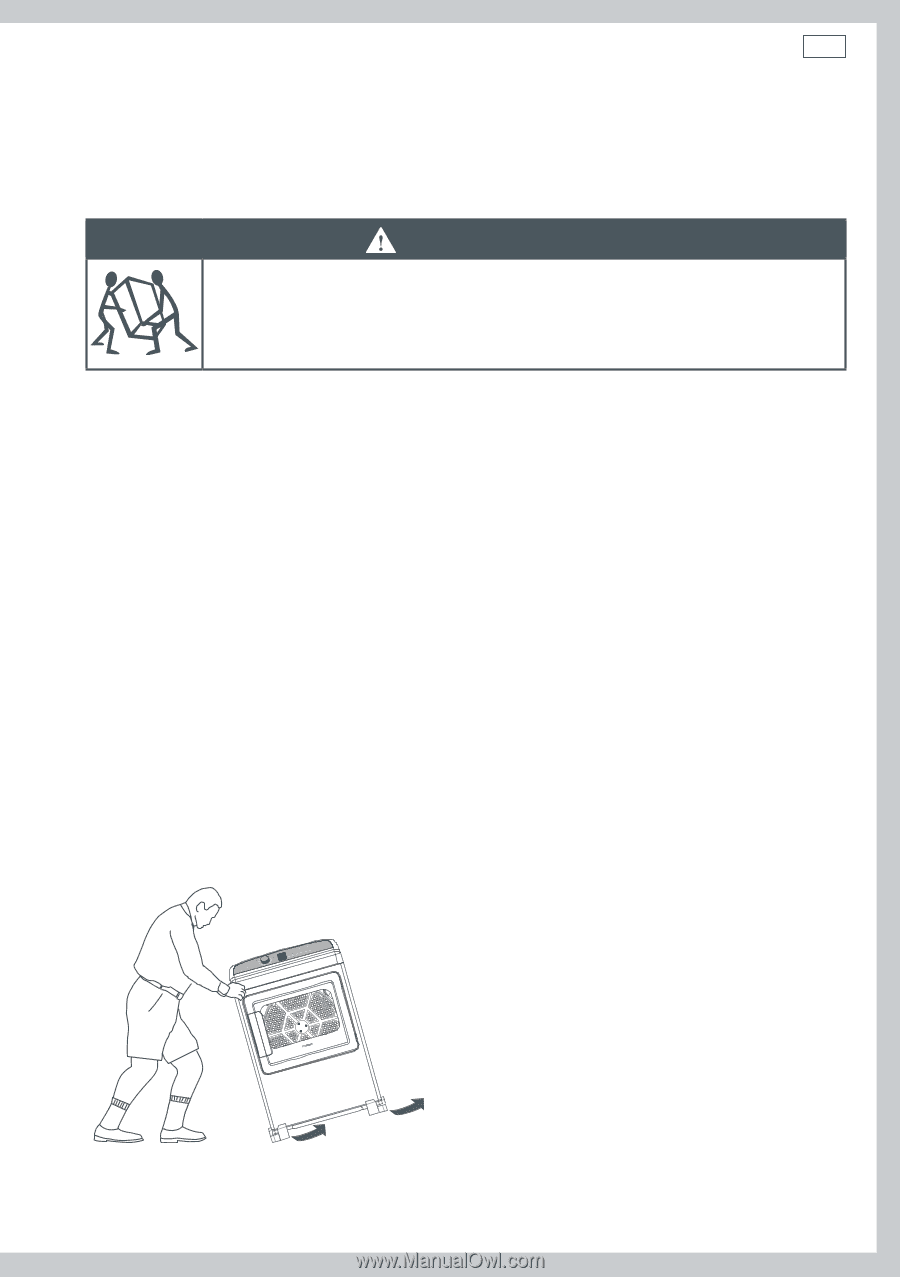
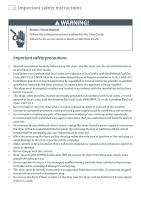
Installation instructions 9 Unpacking To ensure the best performance from the dryer, please follow the instructions below. WARNING! Excess Weight Hazard Use two or more people to move and install the dryer. Failure to do so can result in back or other injury. Important! Only remove the packaging at the customer's premises. This will ensure the appliance arrives in pristine condition and reduces the risk of damage during transportation to the customer's home. 1. Remove packaging Remove all of the outer packaging. Dispose of unwanted packaging thoughtfully. 2. Discard packing material from around dryer feet Tilt the dryer sideways and remove the foam shipping pads by pulling at the sides and breaking them away from the dryer feet. Be sure to remove all the foam pieces before continuing with installation. 3. Drying rack Open the door. Remove the tape holding the drying rack in place. Remove the rack and remove protective tape from 'legs' of rack. 4. Accessories Remove the accessories from inside the dryer. Fig.2 Unpacking your dryer correctly
-
 1
1 -
2
-
3
-
4
-
5
-
 6
6 -
 7
7 -
 8
8 -
 9
9 -
 10
10 -
 11
11 -
 12
12 -
 13
13 -
 14
14 -
 15
15 -
 16
16 -
17
-
18
-
19
-
20
-
21
-
22
-
23
-
24
-
25
-
26
-
27
-
28
-
29
-
30
-
31
-
32
-
33
-
34
-
35
-
36
-
37
-
38
-
39
-
40
-
41
-
42
-
43
-
44
-
45
-
46
-
47
-
48
-
49
-
50
-
51
-
52
-
53
-
54
-
55
-
56
-
57
-
58
-
59
-
60
-
61
-
62
-
63
-
64
-
65
-
66
-
67
-
68
-
69
-
70
-
71
-
72
-
73
-
74
-
75
-
76
-
77
-
78
-
79
-
80
-
81
-
82
-
83
-
84
-
85
-
86
-
87
-
88
 |
 |