Fisher and Paykel DE7027P1 User Guide - Page 76
Exhaust duct
 |
View all Fisher and Paykel DE7027P1 manuals
Add to My Manuals
Save this manual to your list of manuals |
Page 76 highlights
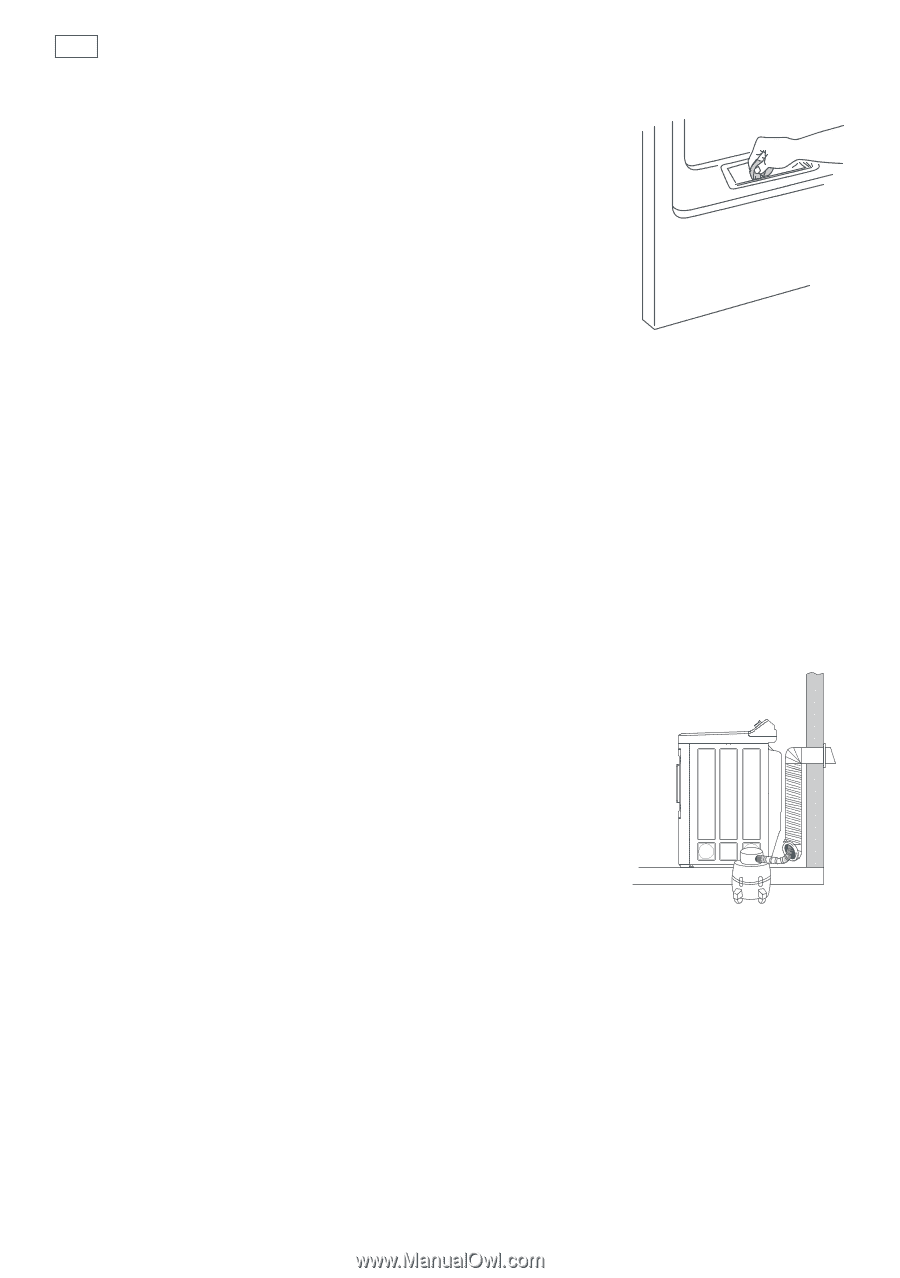
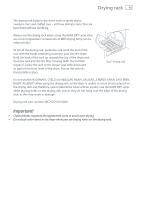
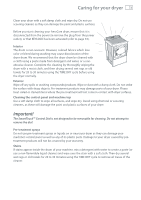
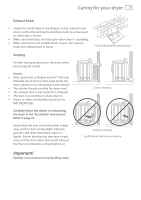
74 Caring for your dryer Lint filter Lint is generally formed during wearing and washing. Lint and fibers released from clothes during the drying cycle are collected in the lint filter. It is important to clean the lint filter after every load, as the lint produced in the drying process can become a fire hazard if it is allowed to accumulate in or around your dryer. AeroCare will flash the "Clean Lint Filter" signal light on the panel each time you power your dryer on to remind you to clean the lint filter. Fig.56 Cleaning the lint filter Remove the lint filter from the housing and wipe the surface with your fingers. It is easier to remove the lint when your fingers are moistened. A clean lint filter will ensure your clothes remain lint-free and your dryer will operate at maximum efficiency. Be sure to replace the lint filter before using the dryer. Important! If the lint filter becomes damaged, contact Fisher & Paykel (refer to page 84) to arrange getting a new filter. Do not operate your dryer with a damaged lint filter or without the lint filter in place, as this will cause damage to your dryer. Exhaust duct The dryer exhaust ducting must be inspected and cleaned periodically by an Authorized Service Agent to remove accumulated lint and prevent clogging. This will help keep your dryer operating at optimum performance. A partially clogged exhaust can lengthen the drying time. To clean the exhaust duct follow these steps: 1 Turn off the electrical supply by disconnecting the plug from the power socket. 2 Disconnect the exhaust duct from the dryer. 3 Vacuum the exhaust duct with the hose attachment or attach a rag to a pole or drain cleaning wire and clean the duct. Fig.57 Cleaning the exhaust duct
-
 1
1 -
2
-
3
-
4
-
5
-
6
-
7
-
8
-
9
-
10
-
11
-
12
-
13
-
14
-
15
-
16
-
17
-
18
-
19
-
20
-
21
-
22
-
23
-
24
-
25
-
26
-
27
-
28
-
29
-
30
-
31
-
32
-
33
-
34
-
35
-
36
-
37
-
38
-
39
-
40
-
41
-
42
-
43
-
44
-
45
-
46
-
47
-
48
-
49
-
50
-
51
-
52
-
53
-
54
-
55
-
56
-
57
-
58
-
59
-
60
-
61
-
62
-
63
-
64
-
65
-
66
-
67
-
68
-
69
-
70
-
 71
71 -
 72
72 -
 73
73 -
 74
74 -
 75
75 -
 76
76 -
 77
77 -
 78
78 -
 79
79 -
 80
80 -
 81
81 -
82
-
83
-
84
-
85
-
86
-
87
-
88
 |
 |