Fisher and Paykel DE7027P1 User Guide - Page 43
Reversing the door
 |
View all Fisher and Paykel DE7027P1 manuals
Add to My Manuals
Save this manual to your list of manuals |
Page 43 highlights
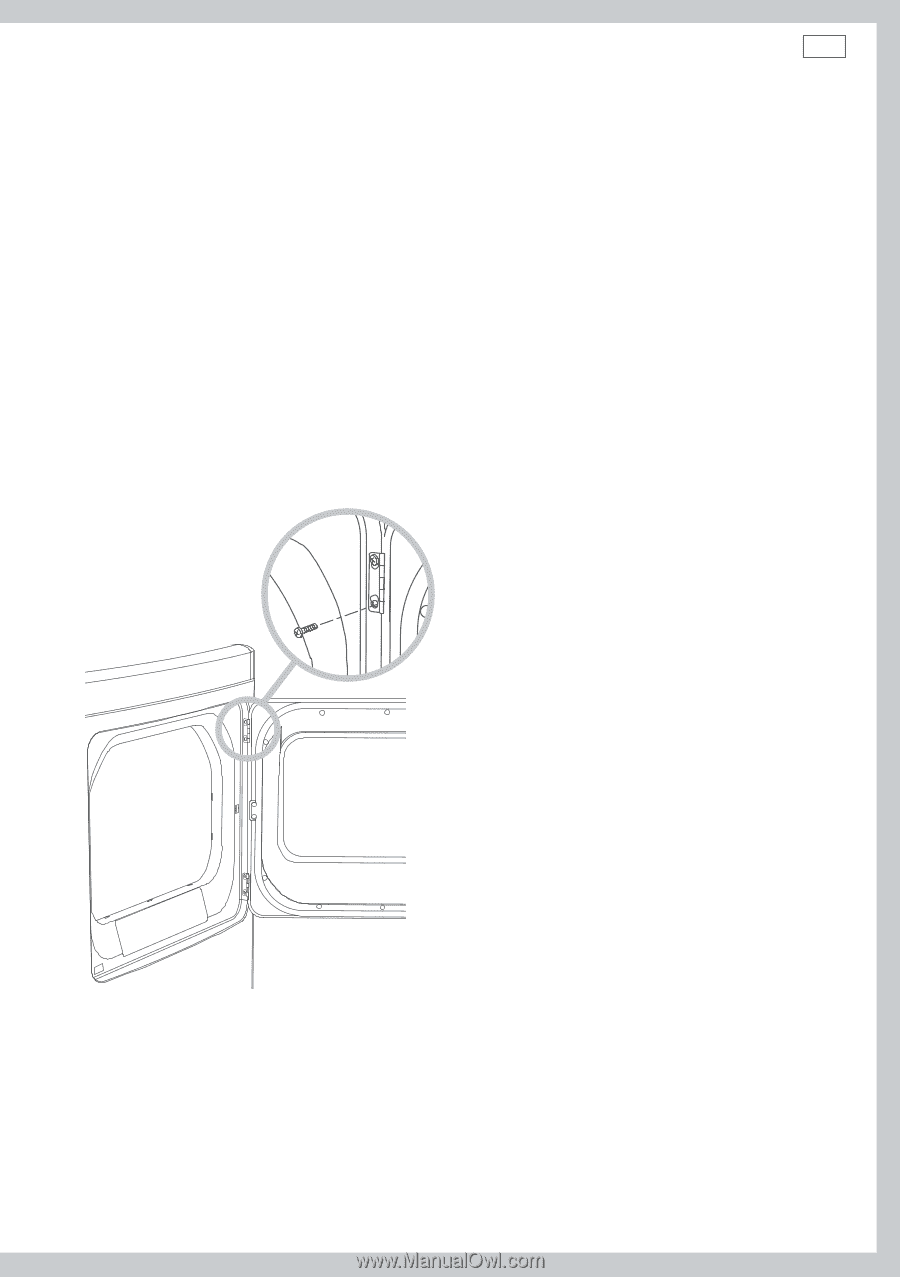
Installation instructions 41 Reversing the door Tools required: ■■ Standard #2 Phillips screwdriver. ■■ Tape-tipped putty knife. ■■ Needle-nosed pliers. 1 Remove the plug from the power outlet. 2 Open the door and remove the blanking plugs opposite the hinges. Retain the blanking plugs for Step 4. 3 With the door completely open, remove the bottom screw from each hinge on the dryer face. Insert these screws about half way into the top holes, for each hinge, on the opposite side (where you removed the plastic plugs). Apply firm pressure to get the screw started in untapped holes. Fig.34 Removing the door 4 Loosen the top screw from each hinge on the dryer face to half way. With one hand holding the top of the door and the other hand holding the bottom, remove the door from the dryer by lifting it up and out. Remove the two remaining screws and retain for later use. Fit the blanking plugs removed in Step 2.
-
 1
1 -
2
-
3
-
4
-
5
-
6
-
7
-
8
-
9
-
10
-
11
-
12
-
13
-
14
-
15
-
16
-
17
-
18
-
19
-
20
-
21
-
22
-
23
-
24
-
25
-
26
-
27
-
28
-
29
-
30
-
31
-
32
-
33
-
34
-
35
-
36
-
37
-
 38
38 -
 39
39 -
 40
40 -
 41
41 -
 42
42 -
 43
43 -
 44
44 -
 45
45 -
 46
46 -
 47
47 -
 48
48 -
49
-
50
-
51
-
52
-
53
-
54
-
55
-
56
-
57
-
58
-
59
-
60
-
61
-
62
-
63
-
64
-
65
-
66
-
67
-
68
-
69
-
70
-
71
-
72
-
73
-
74
-
75
-
76
-
77
-
78
-
79
-
80
-
81
-
82
-
83
-
84
-
85
-
86
-
87
-
88
 |
 |