HP Management LAN Blade for bh7800 Installation Guide, Second Edition - HP Car - Page 41
Removing and Installing Slot Blockers
 |
View all HP Management LAN Blade for bh7800 manuals
Add to My Manuals
Save this manual to your list of manuals |
Page 41 highlights
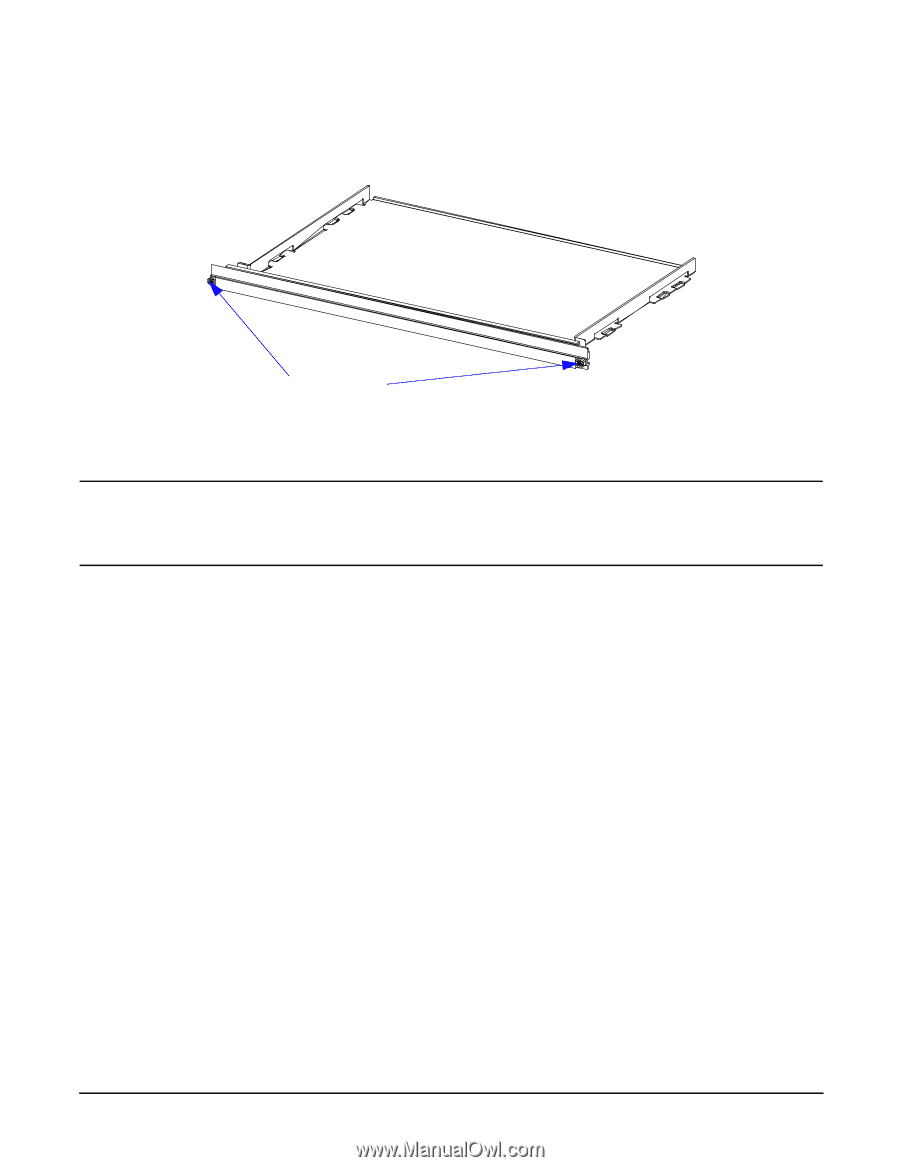
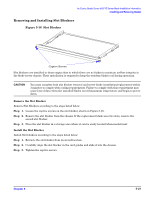
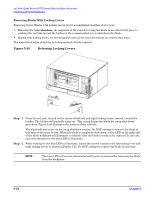
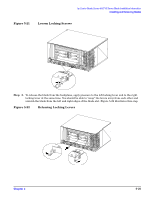
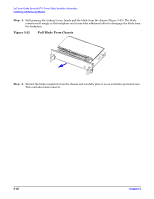
hp Carrier Grade Server bh3710 Server Blade Installation Information Installing and Removing Blades Removing and Installing Slot Blockers Figure 5-16 Slot Blocker Captive Screws Slot blockers are installed in those empty slots in which there are no blades to maintain airflow integrity in the blade server chassis. Their installation is required to keep the resident blades cool during operation. CAUTION You must complete both slot blocker removal and server blade installation/replacement within 3 minutes to comply with cooling requirements. Failure to comply with this requirement may cause loss of data when the installed blades exceed maximum temperature and begin to power down. Remove the Slot Blocker Remove Slot Blockers according to the steps listed below: Step 1. Loosen the captive screws on the slot blocker, shown in Figure 5-16. Step 2. Remove the slot blocker from the chassis. If the replacement blade uses two slots, remove the second slot blocker. Step 3. Place the slot blocker in a storage area where it can be easily located when needed next. Install the Slot Blocker Install Slot blockers according to the steps listed below: Step 1. Retrieve the slot blocker from its stored location. Step 2. Carefully align the slot blocker in the card guides and slide it into the chassis. Step 3. Tighten the captive screws. Chapter 5 5-21
-
 1
1 -
2
-
3
-
4
-
5
-
6
-
7
-
8
-
9
-
10
-
11
-
12
-
13
-
14
-
15
-
16
-
17
-
18
-
19
-
20
-
21
-
22
-
23
-
24
-
25
-
26
-
27
-
28
-
29
-
30
-
31
-
32
-
33
-
34
-
35
-
 36
36 -
 37
37 -
 38
38 -
 39
39 -
 40
40 -
 41
41 -
 42
42 -
 43
43 -
 44
44 -
 45
45 -
 46
46 -
47
-
48
-
49
-
50
-
51
-
52
-
53
-
54
-
55
 |
 |