HP Management LAN Blade for bh7800 Installation Guide, Second Edition - HP Car - Page 48
FC Disk Carrier Blade
 |
View all HP Management LAN Blade for bh7800 manuals
Add to My Manuals
Save this manual to your list of manuals |
Page 48 highlights
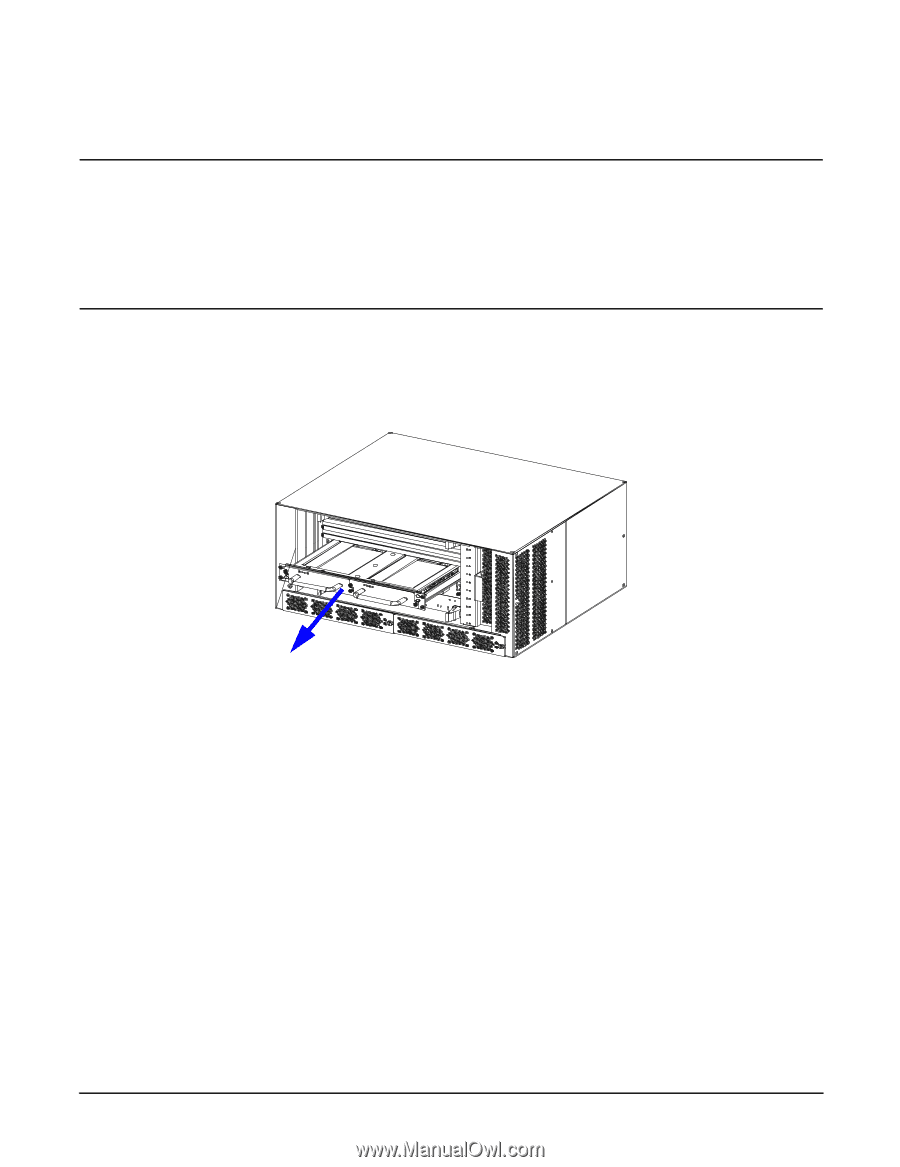
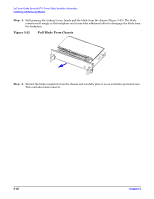
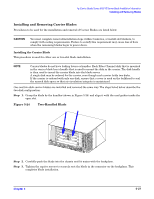
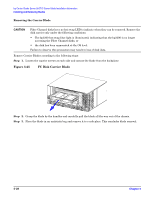
hp Carrier Grade Server bh3710 Server Blade Installation Information Installing and Removing Blades Removing the Carrier Blade CAUTION Fibre Channel disks have no hot swap LED to indicate when they can be removed. Remove the disk carrier only under the following conditions: • The bp2200 hot swap blue light is illuminated, indicating that the bp2200 is no longer accessing the Fibre Channel disks, or • the disk has been unmounted at the OS level. Failure to observe this precaution may result in loss of disk data. Remove Carrier Blades according to the following steps: Step 1. Loosen the captive screws at each side and unseat the blade from the backplane. Figure 5-25 FC Disk Carrier Blade Step 2. Grasp the blade by the handles and carefully pull the blade all the way out of the chassis. Step 3. Place the blade in an antistatic bag and remove it to a safe place. This concludes blade removal. 5- 28 Chapter 5
-
 1
1 -
2
-
3
-
4
-
5
-
6
-
7
-
8
-
9
-
10
-
11
-
12
-
13
-
14
-
15
-
16
-
17
-
18
-
19
-
20
-
21
-
22
-
23
-
24
-
25
-
26
-
27
-
28
-
29
-
30
-
31
-
32
-
33
-
34
-
35
-
36
-
37
-
38
-
39
-
40
-
41
-
42
-
 43
43 -
 44
44 -
 45
45 -
 46
46 -
 47
47 -
 48
48 -
 49
49 -
 50
50 -
 51
51 -
 52
52 -
 53
53 -
54
-
55
 |
 |