HP Media Center m1200 Software Guide - Page 93
Recording muvee autoProducer Movie to Disc, with WinDVD Creator
 |
View all HP Media Center m1200 manuals
Add to My Manuals
Save this manual to your list of manuals |
Page 93 highlights
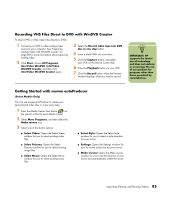
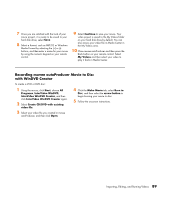
7 Once you are satisfied with the look of your movie project, it is ready to be saved to your hard disk drive; select Save. 8 Select a format, such as MPEG2 or Windows Media Format by selecting the (+) or (-) buttons, and then enter a name for your movie by using the numeric keypad on your remote control. 9 Select Continue to save your movie. Your video project is saved to the My Videos folder on your hard disk drive by default. You can also access your video file in Media Center in the My Videos area. 10 Close muvee autoProducer and then press the Back button on your remote control. Select My Videos and then select your video to play it back in Media Center. Recording muvee autoProducer Movie to Disc with WinDVD Creator To create a VCD or DVD disc: 1 Using the mouse, click Start, choose All Programs, InterVideo WinDVD, InterVideo WinDVD Creator, and then click InterVideo WinDVD Creator again. 2 Select Create CD/DVD with existing video file. 3 Select your video file you created in muvee autoProducer, and then click Open. 4 Click the Make Movie tab, select Burn to Disc, and then select the arrow button to begin burning your movie to disc. 5 Follow the onscreen instructions. Importing, Editing, and Burning Videos 89
-
 1
1 -
2
-
3
-
4
-
5
-
6
-
7
-
8
-
9
-
10
-
11
-
12
-
13
-
14
-
15
-
16
-
17
-
18
-
19
-
20
-
21
-
22
-
23
-
24
-
25
-
26
-
27
-
28
-
29
-
30
-
31
-
32
-
33
-
34
-
35
-
36
-
37
-
38
-
39
-
40
-
41
-
42
-
43
-
44
-
45
-
46
-
47
-
48
-
49
-
50
-
51
-
52
-
53
-
54
-
55
-
56
-
57
-
58
-
59
-
60
-
61
-
62
-
63
-
64
-
65
-
66
-
67
-
68
-
69
-
70
-
71
-
72
-
73
-
74
-
75
-
76
-
77
-
78
-
79
-
80
-
81
-
82
-
83
-
84
-
85
-
86
-
87
-
 88
88 -
 89
89 -
 90
90 -
 91
91 -
 92
92 -
 93
93 -
 94
94 -
 95
95 -
 96
96 -
 97
97 -
 98
98 -
99
-
100
-
101
-
102
-
103
-
104
-
105
-
106
-
107
-
108
-
109
-
110
 |
 |
