HP Media Center m1200 Software Guide - Page 96
Setting Up the HP Personal Media Drive, to Work with Media Center, Locating the Drive After
 |
View all HP Media Center m1200 manuals
Add to My Manuals
Save this manual to your list of manuals |
Page 96 highlights
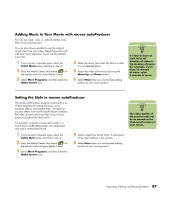
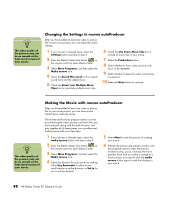
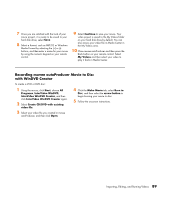
Setting Up the HP Personal Media Drive to Work with Media Center When you complete this setup procedure, you will be able to easily access content, such as music, photos, videos, and recorded TV programs from customized folders on your HP Personal Media Drive. Once you complete the setup wizard, you can drag and drop your music, video, pictures, and recorded TV files from your primary hard disk drive to personalized folders in the HP Personal Media Drive for backup or storage. You will also be able to use your remote control to access these files from within Media Center. 1 Insert the HP Personal Media Drive Installation CD that came with your HP Personal Media Drive. 2 When the menu of installation options appears, select the items you want to install by placing a check in the check box next to the choices. Make sure you place a check next to HP Media Center Setup Utility, and then click Install. 3 Insert your HP Personal Media Drive into the drive bay or connect it to a USB port, and then click Continue. 4 Follow any onscreen instructions and restart the PC when you complete the wizard. Locating the Drive After Installation After you install the HP Personal Media Drive into the PC, you can find the drive in My Computer. The PC automatically assigns a drive letter which may change unless you assign a drive letter. See "Assigning a Drive Letter to the HP Personal Media Drive" on page 93. 1 Click Start on the taskbar. 2 Click My Computer. 3 Select your drive under Hard Disk Drives. The default name is HP Personal Media Drive. 92 HP Media Center PC Software Guide
-
 1
1 -
2
-
3
-
4
-
5
-
6
-
7
-
8
-
9
-
10
-
11
-
12
-
13
-
14
-
15
-
16
-
17
-
18
-
19
-
20
-
21
-
22
-
23
-
24
-
25
-
26
-
27
-
28
-
29
-
30
-
31
-
32
-
33
-
34
-
35
-
36
-
37
-
38
-
39
-
40
-
41
-
42
-
43
-
44
-
45
-
46
-
47
-
48
-
49
-
50
-
51
-
52
-
53
-
54
-
55
-
56
-
57
-
58
-
59
-
60
-
61
-
62
-
63
-
64
-
65
-
66
-
67
-
68
-
69
-
70
-
71
-
72
-
73
-
74
-
75
-
76
-
77
-
78
-
79
-
80
-
81
-
82
-
83
-
84
-
85
-
86
-
87
-
88
-
89
-
90
-
 91
91 -
 92
92 -
 93
93 -
 94
94 -
 95
95 -
 96
96 -
 97
97 -
 98
98 -
 99
99 -
 100
100 -
 101
101 -
102
-
103
-
104
-
105
-
106
-
107
-
108
-
109
-
110
 |
 |