HP Pavilion 7700 HP Pavilion Home PC - (English) Upgrading and Servicing the P - Page 24
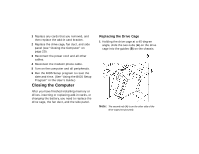
Replacing the Fan Duct
 |
View all HP Pavilion 7700 manuals
Add to My Manuals
Save this manual to your list of manuals |
Page 24 highlights
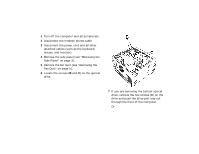
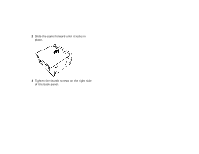
4 To make sure that the cage is locked into position, grasp the drive cage and pull up forcefully. Note: If you are able to remove the drive cage without pressing the release tab, you didn't properly align the track with the guide. Repeat steps 1-4 above. Replacing the Fan Duct 1 Holding the fan duct at a 45-degree angle, align the bottom of the duct with the hole on the fan holder.
-
 1
1 -
2
-
3
-
4
-
5
-
6
-
7
-
8
-
9
-
10
-
11
-
12
-
13
-
14
-
15
-
16
-
17
-
18
-
 19
19 -
 20
20 -
 21
21 -
 22
22 -
 23
23 -
 24
24 -
 25
25 -
 26
26 -
 27
27 -
 28
28 -
 29
29 -
30
-
31
-
32
-
33
-
34
-
35
-
36
-
37
-
38
-
39
-
40
-
41
-
42
-
43
-
44
-
45
 |
 |

4
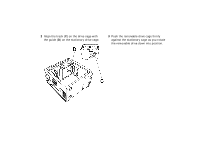
To make sure that the cage is locked into
position, grasp the drive cage and pull up
forcefully.
Note:
If you are able to remove the drive cage
without pressing the release tab, you didn’t
properly align the track with the guide.
Repeat
steps 1–4 above.
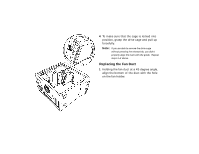
Replacing the Fan Duct
1
Holding the fan duct at a 45-degree angle,
align the bottom of the duct with the hole
on the fan holder.