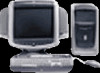
HP Pavilion 7700 HP Pavilion Home PC - (English) Upgrading and Servicing the P - Page 9
Adding Memory - memory type
 |
View all HP Pavilion 7700 manuals
Add to My Manuals
Save this manual to your list of manuals |
Page 9 highlights
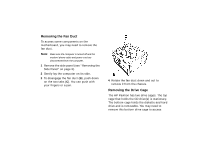
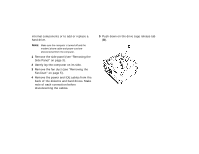
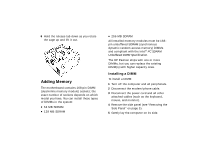
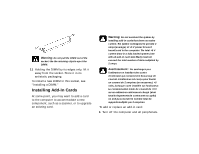
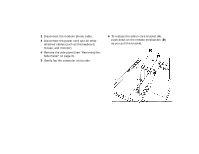
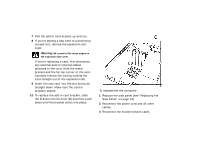
6 Hold the release tab down as you rotate the cage up and lift it out. Adding Memory The motherboard contains 168-pin DIMM (dual-inline memory module) sockets; the exact number of sockets depends on which model you have. You can install these types of DIMMs in the system: n 64 MB SDRAM n 128 MB SDRAM n 256 MB SDRAM All installed memory modules must be 168pin unbuffered SDRAM (synchronous dynamic random access memory) DIMMs and compliant with the Intel® PC SDRAM Unbuffered DIMM Specification. The HP Pavilion ships with one or more DIMMs, but you can replace the existing DIMM(s) with higher capacity ones. Installing a DIMM To install a DIMM: 1 Turn off the computer and all peripherals. 2 Disconnect the modem/phone cable. 3 Disconnect the power cord and all other attached cables (such as the keyboard, mouse, and monitor). 4 Remove the side panel (see "Removing the Side Panel" on page 3). 5 Gently lay the computer on its side.
-
 1
1 -
2
-
3
-
 4
4 -
 5
5 -
 6
6 -
 7
7 -
 8
8 -
 9
9 -
 10
10 -
 11
11 -
 12
12 -
 13
13 -
 14
14 -
15
-
16
-
17
-
18
-
19
-
20
-
21
-
22
-
23
-
24
-
25
-
26
-
27
-
28
-
29
-
30
-
31
-
32
-
33
-
34
-
35
-
36
-
37
-
38
-
39
-
40
-
41
-
42
-
43
-
44
-
45
 |
 |
