HP Photosmart 7200 HP Photosmart 7200 series - (English) Basics Guide - Page 38
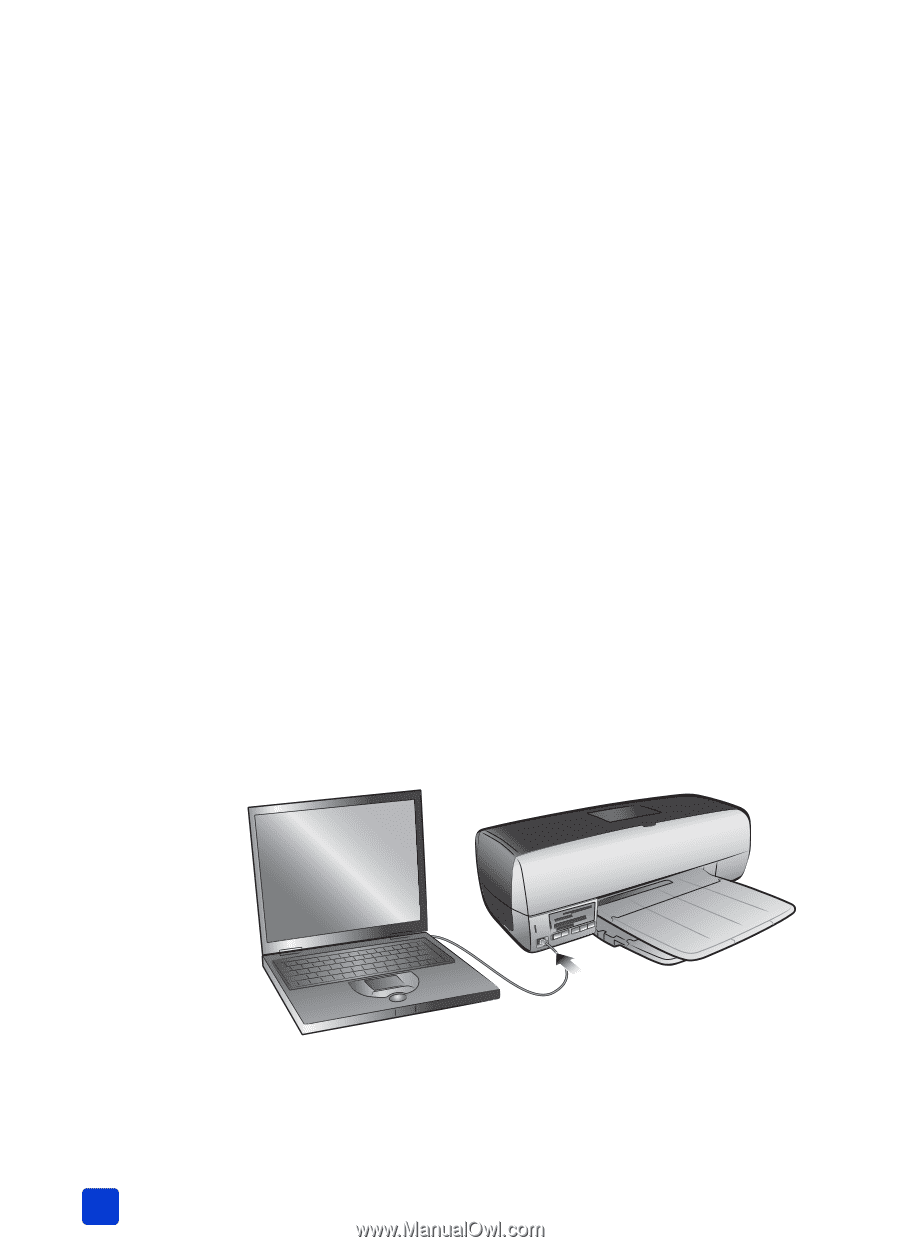
connect your notebook computer to the direct-printing port - series software
 |
View all HP Photosmart 7200 manuals
Add to My Manuals
Save this manual to your list of manuals |
Page 38 highlights
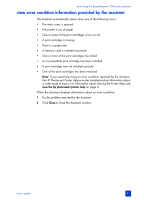
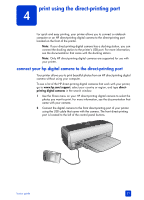
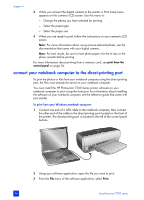
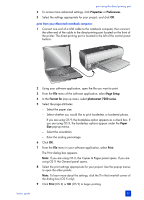
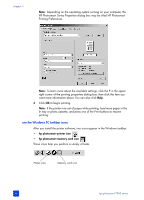
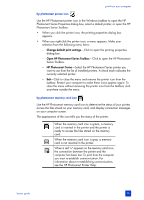
chapter 4 3 When you connect the digital camera to the printer, a Print Setup menu appears on the camera's LCD screen. Use this menu to: - Change the photos you have selected for printing - Select the paper type - Select the paper size 4 When you are ready to print, follow the instructions on your camera's LCD screen. Note: For more information about using camera-selected photos, see the documentation that came with your digital camera. Note: For best results, be sure to load photo paper into the In tray or the photo cassette before printing. For more information about printing from a memory card, see print from the control panel on page 24. connect your notebook computer to the direct-printing port To print the photos or files from your notebook computer using the direct-printing port, the files must already be saved on your notebook computer. You must install the HP Photosmart 7200 Series printer software on your notebook computer to print using the front port. For information about installing the software on your notebook computer, see the reference guide that came with your printer. To print from your Windows notebook computer: 1 Connect one end of a USB cable to the notebook computer, then connect the other end of the cable to the direct-printing port located on the front of the printer. The direct-printing port is located to the left of the control panel buttons. 2 Using your software application, open the file you want to print. 3 From the File menu of the software application, select Print. 34 hp photosmart 7200 series
-
 1
1 -
2
-
3
-
4
-
5
-
6
-
7
-
8
-
9
-
10
-
11
-
12
-
13
-
14
-
15
-
16
-
17
-
18
-
19
-
20
-
21
-
22
-
23
-
24
-
25
-
26
-
27
-
28
-
29
-
30
-
31
-
32
-
 33
33 -
 34
34 -
 35
35 -
 36
36 -
 37
37 -
 38
38 -
 39
39 -
 40
40 -
 41
41 -
 42
42 -
 43
43 -
44
-
45
-
46
-
47
-
48
-
49
-
50
-
51
-
52
-
53
-
54
-
55
-
56
-
57
-
58
-
59
-
60
-
61
-
62
-
63
-
64
 |
 |