Kenmore 4602 Use and Care Guide - Page 6
The Dispenser Light on some models, Removing and Replacing Ice Storage Bin
 |
View all Kenmore 4602 manuals
Add to My Manuals
Save this manual to your list of manuals |
Page 6 highlights
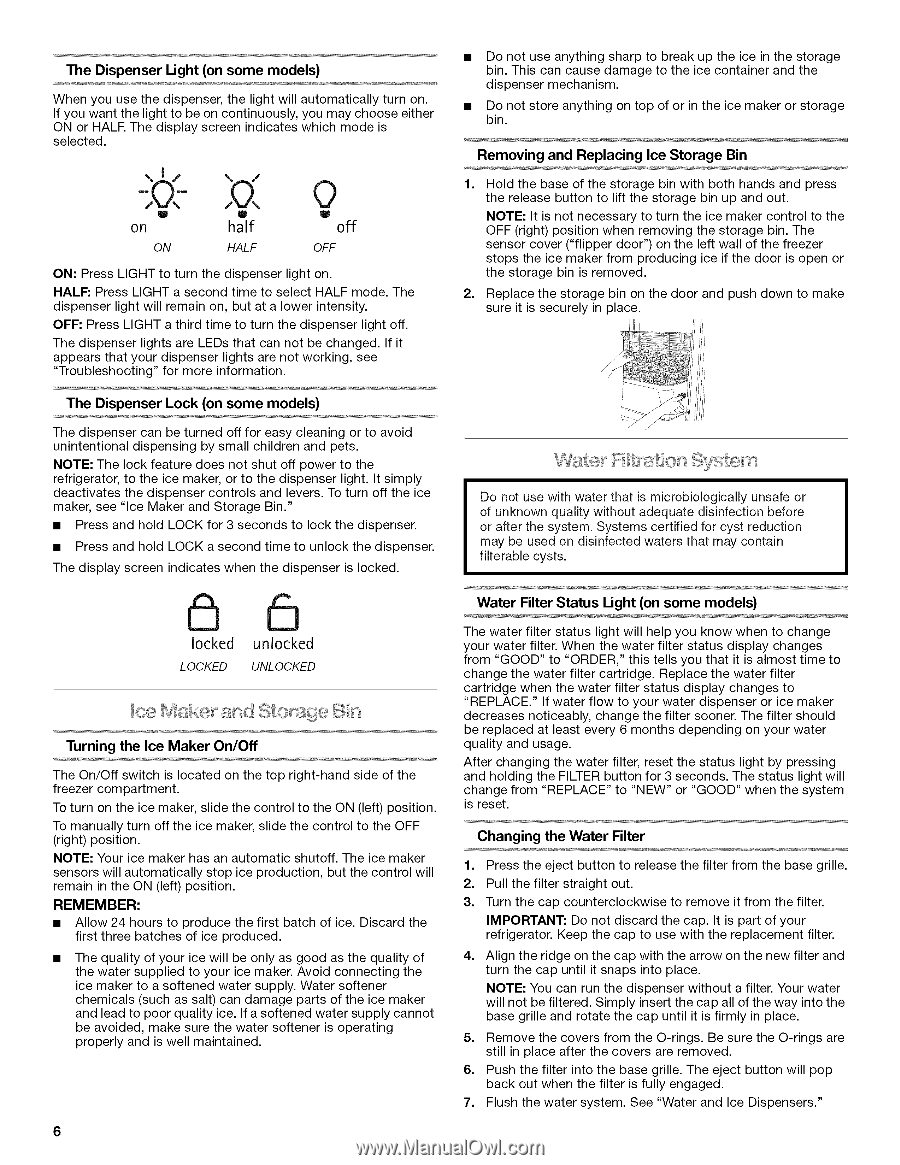
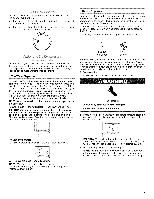
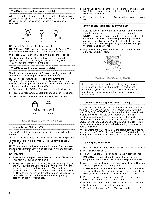
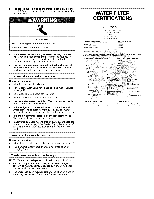
The Dispenser Light (on some models) When you use the dispenser, the light will automatically turn on. If you want the light to be on continuously, you may choose either ON or HALR The display screen indicates which mode is selected. | W on ON J half HALF g off OFF ON: Press LIGHT to turn the dispenser light on. HALF: Press LIGHT a second time to select HALF mode. The dispenser light will remain on, but at a lower intensity. OFF: Press LIGHT a third time to turn the dispenser light off. The dispenser lights are LEDs that can not be changed. If it appears that your dispenser lights are not working, see "Troubleshooting" for more information. The Dispenser Lock (on some models) The dispenser can be turned off for easy cleaning or to avoid unintentional dispensing by small children and pets. NOTE: The lock feature does not shut off power to the refrigerator, to the ice maker, or to the dispenser light. It simply deactivates the dispenser controls and levers. To turn off the ice maker, see "Ice Maker and Storage Bin." • Press and hold LOCK for 3 seconds to lock the dispenser. • Press and hold LOCK a second time to unlock the dispenser. The display screen indicates when the dispenser is locked. db 6 locked unlocked LOCKED UNLOCKED Turning the Ice Maker On/Off The On/Off switch is located on the top right-hand side of the freezer compartment. To turn on the ice maker, slide the control to the ON (left) position. To manually turn off the ice maker, slide the control to the OFF (right) position. NOTE: Your ice maker has an automatic shutoff. The ice maker sensors will automatically stop ice production, but the control will remain in the ON (left) position. REMEMBER: • Allow 24 hours to produce the first batch of ice. Discard the first three batches of ice produced. The quality of your ice will be only as good as the quality of the water supplied to your ice maker. Avoid connecting the ice maker to a softened water supply. Water softener chemicals (such as salt) can damage parts of the ice maker and lead to poor quality ice. If a softened water supply cannot be avoided, make sure the water softener is operating properly and is well maintained. 6 Do not use anything sharp to break up the ice in the storage bin. This can cause damage to the ice container and the dispenser mechanism. Do not store anything on top of or in the ice maker or storage bin. Removing and Replacing Ice Storage Bin 1= Hold the base of the storage bin with both hands and press the release button to lift the storage bin up and out. NOTE: It is not necessary to turn the ice maker control to the OFF (right) position when removing the storage bin. The sensor cover ("flipper door") on the left wall of the freezer stops the ice maker from producing ice if the door is open or the storage bin is removed. 2= Replace the storage bin on the door and push down to make sure it is securely in place. / Do not use with water that is microbiologically unsafe or of unknown quality without adequate disinfection before or after the system. Systems certified for cyst reduction may be used on disinfected waters that may contain filterable cysts. Water Filter Status Light (on some models) The water filter status light will help you know when to change your water filter. When the water filter status display changes from "GOOD" to "ORDER," this tells you that it is almost time to change the water filter cartridge. Replace the water filter cartridge when the water filter status display changes to "REPLACE." If water flow to your water dispenser or ice maker decreases noticeably, change the filter sooner. The filter should be replaced at least every 6 months depending on your water quality and usage. After changing the water filter, reset the status light by pressing and holding the FILTER button for 3 seconds. The status light will change from "REPLACE" to "NEW" or "GOOD" when the system is reset. Changing the Water Filter 1. Press the eject button to release the filter from the base grille. 2. Pull the filter straight out. 3. Turn the cap counterclockwise to remove it from the filter. IMPORTANT: Do not discard the cap. It is part of your refrigerator. Keep the cap to use with the replacement filter. 4= Align the ridge on the cap with the arrow on the new filter and turn the cap until it snaps into place. NOTE: You can run the dispenser without a filter. Your water will not be filtered. Simply insert the cap all of the way into the base grille and rotate the cap until it is firmly in place. 5. Remove the covers from the O-rings. Be sure the O-rings are still in place after the covers are removed. 6. Push the filter into the base grille. The eject button will pop back out when the filter is fully engaged. 7. Flush the water system. See "Water and Ice Dispensers."
-
 1
1 -
 2
2 -
 3
3 -
 4
4 -
 5
5 -
 6
6 -
 7
7 -
 8
8 -
 9
9 -
 10
10 -
 11
11 -
 12
12 -
13
-
14
-
15
-
16
-
17
-
18
-
19
-
20
-
21
-
22
-
23
-
24
-
25
-
26
-
27
-
28
-
29
-
30
-
31
-
32
-
33
-
34
-
35
-
36
-
37
-
38
-
39
-
40
 |
 |