Kenmore 5478 Use and Care Guide - Page 18
Freezer Features, Door Features
 |
UPC - 883049131900
View all Kenmore 5478 manuals
Add to My Manuals
Save this manual to your list of manuals |
Page 18 highlights
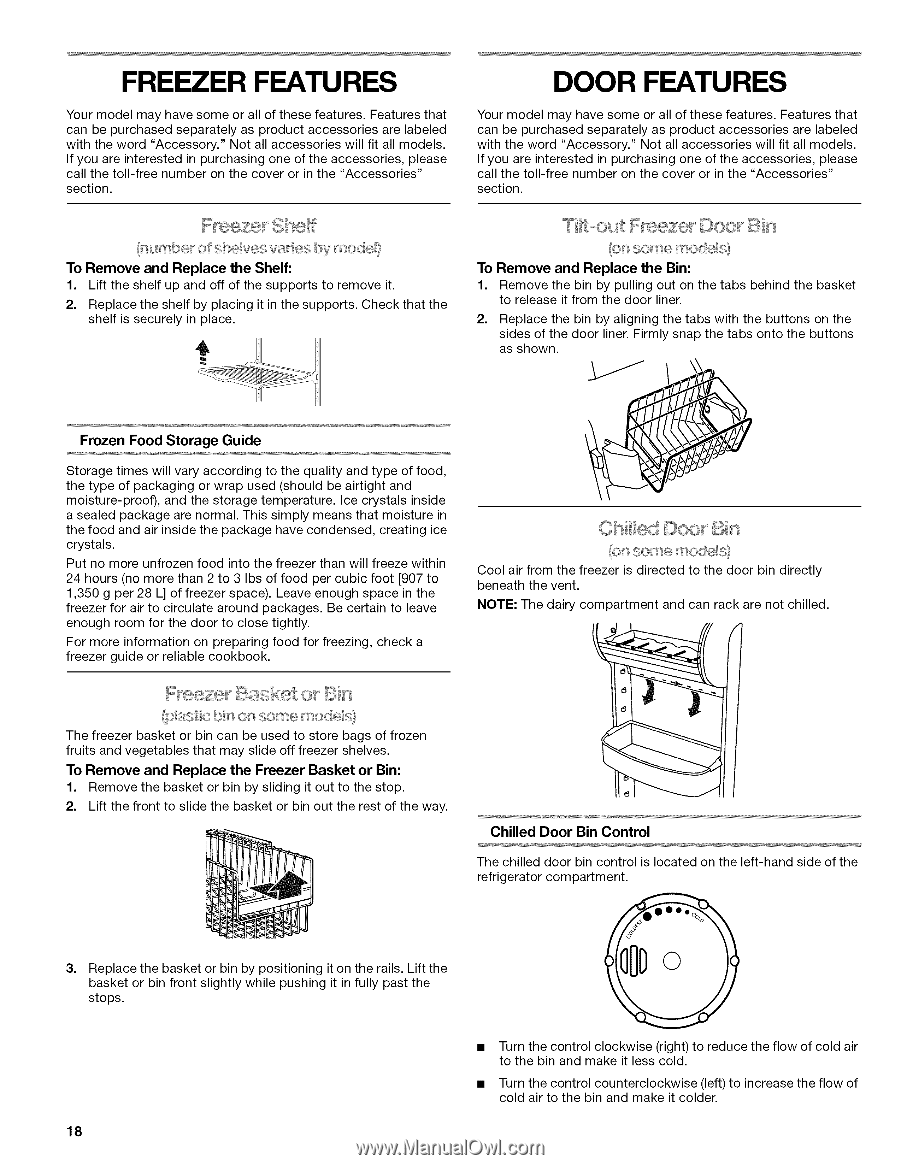
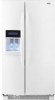
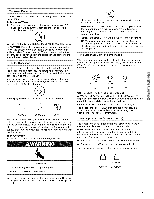
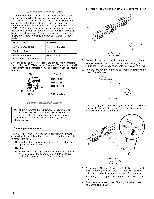
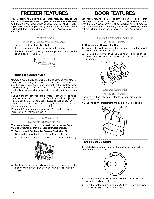
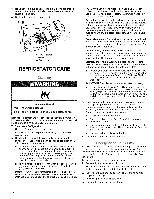
FREEZER FEATURES Your model may have some or all of these features. Features that can be purchased separately as product accessories are labeled with the word "Accessory." Not all accessories will fit all models. If you are interested in purchasing one of the accessories, please call the toll-free number on the cover or in the "Accessories" section. G_,mbet" of she ve_sv;_:_d_sk_ mode} To Remove and Replace the Shelf: 1. Lift the shelf up and off of the supports to remove it. 2. Replace the shelf by placing it in the supports, Check that the shelf is securely in place. DOOR FEATURES Your model may have some or all of these features. Features that can be purchased separately as product accessories are labeled with the word "Accessory." Not all accessories will fit all models. If you are interested in purchasing one of the accessories, please call the toll-free number on the cover or in the "Accessories" section. Tt outF ze 'Doe Bn @}Jsnome mo@}}_@ To Remove and Replace the Bin: 1. Remove the bin by pulling out on the tabs behind the basket to release it from the door liner. 2. Replace the bin by aligning the tabs with the buttons on the sides of the door liner. Firmly snap the tabs onto the buttons as shown. Frozen Food Storage Guide Storage times will vary according to the quality and type of food, the type of packaging or wrap used (should be airtight and moisture-proof), and the storage temperature. Ice crystals inside a sealed package are normal. This simply means that moisture in the food and air inside the package have condensed, creating ice crystals. Put no more unfrozen food into the freezer than will freeze within 24 hours (no more than 2 to 3 Ibs of food per cubic foot [907 to 1,350 g per 28 L] of freezer space). Leave enough space in the freezer for air to circulate around packages. Be certain to leave enough room for the door to close tightly. For more information on preparing food for freezing, check a freezer guide or reliable cookbook. ed©o@ (on some mo@£s} Cool air from the freezer is directed to the door bin directly beneath the vent. NOTE: The dairy compartment and can rack are not chilled. _ssstc b o__some mod(_s/@ The freezer basket or bin can be used to store bags of frozen fruits and vegetables that may slide off freezer shelves. To Remove and Replace the Freezer Basket or Bin: 1. Remove the basket or bin by sliding it out to the stop. 2. Lift the front to slide the basket or bin out the rest of the way. Chilled Door Bin Control The chilled door bin control is located on the left-hand side of the refrigerator compartment. 3. Replace the basket or bin by positioning it on the rails. Lift the basket or bin front slightly while pushing it in fully past the stops. 18 Turn the control clockwise (right) to reduce the flow of cold air to the bin and make it less cold. Turn the control counterclockwise (left) to increase the flow of cold air to the bin and make it colder.
-
 1
1 -
2
-
3
-
4
-
5
-
6
-
7
-
8
-
9
-
10
-
11
-
12
-
 13
13 -
 14
14 -
 15
15 -
 16
16 -
 17
17 -
 18
18 -
 19
19 -
 20
20 -
 21
21 -
 22
22 -
 23
23 -
24
-
25
-
26
-
27
-
28
-
29
-
30
-
31
-
32
-
33
-
34
-
35
-
36
-
37
-
38
-
39
-
40
-
41
-
42
-
43
-
44
-
45
-
46
-
47
-
48
-
49
-
50
-
51
-
52
-
53
-
54
-
55
-
56
-
57
-
58
-
59
-
60
-
61
-
62
-
63
-
64
-
65
-
66
-
67
-
68
-
69
-
70
-
71
-
72
-
73
-
74
-
75
-
76
-
77
-
78
-
79
-
80
-
81
-
82
-
83
-
84
 |
 |