Kenmore 5478 Use and Care Guide - Page 7
Top Left Hinge
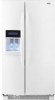 |
UPC - 883049131900
View all Kenmore 5478 manuals
Add to My Manuals
Save this manual to your list of manuals |
Page 7 highlights
_i_ _,_ _ o _ _ 's'_' _ _
-
 1
1 -
 2
2 -
 3
3 -
 4
4 -
 5
5 -
 6
6 -
 7
7 -
 8
8 -
 9
9 -
 10
10 -
 11
11 -
 12
12 -
13
-
14
-
15
-
16
-
17
-
18
-
19
-
20
-
21
-
22
-
23
-
24
-
25
-
26
-
27
-
28
-
29
-
30
-
31
-
32
-
33
-
34
-
35
-
36
-
37
-
38
-
39
-
40
-
41
-
42
-
43
-
44
-
45
-
46
-
47
-
48
-
49
-
50
-
51
-
52
-
53
-
54
-
55
-
56
-
57
-
58
-
59
-
60
-
61
-
62
-
63
-
64
-
65
-
66
-
67
-
68
-
69
-
70
-
71
-
72
-
73
-
74
-
75
-
76
-
77
-
78
-
79
-
80
-
81
-
82
-
83
-
84
 |
 |
_i_
_,_ _
o
_
_
's'_'
_
_<_
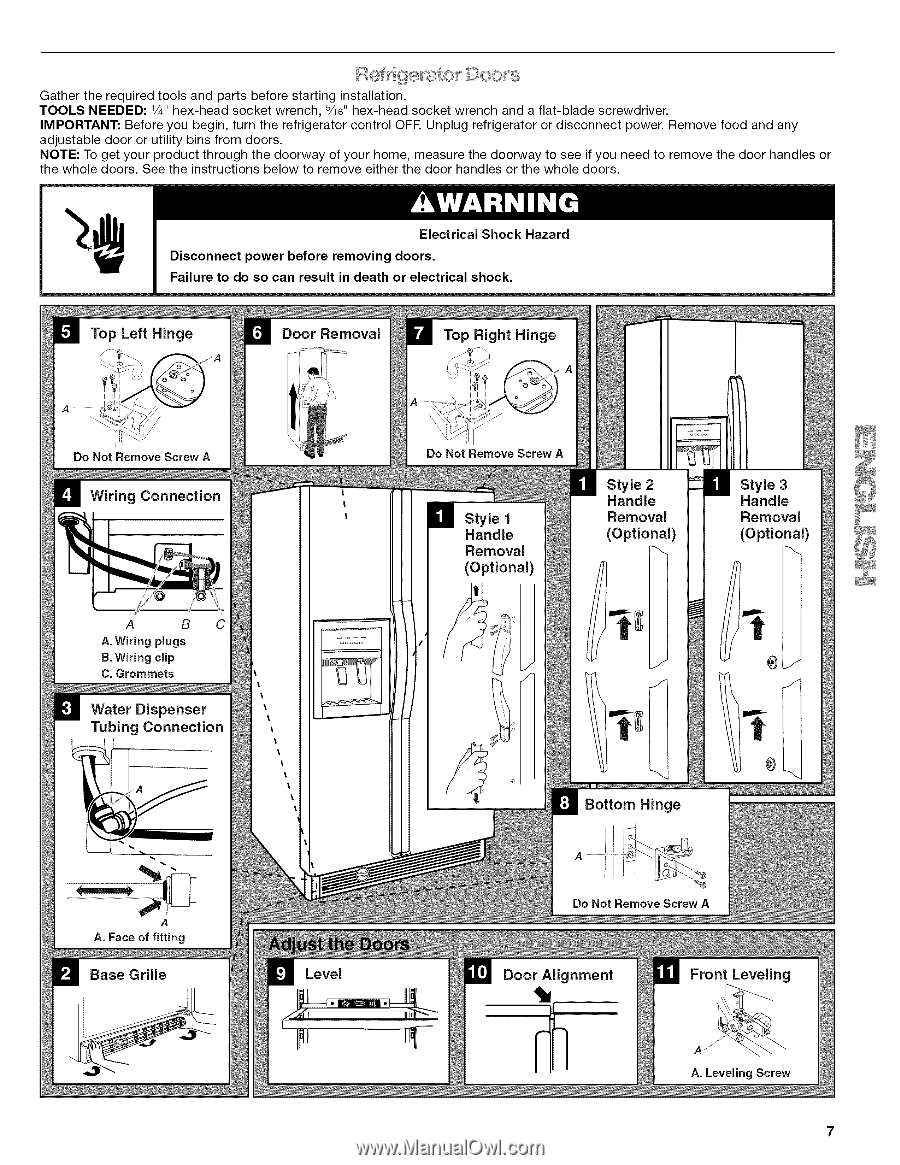
Gather the required tools and parts before starting installation.
TOOLS NEEDED: 1/4"hex-head socket wrench, sad' hex-head socket wrench and a flat-blade screwdriver.
IMPORTANT: Before you begin, turn the refrigerator control OFF.Unplug refrigerator or disconnect power. Remove food and any
adjustable door or utility bins from doors.
NOTE: To get your product through the doorway of your home, measure the doorway to see if you need to remove the door handles or
the whole doors. See the instructions below to remove either the door handles or the whole doors.
I
__
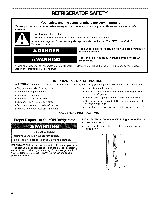
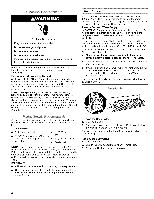
Electrical Shock Hazard
Disconnect power before removing doors.
Failure to do so can result in death or electrical shock.
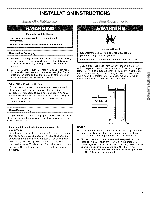
Top Left Hinge
Do
Not
Remove
Screw A
A
B
C
A.
Wiring
plugs
B.
Wiring clip
C.Grommets
Water
Dispenser
Tubing Connection
A
A.
Face
of
fitting
Door
Removal
|
I
l
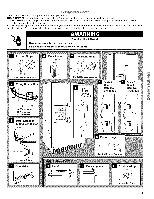
Top
Right
Hinge
Do Not Remove
Screw
A
Style 1
Handle
Removal
(Optional)
Style 2
Handle
Removal
(Optional)
Bottom
Hinge
Style
3
Handle
Removal
(Optional)
A
,%
Do Not
Remove
Screw
A
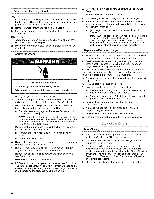
Level
Door
Alignment
Front
Leveling
A
J'_
A. Leveling
Screw
7