LG RC897T Owner's Manual (English) - Page 49
Recording from DV Input
 |
UPC - 719192173231
View all LG RC897T manuals
Add to My Manuals
Save this manual to your list of manuals |
Page 49 highlights
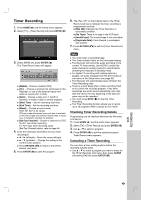
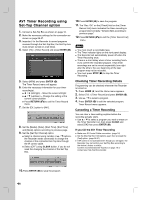
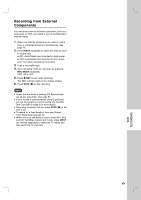
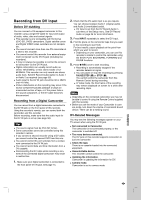
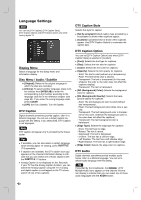
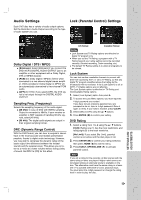
Recording from DV Input Before DV dubbing You can connect a DV-equipped camcorder to this recorder using a single DV cable for input and output of audio, video, data and control signals. This recorder is only compatible with DV-format (DVC-SD, DV25) camcorders. Digital satellite tuners and Digital VIDEO video recorders are not compatible. You cannot connect more than one DV camcorder at a time to this recorder. You cannot control this recorder from external equipment connected via the DV IN jack (including two recorders). It may not always be possible to control the connected camcorder via the DV IN jack. Digital camcorders can usually record audio as stereo 16-bit/48kHz, or twin stereo tracks of 12bit/32kHz. This recorder can only record one stereo audio track. Set [DV Record Audio] option to Audio 1 or Audio 2 as required (see page 56). Audio input to the DV IN jack should be 32 or 48kHz (not 44.1kHz). Picture disturbance on the recording may occur if the source component pauses playback or plays an unrecorded section of tape, or if the power fails in the source component, or the DV cable becomes disconnected. Recording from a Digital Camcorder You can record from a digital camcorder connected to the DV IN jack on the front panel of this recorder. Using the recorder's remote, you can control both the camcorder and this recorder. Before recording, make sure that the audio input for the DV IN jack is set up (see page 56). Tips The source signal must be DVC-SD format. Some camcorders cannot be controlled using this recorder's remote. If you connect a second recorder using a DV cable, you cannot control the second DVD from this one. You cannot control this unit remotely from a component connected to the DV IN jack. You cannot record date and time information from a DV cassette. Disconnecting the DV cable while recording a contents of the connected digital camcorder may result in malfunction. 1. Make sure your digital camcorder is connected to the front panel DV IN jack. See page 15. 2. Check that the DV audio input is as you require. You can choose between Audio 1 (original audio) and Audio 2 (overdubbed audio). DV Input is set from the DV Record Audio in sub-menu of the Setup menu. See DV Record Audio on page 56 for more information. 3. Press INPUT repeatedly to select the DV input. 4. Find the place on the camcorder tape that you want to the recording to start from. For best results, pause playback at the point from which you want to record. Depending on your camcorder, you can use this recorder's remote to control the camcorder using the STOP, PLAY, BACKWARD, FORWARD and PAUSE functions. 5. Press z REC once to start recording. Recording is automatically stopped if the recorder detects no signal. You can pause or stop the recording by pressing PAUSE/STEP (X) or STOP (x). You cannot control the camcorder from this Remote Control during recording. In Video mode, the final frame of the recording may remain displayed on screen for a while after recording stops. Notes Depending on the connected camcorder, you may not be able to control it using the Remote Control supplied with this recorder. Before you set the mode of your Camcorder to camera mode, turn down the volume of connected Sound device. There can be a howling sound. DV-Related Messages You may see the following messages appear on your TV screen when using the DV IN jack. Not connected to Camcorder. The camcorder is not connected properly, or the camcorder is switched off. Too many devices connected. The DV jack on this recorder supports connection to just one camcorder. Check the tape. There is no cassette loaded into the connected equipment. Uncontrollable device. This recorder cannot control the camcorder. Updating the information. Camcorder is updating the information for DV. Camera mode. Camcorder is set to camera mode. DUBBING 49
-
 1
1 -
2
-
3
-
4
-
5
-
6
-
7
-
8
-
9
-
10
-
11
-
12
-
13
-
14
-
15
-
16
-
17
-
18
-
19
-
20
-
21
-
22
-
23
-
24
-
25
-
26
-
27
-
28
-
29
-
30
-
31
-
32
-
33
-
34
-
35
-
36
-
37
-
38
-
39
-
40
-
41
-
42
-
43
-
 44
44 -
 45
45 -
 46
46 -
 47
47 -
 48
48 -
 49
49 -
 50
50 -
 51
51 -
 52
52 -
 53
53 -
 54
54 -
55
-
56
-
57
-
58
-
59
-
60
-
61
-
62
-
63
-
64
-
65
-
66
-
67
-
68
-
69
-
70
-
71
-
72
-
73
-
74
-
75
 |
 |