Nokia 9500 User Guide - Page 9
Charging the battery, Switching the device on and off, Radios, Antennas
 |
View all Nokia 9500 manuals
Add to My Manuals
Save this manual to your list of manuals |
Page 9 highlights
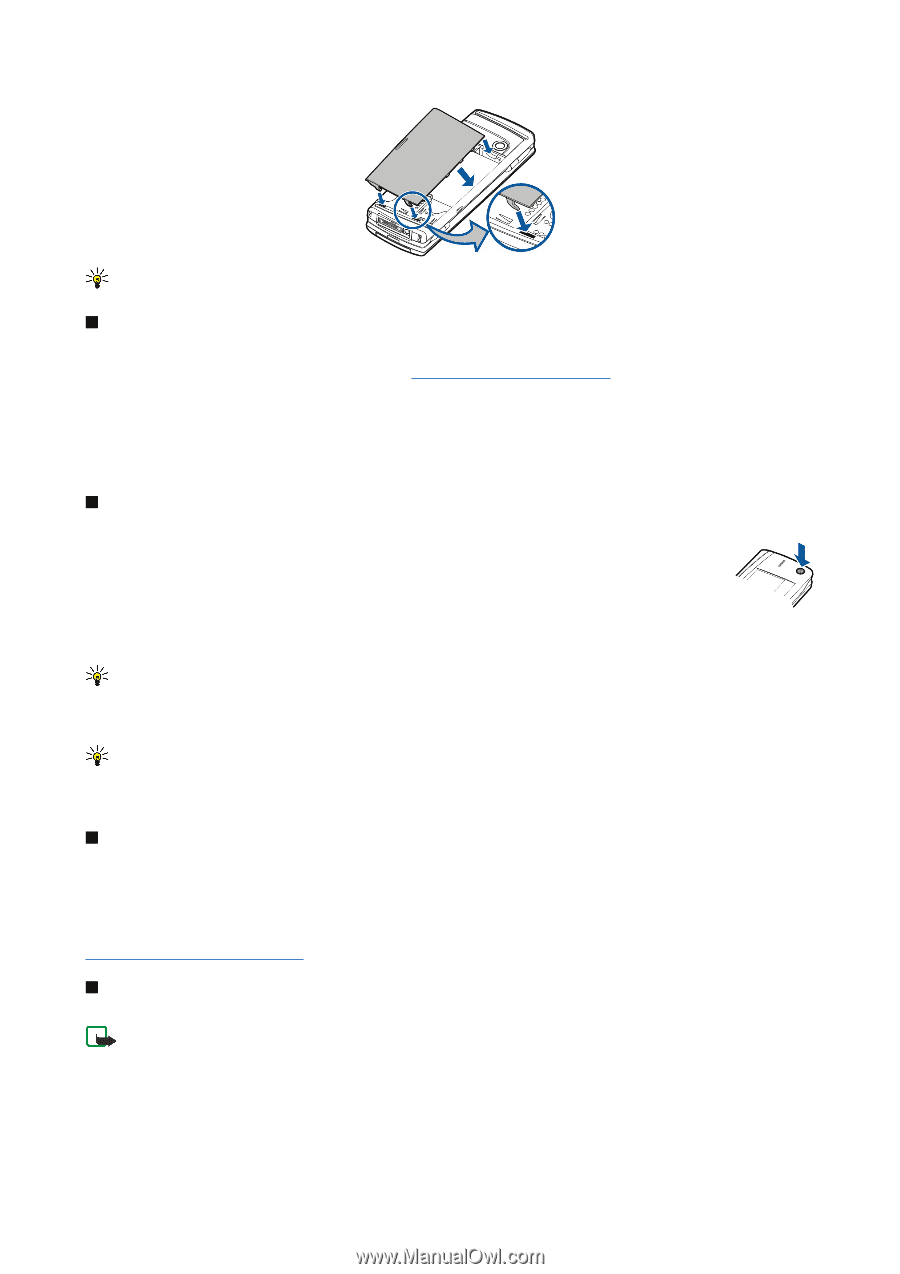
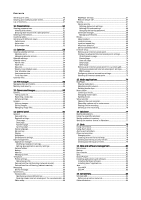
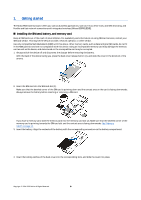
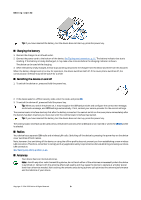
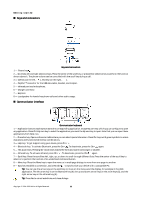
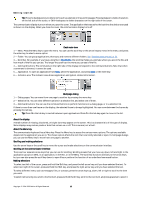
Getting started Tip: If you have inserted the battery, but the device does not start up, press the power key. Charging the battery 1. Connect the charger to an AC wall outlet. 2. Connect the power cord to the bottom of the device. See Fig Keys and connectors, p. 11. The battery indicator bar starts scrolling. If the battery is totally discharged, it may take a few minutes before the charging indicator is shown. The device can be used while charging. 3. When the battery is fully charged, the bar stops scrolling. Disconnect the charger from the device and then from the AC outlet. When the battery charge level is too low for operation, the device switches itself off. If the cover phone switches off, the communicator interface may still be active for a while. Switching the device on and off 1. To switch the device on, press and hold the power key. 2. If the device asks for a PIN or security code, enter the code, and press OK. 3. To switch the device off, press and hold the power key. Tip: When you switch the phone on, it may recognize the SIM card provider and configure the correct text message, multimedia message, and GPRS settings automatically. If not, contact your service provider for the correct settings. The communicator interface starts up first after the battery is inserted. You cannot switch on the cover phone immediately after the battery has been inserted, you must wait until the communicator interface has started. Tip: If you have inserted the battery, but the device does not start up, press the power key. The communicator interface can be used without the phone functions when a SIM card is not inserted or when the Offline profile is selected. Radios Your device has a separate GSM radio and wireless LAN radio. Switching off the device by pressing the power key on the device cover switches off both radios. Note, however, that switching off the device or using the offline profile does not prevent you from establishing a new wireless LAN connection. Therefore, remember to comply with any applicable safety requirements when establishing and using a wireless LAN connection. See "Setting the offline profile," p. 23. Antennas Your device has two internal antennas. Note: As with any other radio transmitting device, do not touch either of the antennas unnecessarily when the device is switched on. Contact with the antenna affects call quality and may cause the device to operate at a higher power level than otherwise needed. Not touching the antenna area during a phone call optimises the antenna performance and the talktime of your device. Copyright © 2004-2005 Nokia. All Rights Reserved. 9
-
 1
1 -
2
-
3
-
 4
4 -
 5
5 -
 6
6 -
 7
7 -
 8
8 -
 9
9 -
 10
10 -
 11
11 -
 12
12 -
 13
13 -
 14
14 -
15
-
16
-
17
-
18
-
19
-
20
-
21
-
22
-
23
-
24
-
25
-
26
-
27
-
28
-
29
-
30
-
31
-
32
-
33
-
34
-
35
-
36
-
37
-
38
-
39
-
40
-
41
-
42
-
43
-
44
-
45
-
46
-
47
-
48
-
49
-
50
-
51
-
52
-
53
-
54
-
55
-
56
-
57
-
58
-
59
-
60
-
61
-
62
-
63
-
64
-
65
-
66
-
67
-
68
-
69
-
70
-
71
-
72
-
73
-
74
-
75
-
76
-
77
-
78
-
79
-
80
-
81
-
82
-
83
-
84
-
85
-
86
-
87
-
88
-
89
-
90
-
91
-
92
-
93
-
94
-
95
-
96
-
97
-
98
-
99
-
100
-
101
-
102
-
103
-
104
-
105
-
106
-
107
-
108
 |
 |