Optoma UHL55 Optoma UHL55 User Manual - Page 37
Direct Power On, Auto Focus Calibration
 |
View all Optoma UHL55 manuals
Add to My Manuals
Save this manual to your list of manuals |
Page 37 highlights
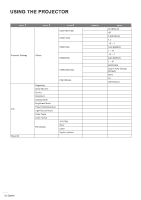
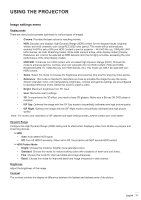
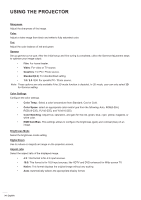
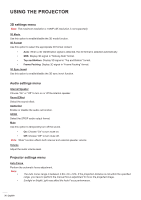
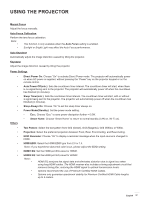
USING THE PROJECTOR Manual Focus Adjust the focus manually. Auto Focus Calibration Perform the lens focus calibration. Note: ‡‡ This function is only available when the Auto Focus setting is enabled. ‡‡ Sunlight or Bright Light may affect the Auto Focus performance. Auto Keystone Automatically adjust the image distortion caused by tilting the projector. Keystone Adjust the image distortion caused by tilting the projector. Power Settings Others Direct Power On: Choose "On" to activate Direct Power mode. The projector will automatically power on when AC power is supplied, without pressing the "Power" key on the projector keypad or on the remote control. Auto Power Off(min.): Sets the countdown timer interval. The countdown timer will start, when there is no signal being sent to the projector. The projector will automatically power off when the countdown has finished (in minutes). Sleep Timer(min.): Sets the countdown timer interval. The countdown timer will start, with or without a signal being sent to the projector. The projector will automatically power off when the countdown has finished (in minutes). Sleep Always On: Choose "On" to set the sleep timer always on. Power Mode(Standby): Set the power mode setting. ‡‡ Eco.: Choose "Eco." to save power dissipation further < 0.5W. ‡‡ Smart Home: Choose "Smart Home" to return to normal standby (LAN on, Wi-Fi on). ‡‡ Test Pattern: Select the test pattern from Grid (Green), Grid (Magenta), Grid (White), or White. ‡‡ Projection: Select the preferred projection between Front, Rear, Front-Ceiling, and Rear-Ceiling. ‡‡ EDID Reminder: Choose "On" to display a reminder message when the input source is changed to HDMI. ‡‡ HDMI EDID: Select the HDMI EDID type from 2.0 or 1.4. Note: If you experience abnormal color issue, please adjust the EDID setting. ‡‡ HDMI1 EQ: Set the HDMI port EQ value for HDMI1. ‡‡ HDMI2 EQ: Set the HDMI port EQ value for HDMI2. Note: ‡‡ HDMI EQ analyses the signal data and eliminates distortion due to signal loss when using long HDMI cables. The HDMI receiver also includes a timing adjustment circuit that removes timing jitter, restoring the HDMI signal to optimal transmission levels. ‡‡ Optoma recommend the use of Premium Certified HDMI Cables. ‡‡ Optoma only guarantee operational stability for Premium Certified HDMI Cable lengths up to 5 meters. English 37
-
 1
1 -
2
-
3
-
4
-
5
-
6
-
7
-
8
-
9
-
10
-
11
-
12
-
13
-
14
-
15
-
16
-
17
-
18
-
19
-
20
-
21
-
22
-
23
-
24
-
25
-
26
-
27
-
28
-
29
-
30
-
31
-
 32
32 -
 33
33 -
 34
34 -
 35
35 -
 36
36 -
 37
37 -
 38
38 -
 39
39 -
 40
40 -
 41
41 -
 42
42 -
43
-
44
-
45
-
46
-
47
-
48
-
49
-
50
-
51
-
52
-
53
-
54
-
55
-
56
-
57
-
58
-
59
-
60
-
61
-
62
-
63
-
64
-
65
-
66
-
67
-
68
-
69
-
70
-
71
-
72
-
73
-
74
-
75
-
76
-
77
 |
 |
