Panasonic AG DVX100B Dvc Camcorder - Page 34
ONE-SHOT recording, Changing the image size - progressive mode
 |
UPC - 791871302231
View all Panasonic AG DVX100B manuals
Add to My Manuals
Save this manual to your list of manuals |
Page 34 highlights
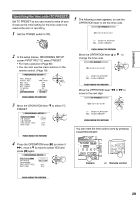
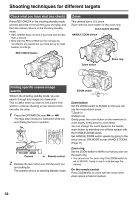
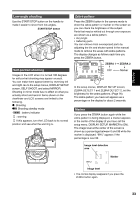
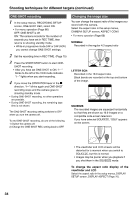
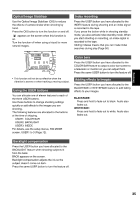
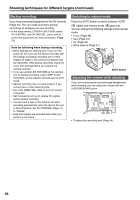
Shooting techniques for different targets (continued) ONE-SHOT recording 1 In the setup menus, RECORDING SETUP screen, ONE-SHOT REC, select ON. • For menu operation (Page 66) OFF: ONE-SHOT is off. ON: The camera records for the number of seconds you have set in REC TIME, then returns to shooting standby mode. • While in progressive mode 24P or 24P (ADV) you cannot change ONE-SHOT settings. 2 Set the recording time in REC TIME. (Page 75) 3 Press the START/STOP button to start ONE- SHOT recording. • After you have set ONE-SHOT to ON, "I-" blinks to the left of the VCR mode indicator. "I-" lights when you start recording. 4 If you move the OPERATION lever in the g direction, "I-" blinks again and ONE-SHOT recording stops and the camera goes to shooting standby mode. • During ONE-SHOT recording, no other operations are possible. • During ONE-SHOT recording, the remaining tape time is not shown. The ONE-SHOT recording setting switches to OFF when you turn the camera off. To end ONE-SHOT recording, do one of the following. 1) Switch the camera off. 2) Change the ONE-SHOT REC setting back to OFF. Changing the image size You can change the aspect ratio of the images you record with this camera. Select the aspect ratio in the setup menus, CAMERA SETUP screen, ASPECT CONV. • For menu operation (Page 66) NORMAL: Recorded in the regular 4:3 aspect ratio LETTER BOX: Recorded in the 16:9 aspect ratio. Black bands are recorded at the top and bottom of the image. SQUEEZE: The recorded images are squeezed horizontally so that they are shown as 16:9 images on a compatible wide-screen television. If you have selected SQUEEZE, "SQU" appears on the screen. • The viewfinder and LCD screens will be distorted for a moment when you switch to SQUEEZE, but this is normal. • Images may be poorer when you playback if you shot them in the SQUEEZE mode. To change the aspect ratio display of the viewfinder and LCD Select the aspect ratio in the setup menus, DISPLAY SETUP screen, DISPLAY ASPECT (Page 76). 34
-
 1
1 -
2
-
3
-
4
-
5
-
6
-
7
-
8
-
9
-
10
-
11
-
12
-
13
-
14
-
15
-
16
-
17
-
18
-
19
-
20
-
21
-
22
-
23
-
24
-
25
-
26
-
27
-
28
-
 29
29 -
 30
30 -
 31
31 -
 32
32 -
 33
33 -
 34
34 -
 35
35 -
 36
36 -
 37
37 -
 38
38 -
 39
39 -
40
-
41
-
42
-
43
-
44
-
45
-
46
-
47
-
48
-
49
-
50
-
51
-
52
-
53
-
54
-
55
-
56
-
57
-
58
-
59
-
60
-
61
-
62
-
63
-
64
-
65
-
66
-
67
-
68
-
69
-
70
-
71
-
72
-
73
-
74
-
75
-
76
-
77
-
78
-
79
-
80
-
81
-
82
-
83
-
84
-
85
-
86
-
87
-
88
 |
 |
