Pioneer PDP-5016HD Owner's Manual - Page 31
Setting the Current Time - service menu
 |
View all Pioneer PDP-5016HD manuals
Add to My Manuals
Save this manual to your list of manuals |
Page 31 highlights
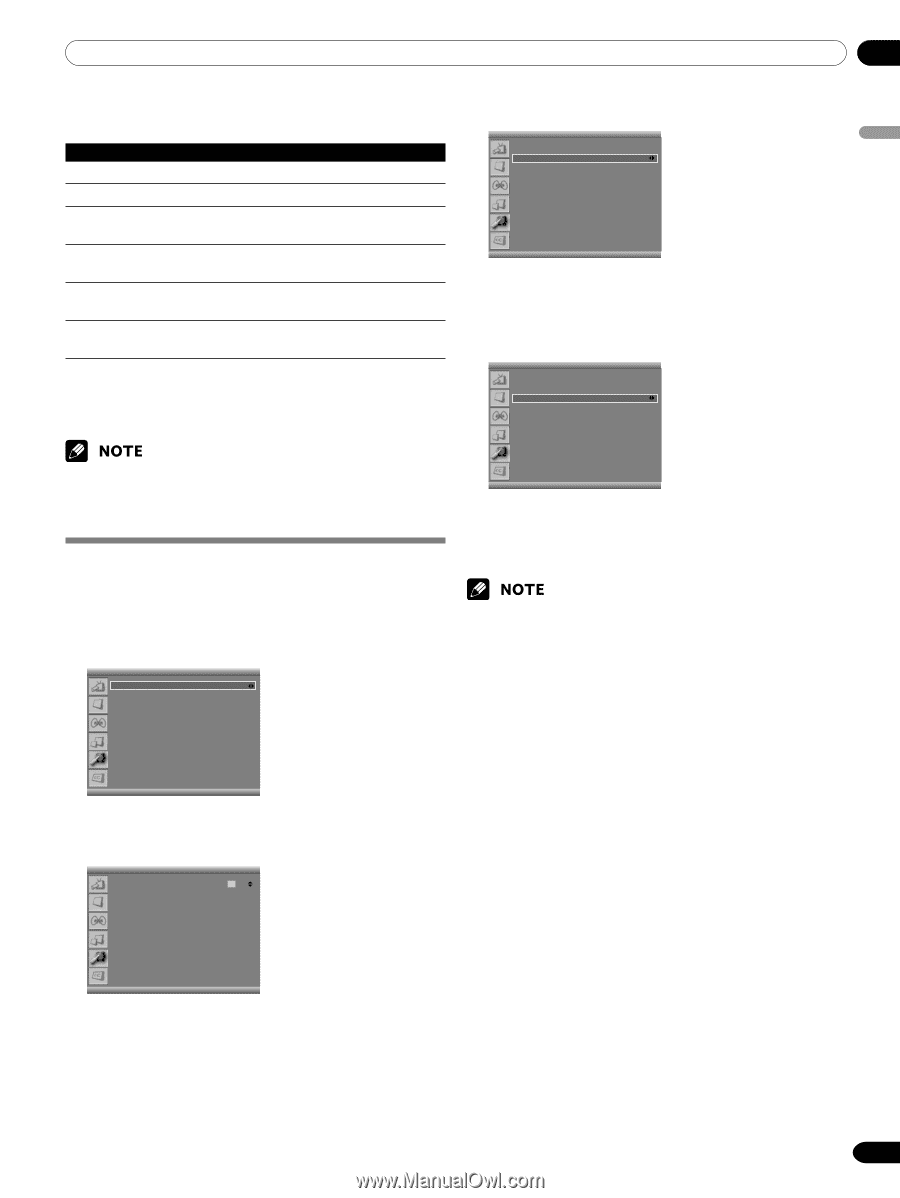
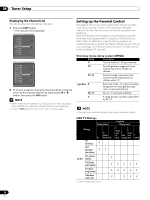
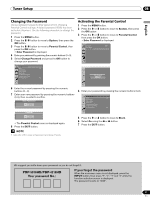
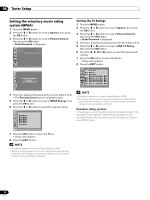
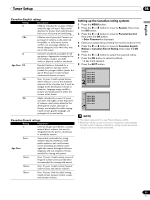
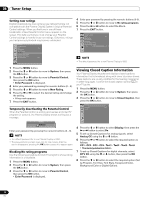
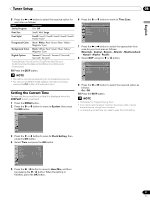
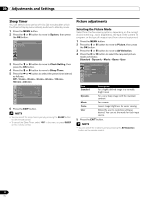
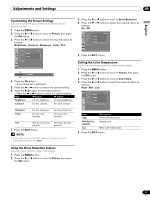
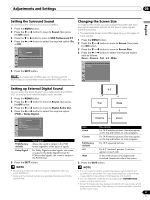
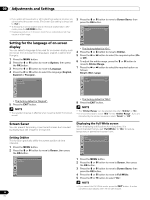
Tuner Setup 08 English 9 Press the [ or \ button to select the required option for each item as follows: Item Selection Set by Program On/ Off Font Size Small/ Mid/ Large Font Style1 Font0/ Font1/ Font2/ Font3/ Font4/ Font5/ Font6/ Font7 Foreground Color Black/ White/ Red/ Green/ Blue/ Yellow/ Magenta/ Cyan Background Color Black/ White/ Red/ Green/ Blue/ Yellow/ Magenta/ Cyan Digital Option Service1/ Service2/ Service3/ Service4/ Service5/ Service6 1 Font0(Default)/ Font1(Courier)/ Font2(Times New Roman)/ Font3(Helvetica)/ Font4(Arial)/ Font5(Dom)/ Font6(Coronet)/ Font7(Gothic) 10 Press the EXIT button. 6 Press the c or d button to move to Time Zone. Clock Setting Time Time Zone DST On Timer Off Timer Auto Power Off Sleep Timer am 9 : 30 Hawaii On On am 7 : 00 On am 11 : 00 On Off 7 Press the [ or \ button to select the appropriate time zone for your local area as follows: Mountain - Central - Eastern - Atlantic - Newfoundland - Hawaii - Alaska - Pacific 8 Select DST using the c or d button. Clock Setting Time Time Zone DST On Timer Off Timer Auto Power Off Sleep Timer am 9 : 30 Hawaii On On am 7 : 00 On am 11 : 00 On Off • The options may change depending on the broadcasting service. • You can turn On/Off the closed captions information by simply pressing the C.C. button on the remote control. Setting the Current Time You can set the current time so that it is displayed when the DISPLAY button is pressed. 1 Press the MENU button. 2 Press the c or d button to move to System, then press the OK button. System Language Clock Setting Parental Control English 9 Press the [ or \ button to select the required option as follows: On - Off 10 Press the EXIT button. • DST stands for "Daylight Saving Time". • If you disconnect the power cord from the power outlet or power blackout occurs, the set time is cleared. • To display the correct time, you need to enter the clock setting. 3 Press the c or d button to move to Clock Setting, then press the OK button. 4 Select Time and press the OK button. Clock Setting Time Time Zone DST On Timer Off Timer Auto Power Off Sleep Timer am 9 : 30 Hawaii On On am 7 : 00 On am 11 : 00 On Off 5 Press the [ / \ button to move to Hour/Min, set them by pressing the c / d button. When the setting is finished, press the OK button. 31 En
-
 1
1 -
2
-
3
-
4
-
5
-
6
-
7
-
8
-
9
-
10
-
11
-
12
-
13
-
14
-
15
-
16
-
17
-
18
-
19
-
20
-
21
-
22
-
23
-
24
-
25
-
 26
26 -
 27
27 -
 28
28 -
 29
29 -
 30
30 -
 31
31 -
 32
32 -
 33
33 -
 34
34 -
 35
35 -
 36
36 -
37
-
38
-
39
-
40
-
41
-
42
-
43
-
44
-
45
-
46
-
47
-
48
-
49
-
50
-
51
-
52
-
53
-
54
-
55
-
56
-
57
-
58
-
59
-
60
-
61
-
62
-
63
-
64
-
65
-
66
-
67
-
68
-
69
-
70
-
71
-
72
-
73
-
74
-
75
-
76
-
77
-
78
-
79
-
80
-
81
-
82
-
83
-
84
-
85
-
86
-
87
-
88
-
89
-
90
-
91
-
92
-
93
-
94
-
95
-
96
-
97
-
98
-
99
-
100
-
101
-
102
-
103
-
104
-
105
-
106
-
107
-
108
-
109
-
110
-
111
-
112
-
113
-
114
-
115
-
116
-
117
-
118
-
119
-
120
-
121
-
122
-
123
-
124
-
125
-
126
-
127
-
128
-
129
-
130
-
131
-
132
-
133
-
134
 |
 |