Pioneer VSX81TXV Owner's Manual - Page 10
Input Select - problems
 |
UPC - 012562811048
View all Pioneer VSX81TXV manuals
Add to My Manuals
Save this manual to your list of manuals |
Page 10 highlights
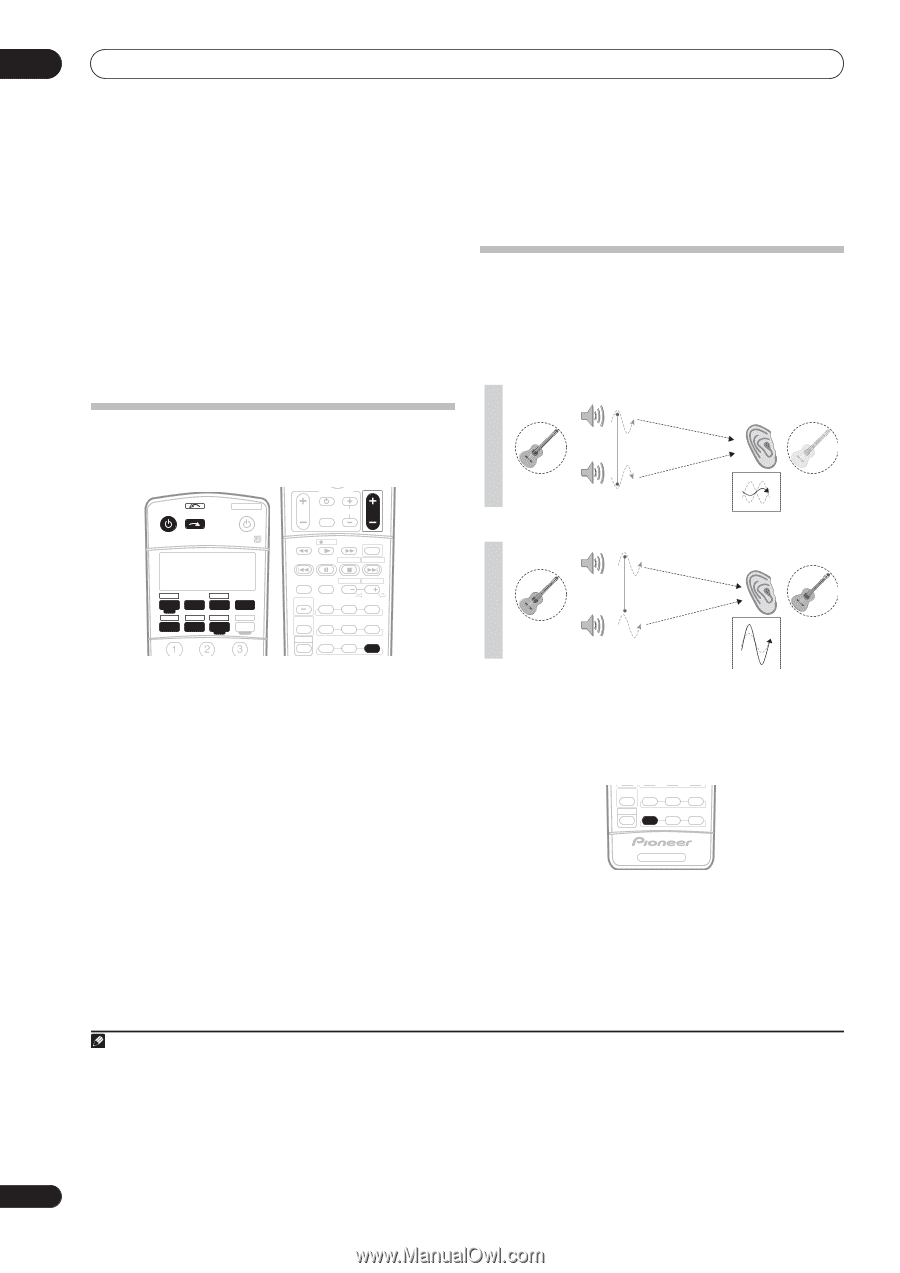
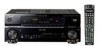
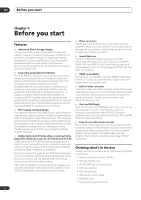
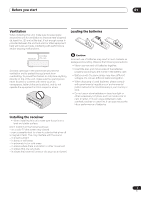
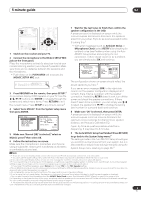
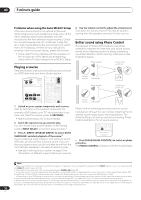
02 5 minute guide Problems when using the Auto MCACC Setup If the room environment is not optimal for the Auto MCACC Setup (too much background noise, echo off the walls, obstacles blocking the speakers from the microphone) the final settings may be incorrect. Check for household appliances (air conditioner, fridge, fan, etc.), that may be affecting the environment and switch them off if necessary. If there are any instructions showing in the front panel display, please follow them. • Some older TVs may interfere with the operation of the microphone. If this seems to be happening, switch off the TV when doing the Auto MCACC Setup. Playing a source Here are the basic instructions for playing a source (such as a DVD disc) with your home theater system. RECEIVER INPUT SELECT SYSTEM OFF SOURCE GUIDE TV CONTROL TV VOL INPUT SELECT TV CH VOL AV PRE-PROGRAMMED AND LEARNING REMOTE CONTROL UNIT DTV ON/OFF MPX REC DTVINFO MUTE REC STOP JUKEBOX CD DVD DVR 2 TV DVR1 TVCTRL CD-R/TAPE HDMI2 XM RADIO ROOM 2 iPod HDMI1 TUNER RECEIVER SLEEP VIDEO SEL ANALOG ATT AUDIO SUBTITLE HDD DISP CH STATUS SIGNAL SEL SBch DVD CH STEREO MULTI OPE THX STANDARD ADV.SURR SHIFT PHASE MCACC S.DIRECT 1 Switch on your system components and receiver. Start by switching on the playback component (for example a DVD player), your TV1 and subwoofer (if you have one), then the receiver (press RECEIVER). • Make sure the setup mic is disconnected. 2 Select the input source you want to play. You can use the input source buttons on the remote control, INPUT SELECT, or the front panel controls.2 3 Press S. DIRECT (STREAM DIRECT) to select 'AUTO SURROUND' and start playback of the source.3 If you're playing a Dolby Digital or DTS surround sound DVD disc, you should hear surround sound. If you are playing a stereo source, you will only hear sound from the front left/right speakers in the default listening mode. • See also Listening to your system on page 26 for information on different ways of listening to sources. 4 Use the volume control to adjust the volume level. Turn down the volume of your TV so that all sound is coming from the speakers connected to this receiver. Better sound using Phase Control This receiver's Phase Control feature uses phase correction measures to make sure your sound source arrives at the listening position in phase, preventing unwanted distortion and/or coloring of the sound (see illustration below). P Front speaker H A S E C O N T O F Sound F source Subwoofer Listening position ? Front speaker P H A S E C O N T O Sound N source Subwoofer Listening position Phase Control technology provides coherent sound reproduction through the use of phase matching4 for an optimal sound image at your listening position. The default setting is on and we recommend leaving Phase Control switched on for all sound sources. MULTI OPE THX STANDARD ADV.SURR SHIFT PHASE MCACC S.DIRECT RECEIVER • Press PHASE (PHASE CONTROL) to switch on phase correction. The PHASE CONTROL indicator on the front panel lights. Note 1 Make sure that the TV's video input is set to this receiver. (For example, if you connected this receiver to the VIDEO 1 jacks on your TV, make sure that the VIDEO 1 input is now selected.) 2 If you need to manually switch the input signal type press SIGNAL SEL (page 29). 3 • You may need to check the digital audio output settings on your DVD player or digital satellite receiver. It should be set to output Dolby Digital, DTS and 88.2 kHz / 96 kHz PCM (2 channel) audio, and if there is an MPEG audio option, set this to convert the MPEG audio to PCM. • Depending on your DVD player or source discs, you may only get digital 2 channel stereo and analog sound. In this case, the receiver must be set to a multichannel listening mode (see Listening in surround sound on page 26 if you need to do this) if you want multichannel surround sound. 4 Phase matching is a very important factor in achieving proper sound reproduction. If two waveforms are 'in phase', they crest and trough together, resulting in increased amplitude, clarity and presence of the sound signal. If a crest of a wave meets a trough (as shown in the upper section of the diagram above) then the sound will be 'out of phase' and an unreliable sound image will be produced. 10 En
-
 1
1 -
2
-
3
-
4
-
 5
5 -
 6
6 -
 7
7 -
 8
8 -
 9
9 -
 10
10 -
 11
11 -
 12
12 -
 13
13 -
 14
14 -
 15
15 -
16
-
17
-
18
-
19
-
20
-
21
-
22
-
23
-
24
-
25
-
26
-
27
-
28
-
29
-
30
-
31
-
32
-
33
-
34
-
35
-
36
-
37
-
38
-
39
-
40
-
41
-
42
-
43
-
44
-
45
-
46
-
47
-
48
-
49
-
50
-
51
-
52
-
53
-
54
-
55
-
56
-
57
-
58
-
59
-
60
-
61
-
62
-
63
-
64
-
65
-
66
-
67
-
68
-
69
-
70
-
71
-
72
-
73
-
74
-
75
-
76
-
77
-
78
-
79
-
80
-
81
-
82
-
83
-
84
 |
 |