Samsung DVD-V1000 User Manual (user Manual) (ver.1.0) (English) - Page 26
Auto Play/Rewind, Tracking, S-VHS Playback - power
 |
View all Samsung DVD-V1000 manuals
Add to My Manuals
Save this manual to your list of manuals |
Page 26 highlights
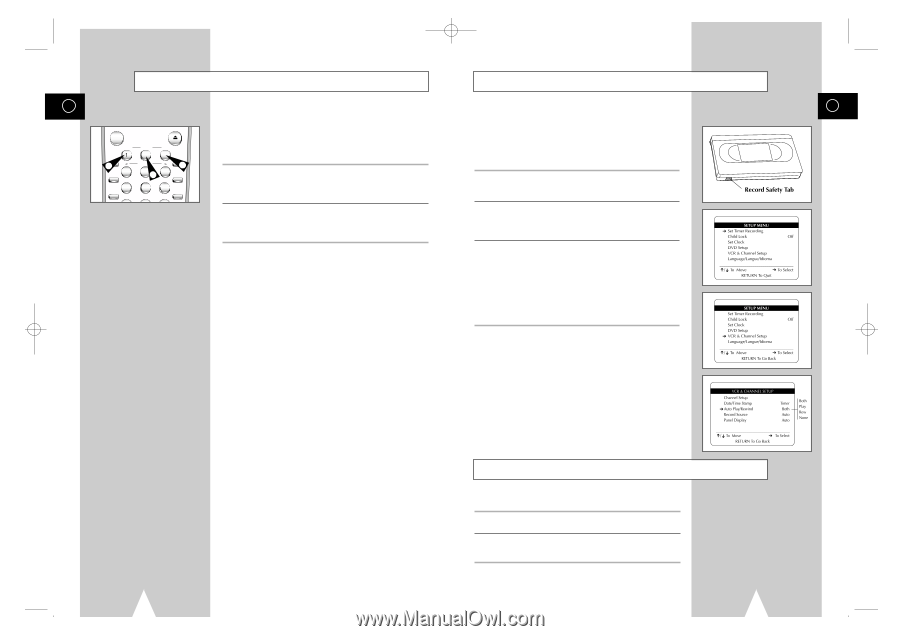
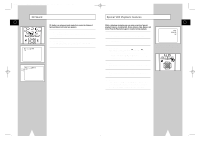
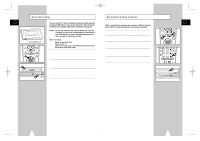
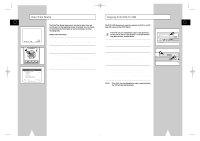
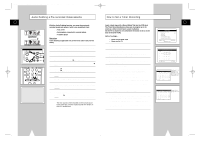
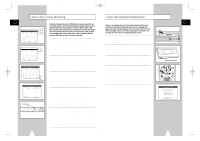
01547A DVD-V1000/XAA-Eng3 5/16/02 3:40 PM Page 50 Tracking Auto Play/Rewind GB GB POWER OPEN/CLOSE TRK- ZOOM 1 MUTE 4 MODE AUTO 2 SHUTTLE 52 TRK+ 3 DISPLAY 1 6 CLOCK/ COUNTER REPEAT 7 SKIP 3D SOUND F.ADV 8 A.DUB 9 TV/VCR CLEAR The Tracking adjustment removes the white lines that sometimes appear during playback because of slight differences in recording decks. The ATR button (Auto Tracking) will automatically align the recorded tracks with the playback heads to solve this problem. You may also set tracking manually. 1 Adjust Tracking Manually During playback, press the TRK- or TRK + buttons to move the white lines out of the picture. If you want your videotapes to play automatically when you insert them, turn on Auto Play. If you want videotapes to rewind automatically when they are done playing, turn on Auto Rewind. NOTE: Only tapes that are missing the Record Safety Tab will play automatically when inserted. 1 Open the "SETUP MENU" Press the SETUP button. 2 Resume Auto Tracking Press the ATR button to have the VCR adjust tracking automatically. 2 Select "VCR & Channel Setup" Using the up/down, move the selection arrow to "VCR & Channel Setup," then push right to select. 3 Select "Auto Play/Rewind" Move the selection arrow to "Auto Play/Rewind," then push right to select from the following options: • Both - Enables both Auto Play and Auto Rewind. • Play - Enables Auto Play only. Tapes without Record Safety Tabs will play automatically when you insert them. • Rew - Enables Auto Rewind only. Tapes will rewind automatically when they are done playing. • None - Disables both Auto Play and Auto Rewind. S-VHS Playback The DVD-VCR allows you to playback high quality S-VHS tapes. 1 Insert a S-VHS Tape Insert an S-VHS tape into the VCR deck. 2 Start Playback Press Play/Pause on the remote control to begin playback of the S-VHS tape. 50 51
-
 1
1 -
2
-
3
-
4
-
5
-
6
-
7
-
8
-
9
-
10
-
11
-
12
-
13
-
14
-
15
-
16
-
17
-
18
-
19
-
20
-
 21
21 -
 22
22 -
 23
23 -
 24
24 -
 25
25 -
 26
26 -
 27
27 -
 28
28 -
 29
29 -
 30
30 -
 31
31 -
32
-
33
-
34
-
35
-
36
-
37
-
38
-
39
 |
 |