Samsung DVD-V1000 User Manual (user Manual) (ver.1.0) (English) - Page 30
How to Set a Timer Recording, Audio Dubbing a Pre-recorded Videocassette - replacement remote
 |
View all Samsung DVD-V1000 manuals
Add to My Manuals
Save this manual to your list of manuals |
Page 30 highlights
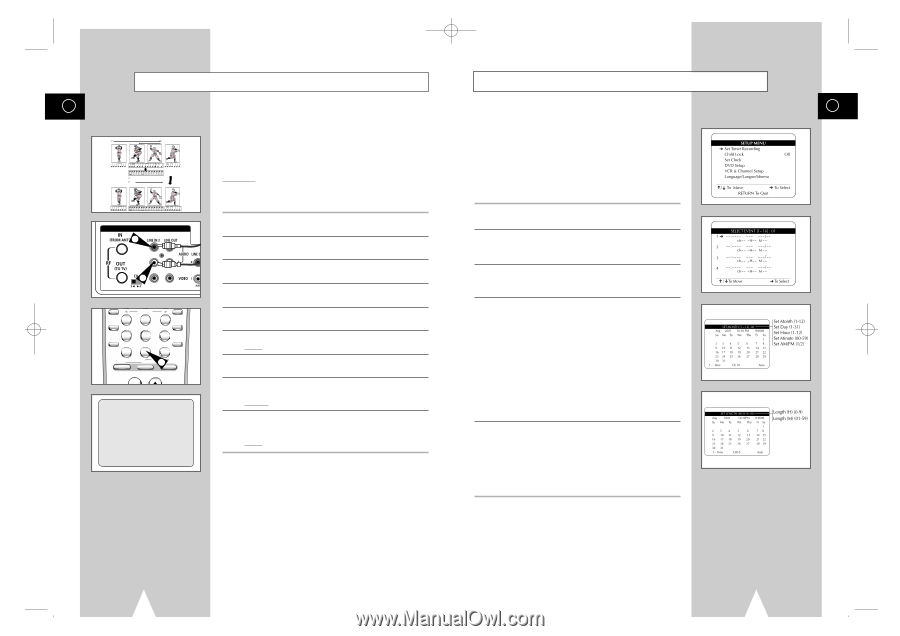
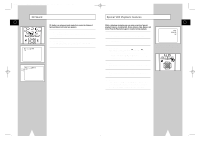
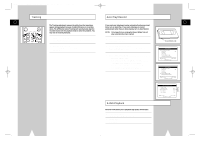
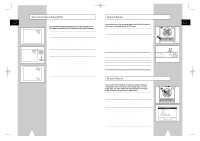
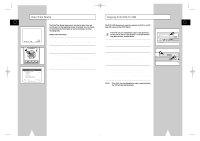
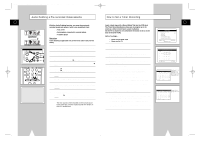
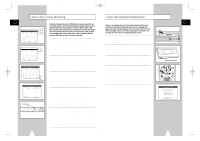
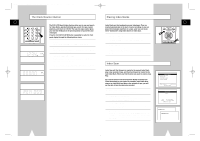
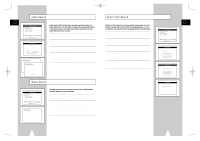
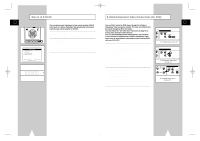
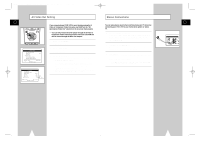
01547A DVD-V1000/XAA-Eng4 5/16/02 3:41 PM Page 58 Audio Dubbing a Pre-recorded Videocassette How to Set a Timer Recording GB GB 4 5 VIDEO EDIT 6 A.DUB 10 A.DUB With the Audio Dubbing function, you erase the previously recorded sound and replace it with a new soundtrack from: x A CD, DVD x A microphone connected to a sound system x A cassette player Restriction: Audio dubbing is applicable only to the mono audio track (normal audio). Insert a blank tape with a Record Safety Tab into the VCR deck. The Timer Recording Feature allows you to program up to 16 events at a time to record up to a year in advance. Set the TV to channel 3 or 4 (whichever the switch is set to on the back of the DVD-VCR). Before You Begin... • Power on the DVD-VCR • Power on the TV DVD & VCR 2 2 ZOOM MUTE 4 MODE SHUTTLE 5 DISPLAY 6 CLOCK/ COUNTER REPEAT 7 SKIP 3D SOUND F.ADV 100+ DVD 8 A.DUB 0 9 TV/VCR CLEAR 6 SELECT VCR TV TV VIEW + ANGLE A.Dub 1 Connect an RCA audio cable to the appropriate output on your sound system (cassette player for example). 2 Connect the other end of the RCA audio cable to the audio input connectors (L, R) on the Rear of your DVD-VCR. 3 Insert the pre-recorded videocassette on which the audio track is to be replaced, and press the ❿ll to start playback. 4 Search back slightly beyond the Audio Dub start point using the ➛➛ button. 5 Press the ❿ll button. Press the ❿ll button one more time to make PAUSE mode. 6 Press A.DUB. Result: Your VCR is now in the Audio dubbing still mode. 7 Press the TV VIEW button to select Audio dubbing source. ex) If you want to dub external cassette player, then select LINE2. 8 On the sound system, locate the point on the cassette at which you wish to start playback. Example: The track that you wish to record on the cassette. 9 When you are ready: x Start playback on the sound system x Press the ❿ll on the remote control. Result: The soundtrack is replaced on the pre-recorded cassette. ➢ The new sound will be recorded on the normal sound track of the tape, and the original sound will remain on the Hi-Fi sound track. 1 Open "SETUP MENU" Press the SETUP button. 2 Select "Set Timer Recording" Using the up/down, move the selection arrow to "Set Timer Recording," then push right to select. 3 Select Event Number Move the selection arrow to any available event number (01-16), then push right to select. 4 Set Event Date and Time Use the number or up/down buttons to set the date and time of the event. To leave an entry unchanged, push the right button. The player will not allow you to enter an invalid number. The default setting is the current date and time. • Set Month - Enter the month as a 2-digit number; i.e. for January, press "01". • Set Day - Enter the day as a 2-digit number; i.e. for the ninth, press "09". • Set Hour -Enter the hour as a 2-digit number; i.e. for 12:00, press "12". • Set Minute -Enter the minute as a 2-digit number; i.e. for 00:25, press "25". • Set AM/PM - Enter 1 for AM and 2 for PM. 5 Set Event Length Use the number buttons to set the length of the event in hours and minutes. The default setting is 0 hours and 30 minutes. • Set Length (H) - Enter the hours as a 1-digit number; i.e. for 1 hour, press "1". • Set Length (M) - Enter the minutes as a 2-digit number; i.e. for 30 minutes, press "30". 58 59
-
 1
1 -
2
-
3
-
4
-
5
-
6
-
7
-
8
-
9
-
10
-
11
-
12
-
13
-
14
-
15
-
16
-
17
-
18
-
19
-
20
-
21
-
22
-
23
-
24
-
 25
25 -
 26
26 -
 27
27 -
 28
28 -
 29
29 -
 30
30 -
 31
31 -
 32
32 -
 33
33 -
 34
34 -
 35
35 -
36
-
37
-
38
-
39
 |
 |