Samsung NX10 User Manual (user Manual) (ver.1.3) (English) - Page 5
Indications used in this manual, Directional Keys in the User's Manual - case
 |
UPC - 044701013655
View all Samsung NX10 manuals
Add to My Manuals
Save this manual to your list of manuals |
Page 5 highlights
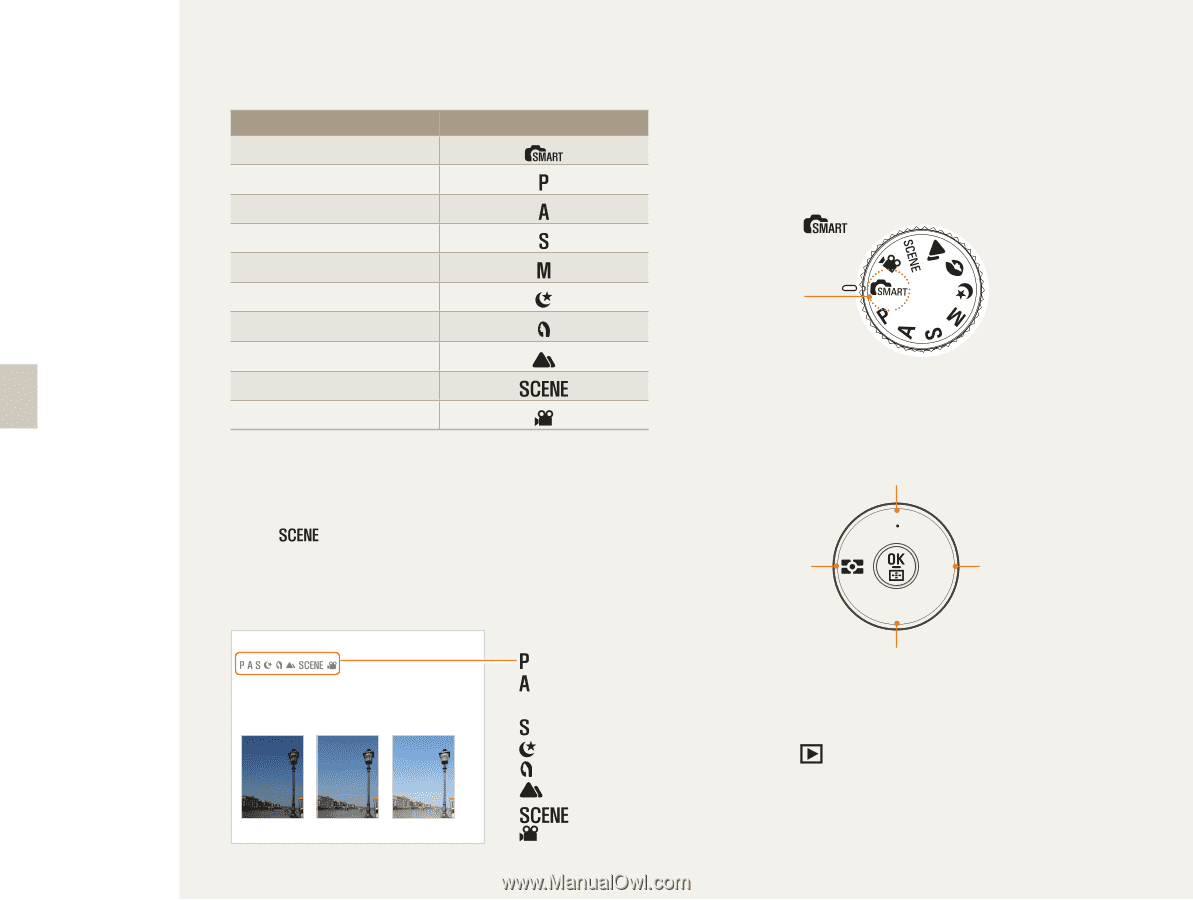
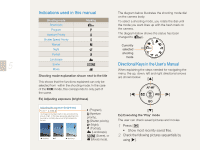
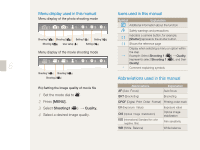
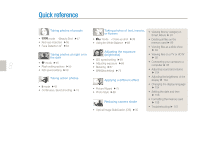
Indications used in this manual Shooting mode Smart Auto Program Aperture Priority Shutter Speed Priority Marking The diagram below illustrates the shooting mode dial on the camera body. To select a shooting mode, you rotate the dial until the mode you want lines up with the hash mark on the camera. The diagram below shows the status has been changed to ( ). Manual Currently Night selected Portrait Landscape shooting mode 5 Scene Movie Directional Keys in the User's Manual When explaining the steps needed for navigating the Shooting mode explanation shown next to the title This shows that the functions explained can only be menu, the up, down, left and right directional arrows are shown below. [S] selected from within the shooting mode. In the case of the mode, this corresponds to only part of AF MF the scene. [W] WB [X] Ex) Adjusting exposure (brightness) ISO Adjusting the exposure (brightness) The images can be taken bright or dark according to the amount of light. In this case, appropriate adjustment can be made by controlling the amount of light entered into the lens. S Applying - S 0 S Applying + (Program), (Aperture priority), (Shutter priority), (Night), (Portrait), (Landscape), (Scene), or (Movie) mode. [T] Ex) Executing the 'Play' mode The user can check saved pictures and movies. 1 Press [ ] • Show most recently saved files. 2 Check the following pictures sequentially by using [X].
-
 1
1 -
 2
2 -
 3
3 -
 4
4 -
 5
5 -
 6
6 -
 7
7 -
 8
8 -
 9
9 -
 10
10 -
 11
11 -
12
-
13
-
14
-
15
-
16
-
17
-
18
-
19
-
20
-
21
-
22
-
23
-
24
-
25
-
26
-
27
-
28
-
29
-
30
-
31
-
32
-
33
-
34
-
35
-
36
-
37
-
38
-
39
-
40
-
41
-
42
-
43
-
44
-
45
-
46
-
47
-
48
-
49
-
50
-
51
-
52
-
53
-
54
-
55
-
56
-
57
-
58
-
59
-
60
-
61
-
62
-
63
-
64
-
65
-
66
-
67
-
68
-
69
-
70
-
71
-
72
-
73
-
74
-
75
-
76
-
77
-
78
-
79
-
80
-
81
-
82
-
83
-
84
-
85
-
86
-
87
-
88
-
89
-
90
-
91
-
92
-
93
-
94
-
95
-
96
-
97
-
98
-
99
-
100
-
101
-
102
-
103
-
104
-
105
-
106
-
107
-
108
-
109
-
110
-
111
-
112
-
113
-
114
-
115
-
116
-
117
-
118
-
119
-
120
-
121
-
122
-
123
-
124
-
125
-
126
-
127
-
128
 |
 |