Samsung SCX 4016 User Manual (ENGLISH) - Page 203
Using Advanced Fax Settings, Changing Setting Options
 |
UPC - 635753611106
View all Samsung SCX 4016 manuals
Add to My Manuals
Save this manual to your list of manuals |
Page 203 highlights
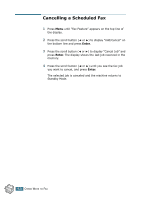
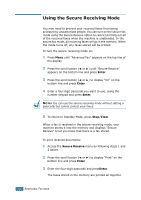
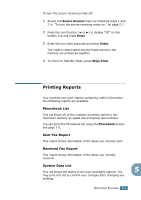
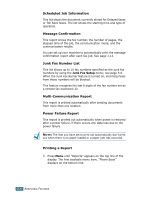
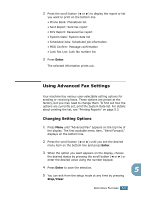
2 Press the scroll button (¥ or Š) to display the report or list you want to print on the bottom line. • Phone Book: Phonebook list • Sent Report: Sent fax report • RCV Report: Received fax report • System Data: System data list • Scheduled Jobs: Scheduled job information • MSG Confirm: Message confirmation • Junk Fax List: Junk fax number list 3 Press Enter. The selected information prints out. Using Advanced Fax Settings Your machine has various user-selectable setting options for sending or receiving faxes. These options are preset at the factory, but you may need to change them. To find out how the options are currently set, print the System Data list. For details about printing the list, see "Printing Reports" on page 5.3. Changing Setting Options 1 Press Menu until "Advanced Fax" appears on the top line of the display. The first available menu item, "Send Forward," displays on the bottom line. 2 Press the scroll button (¥ or Š) until you see the desired menu item on the bottom line and press Enter. 3 When the option you want appears on the display, choose the desired status by pressing the scroll button (¥ or Š) or enter the desired value using the number keypad. 4 Press Enter to save the selection. 5 5 You can exit from the setup mode at any time by pressing Stop/Clear. ADDITIONAL FEATURES 5.5
-
 1
1 -
2
-
3
-
4
-
5
-
6
-
7
-
8
-
9
-
10
-
11
-
12
-
13
-
14
-
15
-
16
-
17
-
18
-
19
-
20
-
21
-
22
-
23
-
24
-
25
-
26
-
27
-
28
-
29
-
30
-
31
-
32
-
33
-
34
-
35
-
36
-
37
-
38
-
39
-
40
-
41
-
42
-
43
-
44
-
45
-
46
-
47
-
48
-
49
-
50
-
51
-
52
-
53
-
54
-
55
-
56
-
57
-
58
-
59
-
60
-
61
-
62
-
63
-
64
-
65
-
66
-
67
-
68
-
69
-
70
-
71
-
72
-
73
-
74
-
75
-
76
-
77
-
78
-
79
-
80
-
81
-
82
-
83
-
84
-
85
-
86
-
87
-
88
-
89
-
90
-
91
-
92
-
93
-
94
-
95
-
96
-
97
-
98
-
99
-
100
-
101
-
102
-
103
-
104
-
105
-
106
-
107
-
108
-
109
-
110
-
111
-
112
-
113
-
114
-
115
-
116
-
117
-
118
-
119
-
120
-
121
-
122
-
123
-
124
-
125
-
126
-
127
-
128
-
129
-
130
-
131
-
132
-
133
-
134
-
135
-
136
-
137
-
138
-
139
-
140
-
141
-
142
-
143
-
144
-
145
-
146
-
147
-
148
-
149
-
150
-
151
-
152
-
153
-
154
-
155
-
156
-
157
-
158
-
159
-
160
-
161
-
162
-
163
-
164
-
165
-
166
-
167
-
168
-
169
-
170
-
171
-
172
-
173
-
174
-
175
-
176
-
177
-
178
-
179
-
180
-
181
-
182
-
183
-
184
-
185
-
186
-
187
-
188
-
189
-
190
-
191
-
192
-
193
-
194
-
195
-
196
-
197
-
 198
198 -
 199
199 -
 200
200 -
 201
201 -
 202
202 -
 203
203 -
 204
204 -
 205
205 -
 206
206 -
 207
207 -
 208
208 -
209
-
210
 |
 |