Singer Fashion Mate 5560 5560 Stitch Applications Guide - Page 18
All-Purpose Foot.
 |
View all Singer Fashion Mate 5560 manuals
Add to My Manuals
Save this manual to your list of manuals |
Page 18 highlights
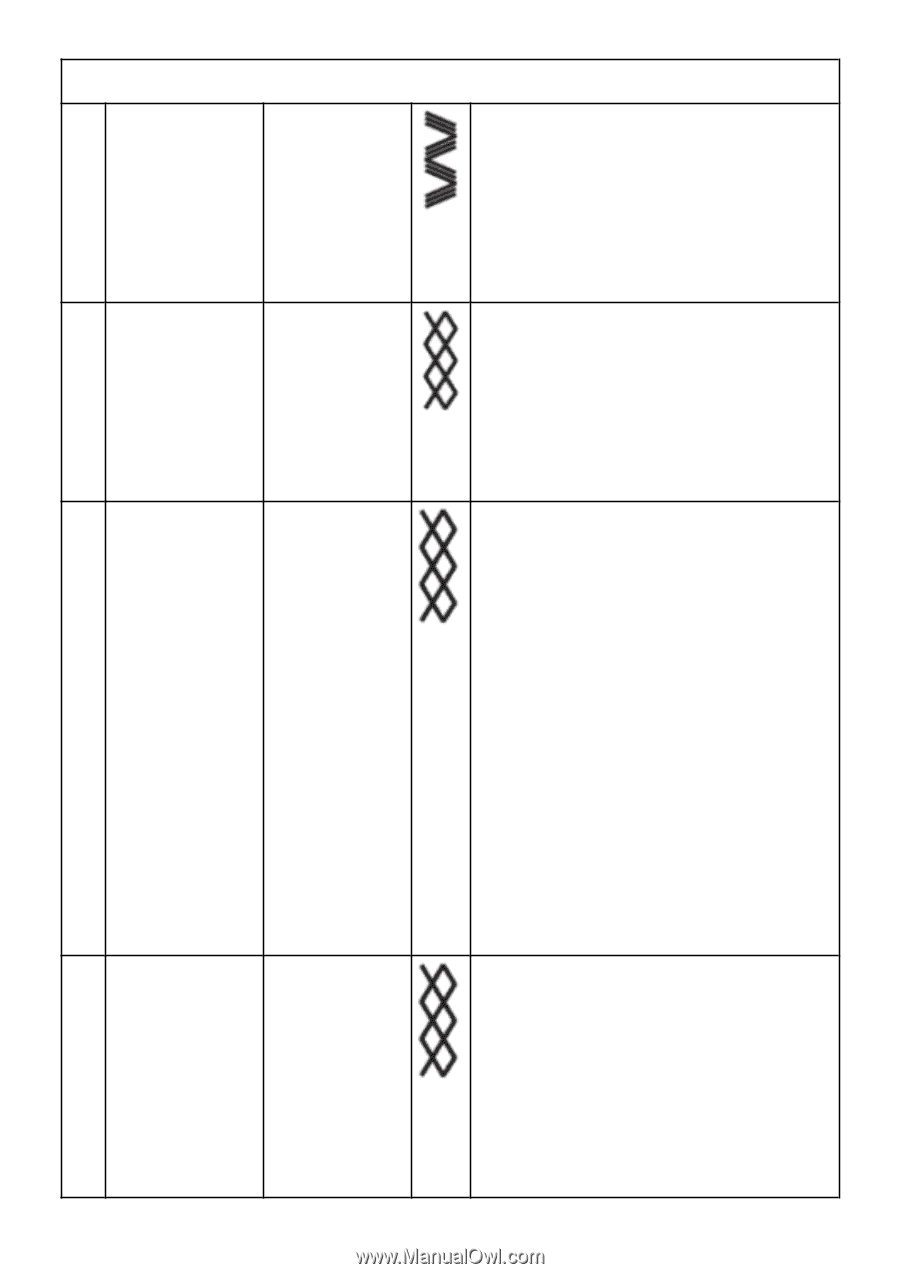
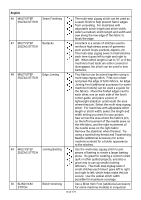
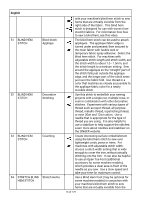
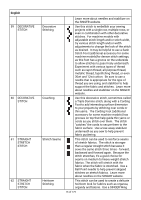
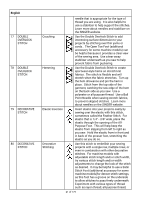
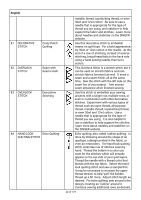
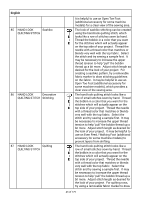
English ZIGZAG STITCH 67 HONEYCOMB STITCH 68 HONEYCOMB STITCH 69 HONEYCOMB STITCH Elastic Insertion Decorative Stitching Smocking interesting surface dimension to your projects by stitching over narrow ribbons or cords. It is helpful to use an Open Toe Foot (additional accessory for some machine models). As you sew, the stitch "catches" the cord to secure to the fabric surface. Use a tear-away stabilizer underneath as you sew to help prevent the dense stitches from puckering the fabric. Insert elastic to your projects easily by sewing over the elastic with the Honeycomb stitch. For elastic that is 1/4" - 3/8" wide, place the elastic through the opening of the All-Purpose Foot. This will help keep the elastic from slipping from left to right as you sew. Hold the elastic from in front and in back of the presser foot, stretching the elastic as you do so. Use this stitch to embellish your sewing projects with a single row, multiple rows, or even in combination with other decorative stitches. For machine models with adjustable stitch length and/or stitch width, try various stitch length and/or width adjustments to change the look of the stitch as desired. It may be helpful to use a Satin Stitch Foot (additional accessory for some machine models)for denser stitch settings, as this foot has a groove on the underside to allow stitches to pass freely underneath. Experiment with various types of thread such as rayon thread, all-purpose thread, metallic thread, topstitching thread, or even 30wt and 12wt cotton. Be sure to use a needle that is appropriate for the type of thread you are using, and stabilizer to help support the fabric and stitches. Learn more about needles and stabilizer on the SINGER website. Sew the Honeycomb Stitch over gathered fabric to create smocking, often seen in children's clothing and vintage apparel. This technique works best with lightweight woven fabrics, like batiste or voile. Start by sewing several rows of basting stitches: sew 1 row, then a second row 1/8" inch from the first. Skip 1/2" and repeat, continuing for the amount needed for your project. Gather the basting threads. Place the gathered piece over a fabric interfacing 18 of 179
-
 1
1 -
2
-
3
-
4
-
5
-
6
-
7
-
8
-
9
-
10
-
11
-
12
-
 13
13 -
 14
14 -
 15
15 -
 16
16 -
 17
17 -
 18
18 -
 19
19 -
 20
20 -
 21
21 -
 22
22 -
 23
23 -
24
-
25
-
26
-
27
-
28
-
29
-
30
-
31
-
32
-
33
-
34
-
35
-
36
-
37
-
38
-
39
-
40
-
41
-
42
-
43
-
44
-
45
-
46
-
47
-
48
-
49
-
50
-
51
-
52
-
53
-
54
-
55
-
56
-
57
-
58
-
59
-
60
-
61
-
62
-
63
-
64
-
65
-
66
-
67
-
68
-
69
-
70
-
71
-
72
-
73
-
74
-
75
-
76
-
77
-
78
-
79
-
80
-
81
-
82
-
83
-
84
-
85
-
86
-
87
-
88
-
89
-
90
-
91
-
92
-
93
-
94
-
95
-
96
-
97
-
98
-
99
-
100
-
101
-
102
-
103
-
104
-
105
-
106
-
107
-
108
-
109
-
110
-
111
-
112
-
113
-
114
-
115
-
116
-
117
-
118
-
119
-
120
-
121
-
122
-
123
-
124
-
125
-
126
-
127
-
128
-
129
-
130
-
131
-
132
-
133
-
134
-
135
-
136
-
137
-
138
-
139
-
140
-
141
-
142
-
143
-
144
-
145
-
146
-
147
-
148
-
149
-
150
-
151
-
152
-
153
-
154
-
155
-
156
-
157
-
158
-
159
-
160
-
161
-
162
-
163
-
164
-
165
-
166
-
167
-
168
-
169
-
170
-
171
-
172
-
173
-
174
-
175
-
176
-
177
-
178
-
179
 |
 |