Sony Ericsson K850i User Guide - Page 30
Messaging, centre is not saved on your SIM card
 |
View all Sony Ericsson K850i manuals
Add to My Manuals
Save this manual to your list of manuals |
Page 30 highlights
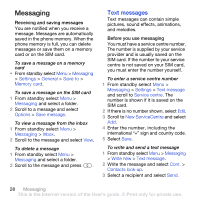
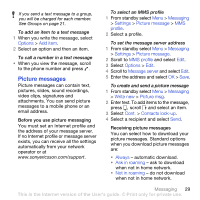
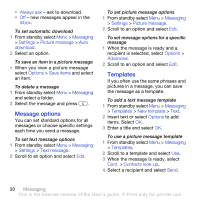
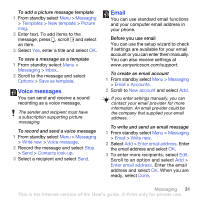
Messaging Receiving and saving messages You are notified when you receive a message. Messages are automatically saved in the phone memory. When the phone memory is full, you can delete messages or save them on a memory card or on the SIM card. To save a message on a memory card • From standby select Menu > Messaging > Settings > General > Save to > Memory card. To save a message on the SIM card 1 From standby select Menu > Messaging and select a folder. 2 Scroll to a message and select Options > Save message. To view a message from the inbox 1 From standby select Menu > Messaging > Inbox. 2 Scroll to the message and select View. To delete a message 1 From standby select Menu > Messaging and select a folder. 2 Scroll to the message and press . Text messages Text messages can contain simple pictures, sound effects, animations, and melodies. Before you use messaging You must have a service centre number. The number is supplied by your service provider and is usually saved on the SIM card. If the number to your service centre is not saved on your SIM card, you must enter the number yourself. To enter a service centre number 1 From standby select Menu > Messaging > Settings > Text message and scroll to Service centre. The number is shown if it is saved on the SIM card. 2 If there is no number shown, select Edit. 3 Scroll to New ServiceCentre and select Add. 4 Enter the number, including the international "+" sign and country code. 5 Select Save. To write and send a text message 1 From standby select Menu > Messaging > Write new > Text message. 2 Write the message and select Cont. > Contacts look-up. 3 Select a recipient and select Send. 28 Messaging This is the Internet version of the User's guide. © Print only for private use.
-
 1
1 -
2
-
3
-
4
-
5
-
6
-
7
-
8
-
9
-
10
-
11
-
12
-
13
-
14
-
15
-
16
-
17
-
18
-
19
-
20
-
21
-
22
-
23
-
24
-
 25
25 -
 26
26 -
 27
27 -
 28
28 -
 29
29 -
 30
30 -
 31
31 -
 32
32 -
 33
33 -
 34
34 -
 35
35 -
36
-
37
-
38
-
39
-
40
-
41
-
42
-
43
-
44
-
45
-
46
-
47
-
48
-
49
-
50
-
51
-
52
-
53
-
54
-
55
-
56
-
57
-
58
-
59
-
60
-
61
-
62
-
63
-
64
-
65
-
66
-
67
-
68
-
69
-
70
-
71
-
72
-
73
-
74
-
75
-
76
-
77
-
78
-
79
-
80
-
81
-
82
-
83
 |
 |