Sony HDW F900R Operation Manual - Page 65
Changing the range of choice of shutter, mode and speed settings
 |
View all Sony HDW F900R manuals
Add to My Manuals
Save this manual to your list of manuals |
Page 65 highlights
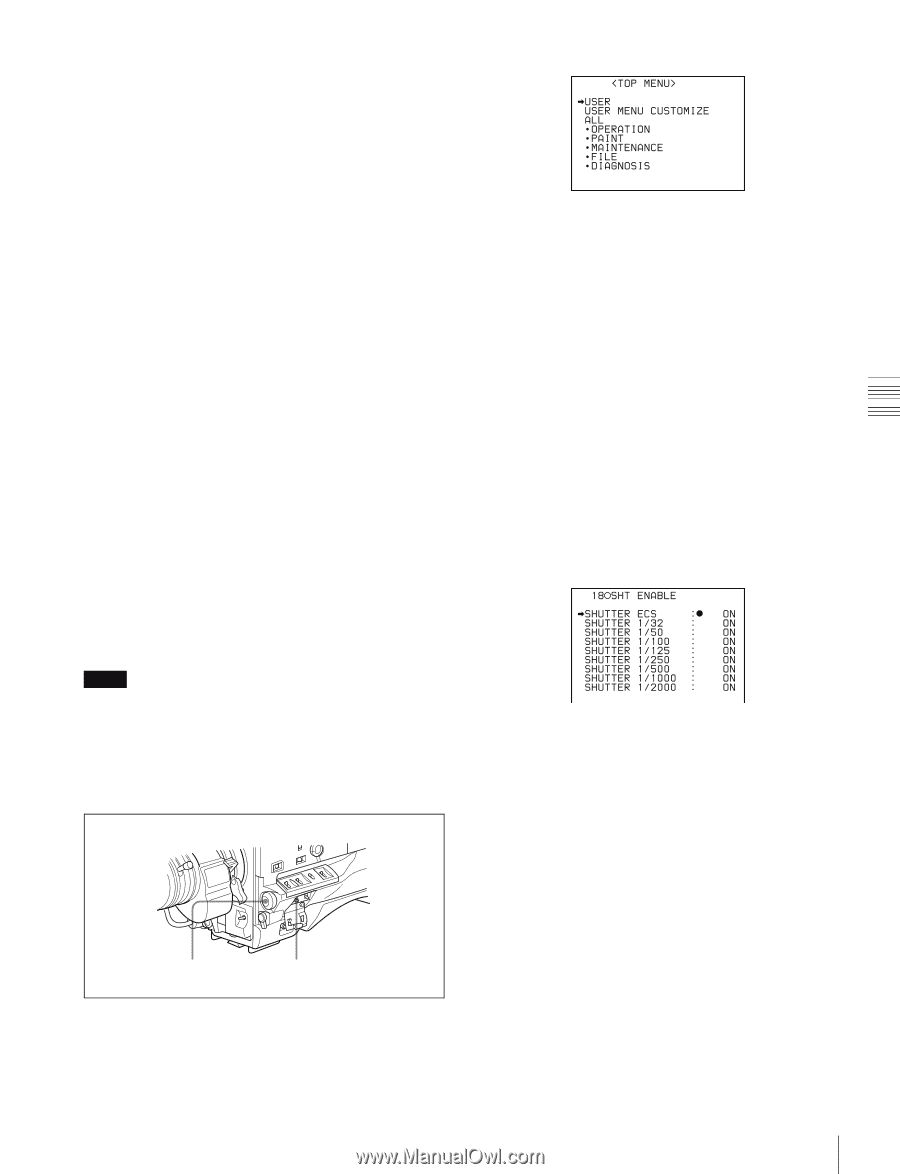
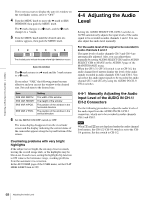
Chapter 4 Adjustments and Settings for Recording -AUTO IRIS The iris setting is locked to OPEN. Adjust the iris setting manually. -FLARE correction The setting of FLARE on the SW STATUS page of the PAINT menu is locked to OFF, regardless of the setting. - AWB The longer the exposure time, the longer the automatic white balance adjustment time is. • The following are characteristics of a CCD. They are not malfunctions. -If you select a large number of frames, white speckles may appear on the CCD. -When you switch the shutter mode from SS mode to SLS mode, the picture may blur. -When you switch the OUTPUT/DCC switch from BARS to CAM, the picture may blur (only when 50i format is selected). -If a larger number of frames is selected in SLS mode in a high temperature situation, a flicker may appear on the picture. -If you switch the GAIN selector position, noise may appear. For detailed information, consult your Sony dealer. Changing the range of choice of shutter mode and speed settings You can reduce the time required to select whether you use the ECS mode and the speed by narrowing the choice of settings in advance. This can be done by using the SHT ENABLE page of the OPERATION menu. Notes • The SLS mode can be selected only when an optional HKDW-905R extension board is installed. • When controlling the camcorder by connecting an optional Remote Control Unit such as RM-B150/B750, you can select all shutter speeds and ECS mode regardless of the setting on the SHT ENABLE page. MENU knob MENU ON/OFF switch 1 Set the MENU ON/OFF switch to ON while holding down the MENU knob. The TOP menu appears. 2 Turn the MENU knob to move the b mark to OPERATION. 3 Push the MENU knob. If this is the first time the OPERATION menu has been displayed, the CONTENTS page of the OPERATION menu appears. If the menu has been used before, the page accessed last appears. 4 If the CONTENTS page is displayed, push the MENU knob once, and then turn the MENU knob to move the b mark to SHT ENABLE, then push the MENU knob to display the SHT ENABLE page. If a different page is displayed, turn the MENU knob until the SHT ENABLE page appears, then push the MENU knob to select the page. The current setting of each item appears to the right of the item. 5 Turn the MENU knob to move the b mark to the shutter mode or shutter speed you want, then push the MENU knob. The b mark on the left of the selected item changes to a z mark and the z mark on the left of the setting changes to a ? mark. 6 Turn the MENU knob until ON appears, then push the MENU knob. The z mark on the left of the selected item returns to a b mark and the ? mark on the left of the setting returns to a z mark. To set another mode or speed, return to step 5. Note that only the shutter speeds set to ON can be selected with the SHUTTER selector. 7 To end the menu operation, set the MENU ON/OFF switch to OFF. 65 Setting the Electronic Shutter
-
 1
1 -
2
-
3
-
4
-
5
-
6
-
7
-
8
-
9
-
10
-
11
-
12
-
13
-
14
-
15
-
16
-
17
-
18
-
19
-
20
-
21
-
22
-
23
-
24
-
25
-
26
-
27
-
28
-
29
-
30
-
31
-
32
-
33
-
34
-
35
-
36
-
37
-
38
-
39
-
40
-
41
-
42
-
43
-
44
-
45
-
46
-
47
-
48
-
49
-
50
-
51
-
52
-
53
-
54
-
55
-
56
-
57
-
58
-
59
-
 60
60 -
 61
61 -
 62
62 -
 63
63 -
 64
64 -
 65
65 -
 66
66 -
 67
67 -
 68
68 -
 69
69 -
 70
70 -
71
-
72
-
73
-
74
-
75
-
76
-
77
-
78
-
79
-
80
-
81
-
82
-
83
-
84
-
85
-
86
-
87
-
88
-
89
-
90
-
91
-
92
-
93
-
94
-
95
-
96
-
97
-
98
-
99
-
100
-
101
-
102
-
103
-
104
-
105
-
106
-
107
-
108
-
109
-
110
-
111
-
112
-
113
-
114
-
115
-
116
-
117
-
118
-
119
-
120
-
121
-
122
-
123
-
124
-
125
-
126
-
127
-
128
-
129
-
130
-
131
-
132
-
133
-
134
-
135
-
136
-
137
-
138
-
139
-
140
-
141
-
142
-
143
-
144
-
145
-
146
-
147
-
148
-
149
-
150
-
151
-
152
-
153
-
154
-
155
-
156
-
157
-
158
-
159
-
160
-
161
-
162
-
163
-
164
-
165
-
166
-
167
-
168
-
169
-
170
-
171
 |
 |