Sony SNC-DF70N User Guide - Page 27
Configuration of Administrator Menu, Buttons common to every setting menu
 |
View all Sony SNC-DF70N manuals
Add to My Manuals
Save this manual to your list of manuals |
Page 27 highlights
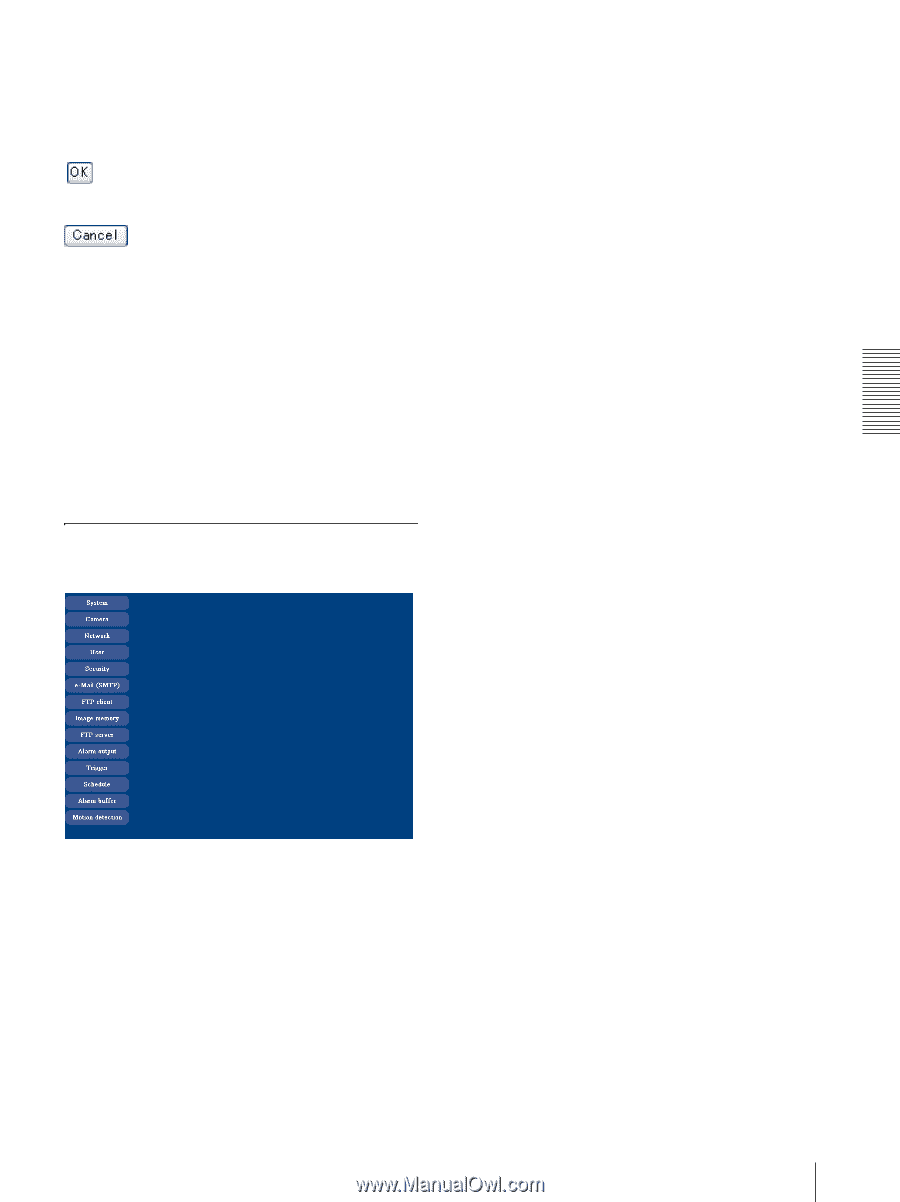
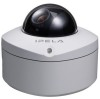
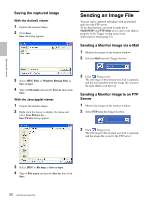
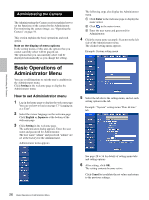
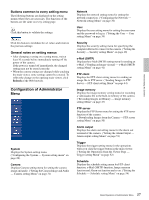
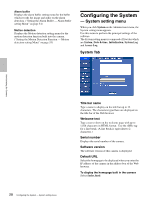
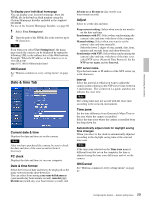
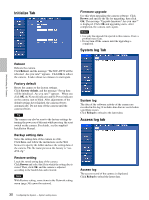
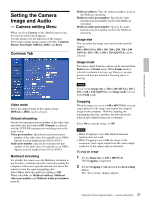
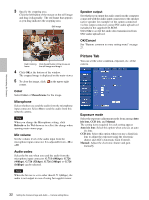
Administrating the Camera Buttons common to every setting menu The following buttons are displayed on the setting menus where they are necessary. The functions of the buttons are the same on every setting page. Click this button to validate the settings. Click this button to invalidate the set values and return to the previous settings. General notes on setting menus • After changing a setting on a setting menu, wait at least 10 seconds before immediately turning off the power of the camera. If the power is turned off immediately, the changed setting may not be stored correctly. • When the camera settings are changed while watching the main viewer, some settings cannot be restored. To reflect the change on the opening main viewer, click Refresh of the Web browser. Configuration of Administrator Menu System Displays the System setting menu. ("Configuring the System - System setting menu" on page 28). Camera Displays Camera setting menu for setting the camera image and audio. ("Setting the Camera Image and Audio - Camera setting Menu" on page 31) Network Displays the network setting menu for setting the network connection. ("Configuring the Network - Network setting Menu" on page 36) User Displays the user setting menu for setting the user name and the password to log in. ("Setting the User - User setting Menu" on page 39) Security Displays the security setting menu for specifying the computer allowed to connect to the camera. ("Setting the Security - Security setting Menu" on page 40) e-Mail (SMTP) Displays the e-Mail (SMTP) setting menu for sending an e-Mail. ("Sending an Image via mail - e-Mail (SMTP) setting Menu" on page 41) FTP client Displays the FTP client setting menu for sending an image file to FTP server. ("Sending Images to FTP Server - FTP client setting Menu" on page 44) Image memory Displays the image memory setting menu for recording a video/audio file in the built-in memory of the camera. ("Recording Images in Memory - Image memory setting Menu" on page 47) FTP server Displays the FTP Server menu for setting the FTP server function of the camera. ("Downloading Images from the Camera - FTP server setting Menu" on page 50) Alarm output Displays the alarm out setting menu for the alarm out terminal of the camera. ("Setting the Alarm Output - Alarm output setting Menu" on page 51) Trigger Displays the trigger setting menu for the operations when you click the trigger button in the main viewer. ("Setting the Operations from the Viewer Page - Trigger setting Menu" on page 52) Schedule Displays the schedule setting menu for FTP client function, e-Mail (SMTP) function, Image memory function and Alarm out function and so on. ("Setting the Schedule - Schedule setting Menu" on page 54) 27 Basic Operations of Administrator Menu
-
 1
1 -
2
-
3
-
4
-
5
-
6
-
7
-
8
-
9
-
10
-
11
-
12
-
13
-
14
-
15
-
16
-
17
-
18
-
19
-
20
-
21
-
 22
22 -
 23
23 -
 24
24 -
 25
25 -
 26
26 -
 27
27 -
 28
28 -
 29
29 -
 30
30 -
 31
31 -
 32
32 -
33
-
34
-
35
-
36
-
37
-
38
-
39
-
40
-
41
-
42
-
43
-
44
-
45
-
46
-
47
-
48
-
49
-
50
-
51
-
52
-
53
-
54
-
55
-
56
-
57
-
58
-
59
-
60
-
61
-
62
-
63
-
64
-
65
-
66
-
67
-
68
-
69
-
70
-
71
-
72
 |
 |