Sony XAV-601BT User Guide - Page 14
Getting Started, Resetting the unit, Performing initial settings - source off
 |
View all Sony XAV-601BT manuals
Add to My Manuals
Save this manual to your list of manuals |
Page 14 highlights
O
-
 1
1 -
2
-
3
-
4
-
5
-
6
-
7
-
8
-
 9
9 -
 10
10 -
 11
11 -
 12
12 -
 13
13 -
 14
14 -
 15
15 -
 16
16 -
 17
17 -
 18
18 -
 19
19 -
20
-
21
-
22
-
23
-
24
-
25
-
26
-
27
-
28
-
29
-
30
-
31
-
32
-
33
-
34
-
35
-
36
-
37
-
38
-
39
-
40
-
41
-
42
-
43
-
44
-
45
-
46
-
47
-
48
-
49
-
50
-
51
-
52
-
53
-
54
-
55
-
56
-
57
-
58
-
59
-
60
-
61
-
62
-
63
-
64
-
65
-
66
-
67
-
68
-
69
-
70
-
71
-
72
-
73
-
74
-
75
-
76
-
77
-
78
-
79
-
80
-
81
-
82
-
83
-
84
-
85
-
86
-
87
-
88
-
89
-
90
-
91
-
92
-
93
-
94
-
95
-
96
-
97
-
98
-
99
-
100
-
101
-
102
-
103
-
104
-
105
-
106
-
107
-
108
-
109
-
110
-
111
-
112
-
113
-
114
-
115
-
116
-
117
-
118
-
119
-
120
-
121
-
122
-
123
-
124
-
125
-
126
-
127
-
128
-
129
-
130
-
131
-
132
-
133
-
134
-
135
-
136
-
137
-
138
-
139
-
140
-
141
-
142
-
143
-
144
-
145
-
146
-
147
-
148
-
149
-
150
-
151
-
152
-
153
-
154
-
155
-
156
-
157
-
158
-
159
-
160
-
161
-
162
-
163
-
164
-
165
-
166
-
167
-
168
-
169
-
170
-
171
-
172
-
173
-
174
-
175
-
176
-
177
-
178
-
179
-
180
-
181
-
182
-
183
-
184
-
185
-
186
-
187
-
188
-
189
-
190
-
191
-
192
-
193
-
194
-
195
-
196
-
197
-
198
-
199
-
200
-
201
-
202
-
203
-
204
-
205
-
206
-
207
-
208
-
209
-
210
-
211
-
212
-
213
-
214
-
215
-
216
-
217
-
218
-
219
-
220
 |
 |
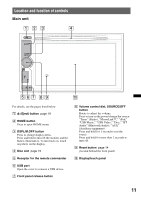
14
O
<
/
M
/
m
/
,
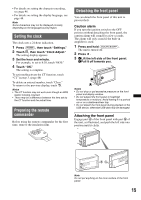
(Cursor)/ENTER buttons
page 19
Press to control the menu on a DVD.
P
SRC (Source) button
Press to turn on/change the source: “Tuner”
(Radio), “MirrorLink™,” “iPod,” “USB
Music,” “USB Video,” “Disc,” “BT Audio”
(Bluetooth Audio), “AUX” (Auxiliary
equipment).
Q
MODE button
Press to select the radio band (FM/MW/LW)/
select an auxiliary device (AUX1/AUX2)*
4
.
R
VOL (Volume) +/– buttons
*1
When playing with PBC functions.
*2
Operation differs depending on the disc (page 20).
*3
Operation differs depending on the connected
Bluetooth device.
*4
When two auxiliary devices are used.
Note
The remote commander will not operate when the unit
is turned off and the display has disappeared. Press
(SOURCE/OFF)
on the main unit, or insert a disc to
activate the unit and enable operation via the remote
commander.
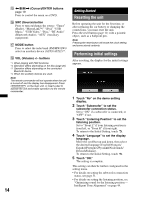
Getting Started
Resetting the unit
Before operating the unit for the first time, or
after replacing the car battery or changing the
connections, you must reset the unit.
Press the reset button (page 11) with a pointed
object, such as a ballpoint pen.
Note
Pressing the reset button will erase the clock setting
and some stored contents.
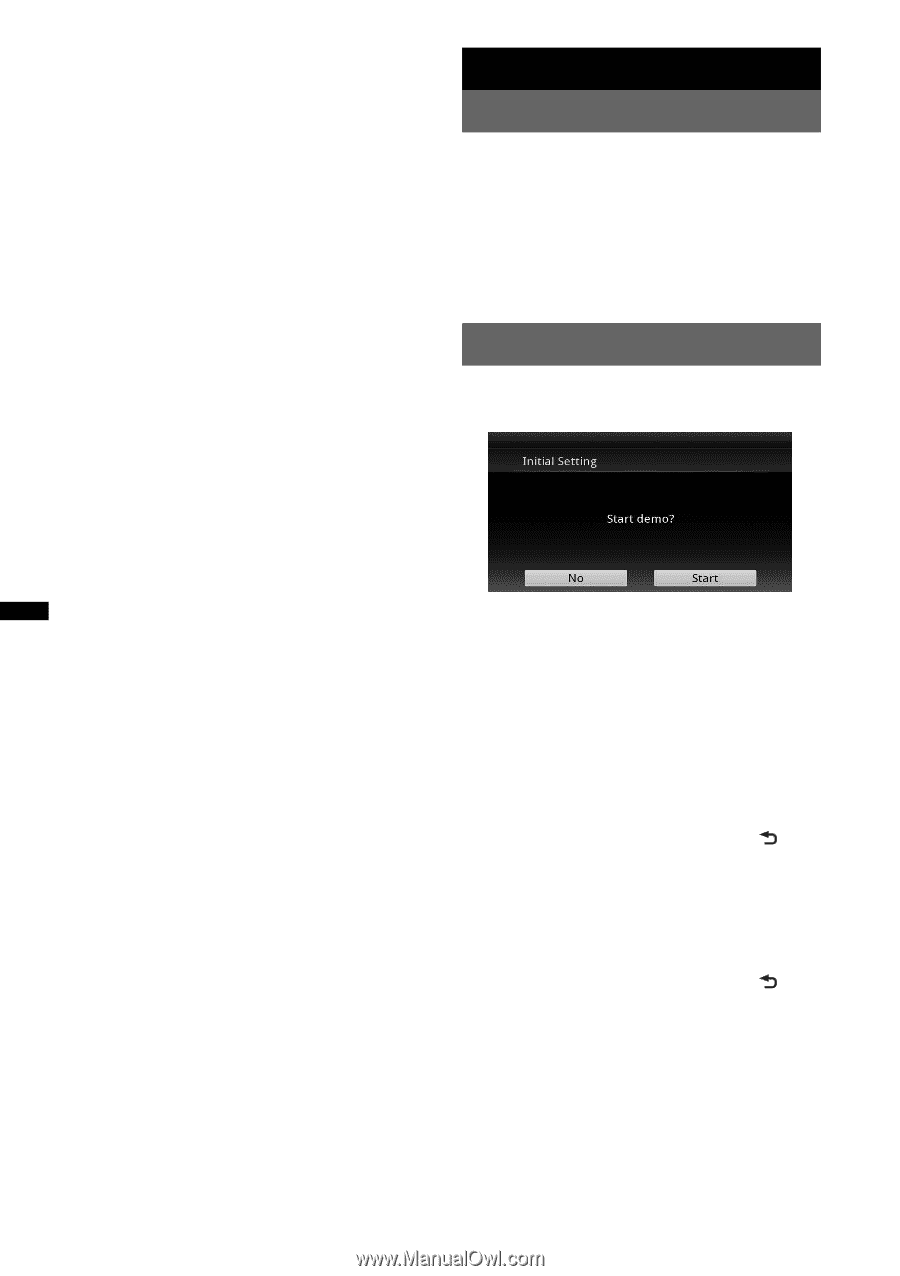
Performing initial settings
After resetting, the display for the initial settings
appears.
1
Touch “No” on the demo setting
display.
2
Touch “Subwoofer” to set the
subwoofer connection status.
Set to “ON” if a subwoofer is connected, or
“OFF” if not.
3
Touch “Listening Position” to set the
listening position.
Set to “Front L” if your listening position is
front left, or “Front R” if front right.
To return to the Initial Setting, touch
.
4
Touch “Language” to set the display
language.
Move the scrollbar up and down, then select
the desired language (English/Français/
Español/Português/
Русский
/Nederlands/
Deutsch/Italiano).
To return to the Initial Setting, touch
.
5
Touch “OK.”
The setting is complete.
This setting can then be further configured in the
setting menu.
•
For details on setting the subwoofer connection
status, see page 51.
• For details on setting the listening position, see
“Optimizing sound for the listening position —
Intelligent Time Alignment” on page 44.