Canon SD300 Direct Print User Guide - Page 13
Selecting Print Settings
 |
UPC - 013803043983
View all Canon SD300 manuals
Add to My Manuals
Save this manual to your list of manuals |
Page 13 highlights
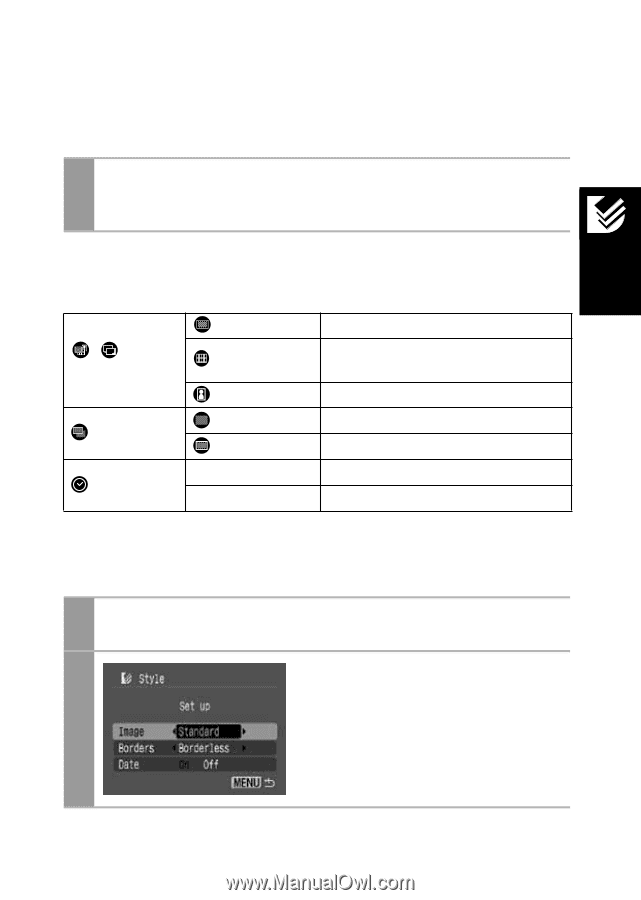
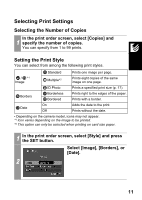
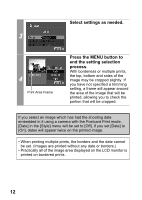
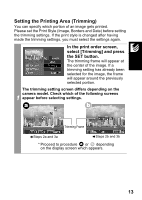
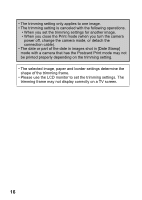
Selecting Print Settings Selecting the Number of Copies In the print order screen, select [Copies] and 1 specify the number of copies. You can specify from 1 to 99 prints. Setting the Print Style You can select from among the following print styles. Standard Prints one image per page. / *1 Image Multiple*2 Prints eight copies of the same image on one page. ID Photo Prints a specified print size (p. 17). Borders Borderless Bordered Prints right to the edges of the paper. Prints with a border. On Date Off Adds the date to the print. Prints without the date. • Depending on the camera model, icons may not appear. *1 Icon varies depending on the image to be printed. *2 This option can only be selected when printing on card size paper. 1 In the print order screen, select [Style] and press the SET button. Select [Image], [Borders], or [Date]. 2 11
-
 1
1 -
2
-
3
-
4
-
5
-
6
-
7
-
 8
8 -
 9
9 -
 10
10 -
 11
11 -
 12
12 -
 13
13 -
 14
14 -
 15
15 -
 16
16 -
 17
17 -
 18
18 -
19
-
20
-
21
-
22
-
23
-
24
-
25
-
26
-
27
-
28
-
29
-
30
-
31
-
32
-
33
-
34
-
35
-
36
-
37
-
38
-
39
-
40
-
41
-
42
-
43
-
44
-
45
-
46
-
47
-
48
-
49
-
50
-
51
-
52
-
53
-
54
 |
 |