Yamaha PSR-5700 Owner's Manual (feature Reference) - Page 8
Volume
 |
View all Yamaha PSR-5700 manuals
Add to My Manuals
Save this manual to your list of manuals |
Page 8 highlights
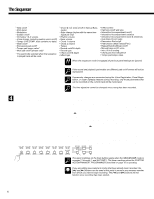
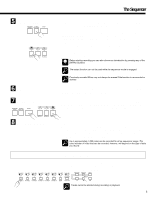
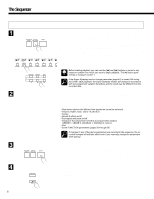
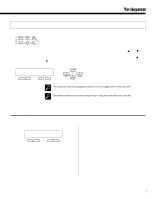
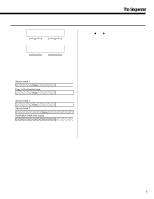
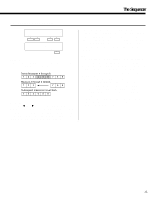
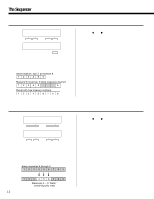
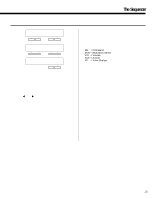
The Sequencer q Recording Type † `REC TYPE Mode=Replace - + Purpose: Selects the Replace, Overdub, or Punch record mode. Procedure: Press the [>] button to access the REC TYPE display. Use the left [-] and [+] buttons to select the Replace, Overdub, or Punch record mode: • Replace If replace recording is selected, any previous data on the track being recorded will be erased and replaced by the new material. • Overdub If overdub recording is selected, previous material on that track will be retained and the new material will be added to it. • Punch Punch-in recording allows a specified measure or range of measures to be re-recorded (replaced) without affecting previously recorded material before and after the punch-in range. When the Punch mode is selected you must also specify the measure from which playback is to begin prior to the "punch-in" point at which recording will actually begin (Play St), the punch-in measure from which recording is to begin (In), and the punch-out measure at which recording is to end (Out). Use the [] buttons to switch between these two display screens, and the associated [-] and [+] buttons to specify the required measure numbers. † `REC TYPE ‡ Mode=Punch Play St= 1 - + - + † `Punch IN/OUT MEAS. In= 1 Out= 1 - + - + Notes: It's generally convenient to set the "Play St" measure in the Punch mode to just a few measures before the punch-in point. This allows you to get the feel of the music and prepare to start playing at the punch-in point. You can even play along with the material prior to the actual punch-in point so you'll flow naturally into the punch-in recording range. A footswitch (the supplied FC5 footswitch can be used) plugged into the rear-panel FOOT SW jack can also be used to punch-in and punch-out when the footswitch "Punch In" function is selected via the "FOOT SWITCH SELECT" function described on page 37. With the sequencer running in the Punch Record mode, press the footswitch at the point you want to begin recording (i.e. to "punch in"), and again to stop recording (punch out). Please note that the punch-in record function can only be used on tracks that already contain recorded material. E2 VOLUME "VOL. 1~2'3~4'5~6'7~ 99_/81/99/81/99/81/99 - + - + Purpose: This page lets you independently set the playback volume of each of the sequencer's seven orchestra tracks. Procedure: Use the [] buttons to position the cursor at the volume parameter of the track you want to adjust (1 through 7, from left to right), then use either the left or right [-] and [+] buttons to set the volume to a value between "00" (minimum volume - no sound) and "99" (maximum volume). Vertical bar-graphs to the right of each track number on the top line of the display provide a graphic representation of the track volume levels. Notes: Only tracks that contain data are available for volume control. Any recorded volume changes will override these settings. 8
-
 1
1 -
2
-
 3
3 -
 4
4 -
 5
5 -
 6
6 -
 7
7 -
 8
8 -
 9
9 -
 10
10 -
 11
11 -
 12
12 -
 13
13 -
14
-
15
-
16
-
17
-
18
-
19
-
20
-
21
-
22
-
23
-
24
-
25
-
26
-
27
-
28
-
29
-
30
-
31
-
32
-
33
-
34
-
35
-
36
-
37
-
38
-
39
-
40
-
41
-
42
-
43
-
44
-
45
-
46
-
47
-
48
-
49
-
50
-
51
-
52
-
53
-
54
-
55
-
56
-
57
-
58
-
59
-
60
-
61
-
62
-
63
-
64
-
65
-
66
-
67
-
68
-
69
-
70
-
71
-
72
-
73
-
74
-
75
-
76
-
77
-
78
-
79
 |
 |
