Bernina Bernette 340 deco User Guide - Page 21
Embroidery stabilizers, Tear-away stabilizers, Cut-away stabilizers, Iron-on interfacing, Paper
 |
View all Bernina Bernette 340 deco manuals
Add to My Manuals
Save this manual to your list of manuals |
Page 21 highlights
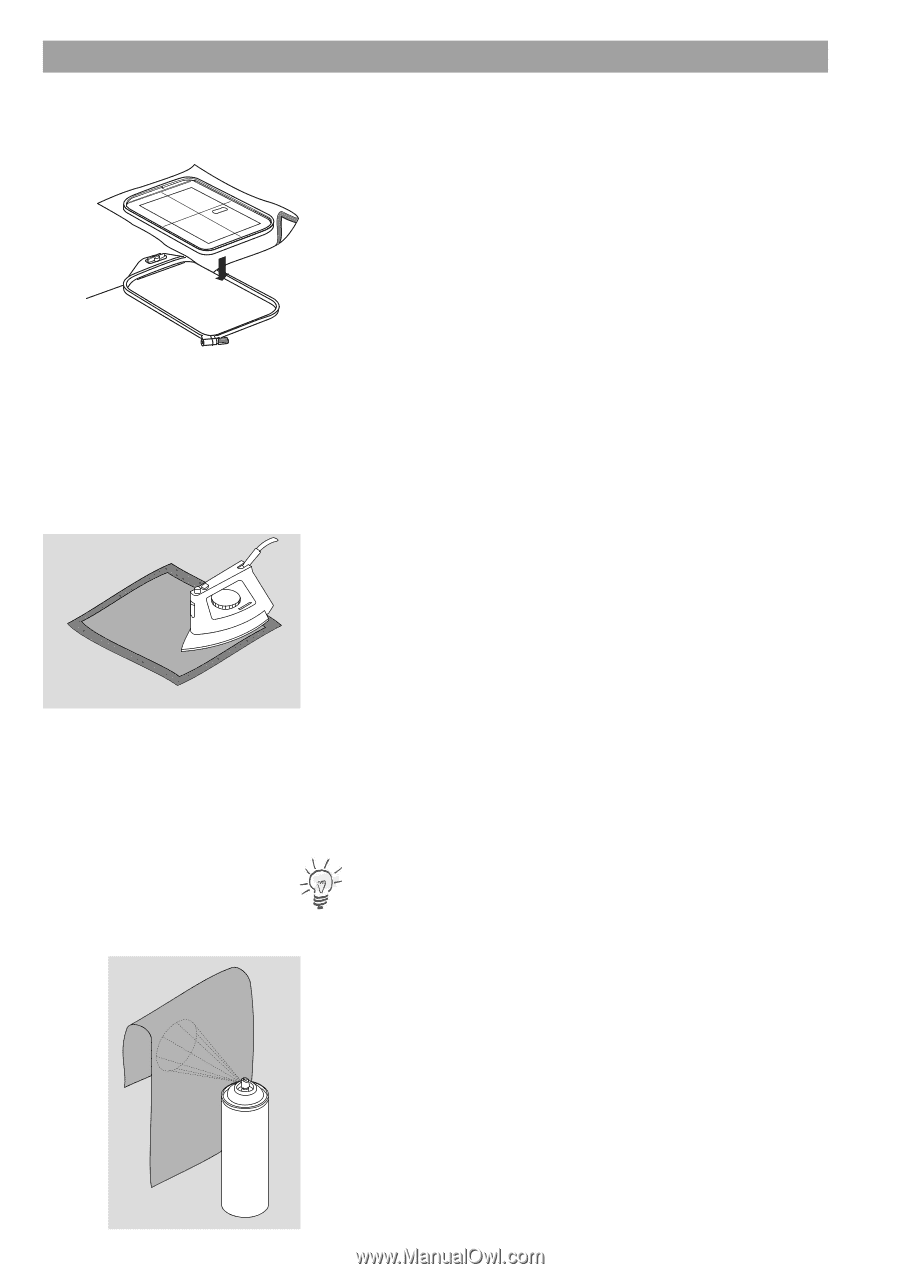
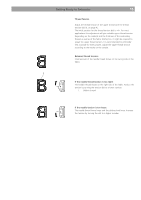
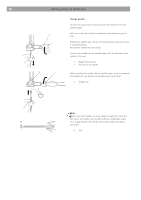
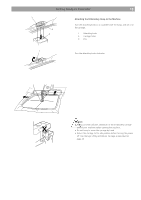
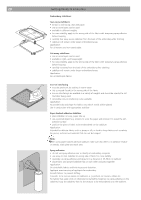
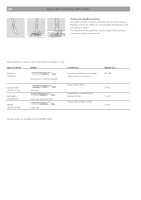
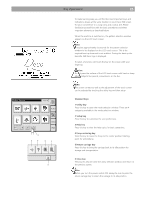
20 Getting Ready to Embroider Embroidery stabilizers Tear-away stabilizers • Similar to interfacing; tears like paper • one or more layers can be used • available in different weights • for more stability, apply to the wrong side of the fabric with temporary spray adhesive before hooping • carefully tear away excess stabilizer from the back of the embroidery after stitching • stabilizer will remain under larger embroidered areas Application: For all wovens and non-stretchables Cut-away stabilizers • one or more layers can be used • available in light- and heavyweight • for more stability, apply to the wrong side of the fabric with temporary spray adhesive before hooping • carefully cut away from the back of the embroidery after stitching • stabilizer will remain under larger embroidered areas Application: For all stretchable fabrics Iron-on interfacing • must be preshrunk by soaking in warm water • this is pressed (fused) to the wrong side of the fabric • iron-on interfacings are available in a variety of weights and should be selected to suit the fabric being used • removable iron-on interfacing is also available Application: To provide body and shape for fabrics onto which motifs will be placed. Use in conjunction with appropriate stabilizer Paper backed adhesive stabilizer • place stabilizer in hoop, paper side up • use a pointed object (e.g. scissors) to score the paper and remove it to reveal the self- adhesive surface • position the piece of fabric to be embroidered on the stabilizer Application: Intended for delicate fabrics such as jersey or silk, or hard to hoop fabrics such as velvets For pieces, sections and materials that can not be hooped Note: When using paper backed adhesive stabilizer make sure that there is no adhesive residue on needle, stitch plate and hook area. Spray adhesive • do not use spray adhesive near or directly at embroidery computer • use spray to stick stabilizer to wrong side of fabric for more stability • sparingly use spray adhesive and spray form a distance of 25-30cm to stabilizer • place fabric and sprayed stabilizer flat on each other and press together Application: On stretchable fabrics and knits to prevent distortion. Appliqué: exact securing of appliqués for embroidery. Smooth fabrics: to prevent shifting. Cutwork: to fix cut-out pieces on stabilizers, e. g. pockets on trousers, collars etc. For fabrics that easily crush or otherwise be marked by hooping: use spray adhesive on the stabilizer, hoop the stabilizer, then fix the sections to be embroidered onto the stabilizer.
-
 1
1 -
2
-
3
-
4
-
5
-
6
-
7
-
8
-
9
-
10
-
11
-
12
-
13
-
14
-
15
-
 16
16 -
 17
17 -
 18
18 -
 19
19 -
 20
20 -
 21
21 -
 22
22 -
 23
23 -
 24
24 -
 25
25 -
 26
26 -
27
-
28
-
29
-
30
-
31
-
32
-
33
-
34
-
35
-
36
-
37
-
38
-
39
-
40
-
41
-
42
-
43
-
44
-
45
-
46
-
47
-
48
-
49
-
50
-
51
-
52
-
53
-
54
-
55
-
56
-
57
-
58
-
59
-
60
-
61
-
62
-
63
-
64
-
65
-
66
-
67
-
68
-
69
-
70
-
71
-
72
-
73
-
74
-
75
 |
 |