Brother International E-100 Users Manual - English - Page 49
Press the, key to go back to the point, where sewing stopped., Insert the thread cartridge
 |
View all Brother International E-100 manuals
Add to My Manuals
Save this manual to your list of manuals |
Page 49 highlights
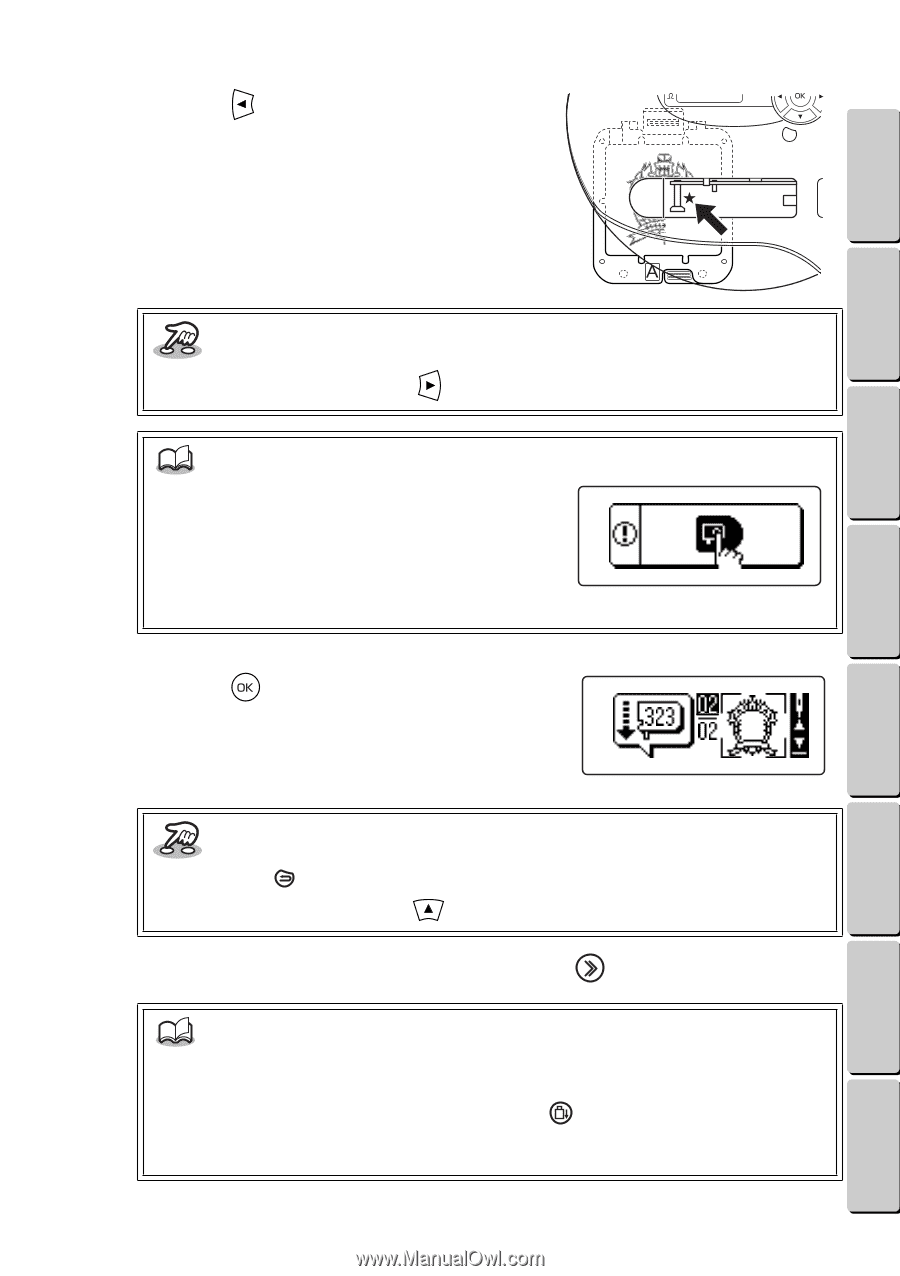
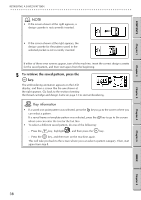
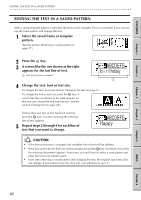
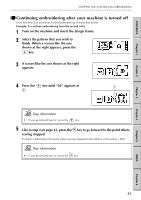
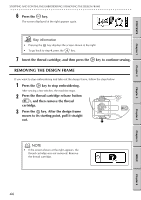
CONTENTS Chapter 1 STOPPING AND CONTINUING EMBROIDERING G G G G G G G G G G G G G G G G G G G G G G G G G G G G G G G G G G G G G G G G G G G G G G G G G G G G G G G G G 4 Press the key to go back to the point where sewing stopped. Align the hole in the thread cartridge slot (shown by the arrow at the right) with the point where sewing stopped. Go back a little before the point where sewing stopped so the stitches will overlap a little. Key information • If you go back too far, press the key. NOTE • If the screen shown at the right appears, the thread cartridge was not removed. Remove the thread cartridge. • If it is difficult to find the point where sewing stopped, insert the thread cartridge, and then align the needle with the desired position. 5 Press the key. The screen displayed in step 1 appears again. Chapter 2 Chapter 3 Chapter 4 Chapter 5 INDEX Key information • Pressing the key goes back to step 1. • To go back to step 3, press the key. 6 Insert the thread cartridge, and then press the key to continue sewing. NOTE • If embroidering is stopped and restarted, some extra needle holes may be punched in the pre-cut design fabric, but it can still be used. • If you wish to remove the design frame, press the key, and then pull it out. (See the section Removing the design frame on page 44.) Before continuing embroidering, be sure to insert the design frame with the correct side facing up. 42 Chapter 6
-
 1
1 -
2
-
3
-
4
-
5
-
6
-
7
-
8
-
9
-
10
-
11
-
12
-
13
-
14
-
15
-
16
-
17
-
18
-
19
-
20
-
21
-
22
-
23
-
24
-
25
-
26
-
27
-
28
-
29
-
30
-
31
-
32
-
33
-
34
-
35
-
36
-
37
-
38
-
39
-
40
-
41
-
42
-
43
-
 44
44 -
 45
45 -
 46
46 -
 47
47 -
 48
48 -
 49
49 -
 50
50 -
 51
51 -
 52
52 -
 53
53 -
 54
54 -
55
-
56
-
57
-
58
-
59
-
60
-
61
-
62
-
63
-
64
-
65
-
66
 |
 |