Brother International XR1300 Users Manual - English - Page 75
Sewing Characters
 |
View all Brother International XR1300 manuals
Add to My Manuals
Save this manual to your list of manuals |
Page 75 highlights
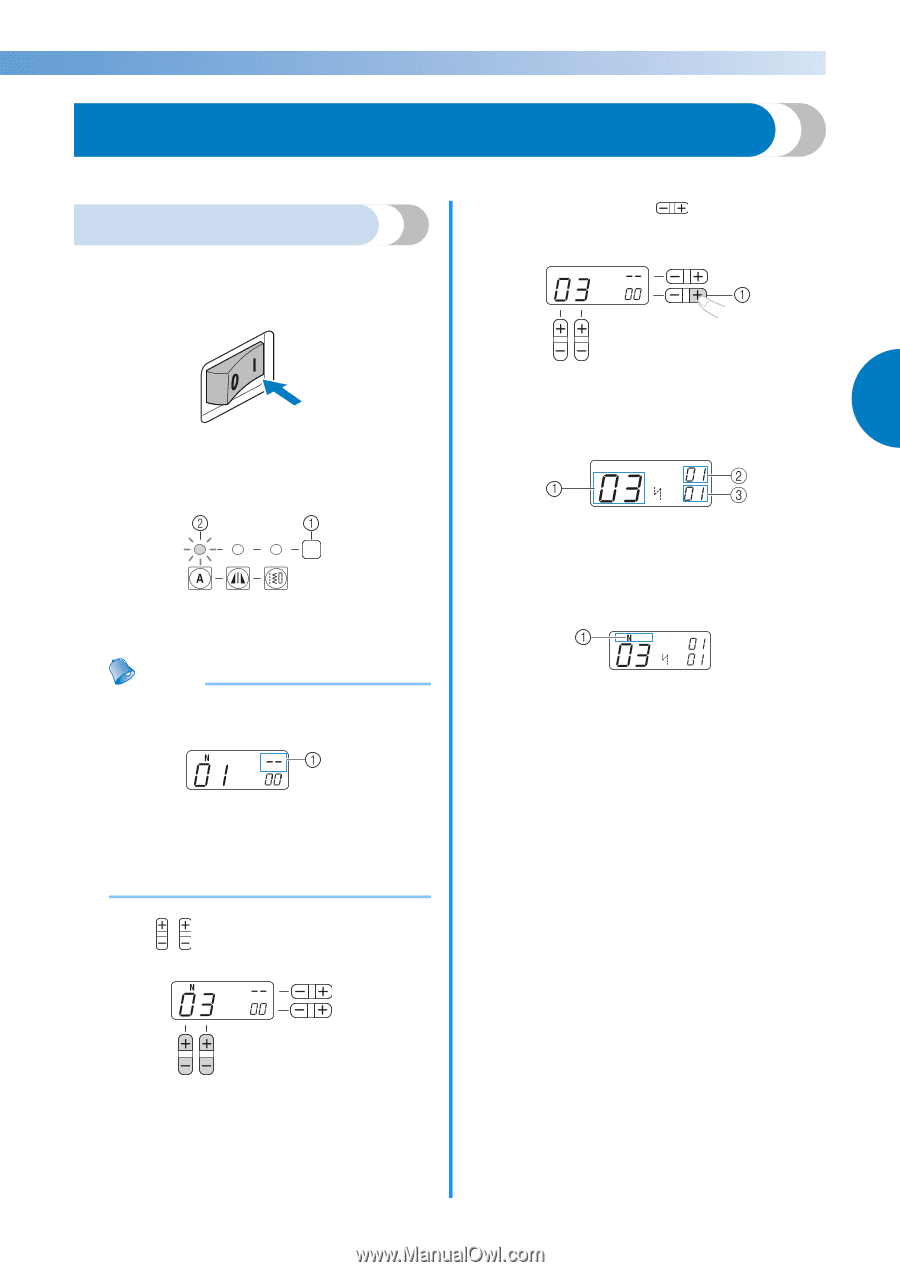
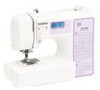
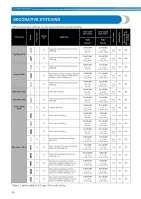
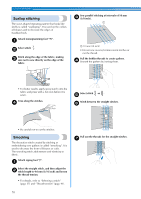
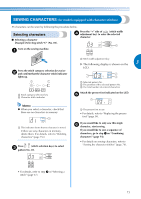
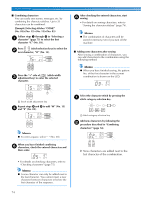
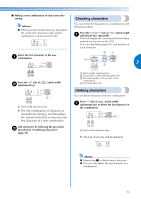
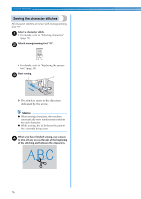
SEWING CHARACTERS (for models equipped with character stitches) 55 characters can be sewn by following the procedure below. Selecting characters ■ Selecting a character [Example] Selecting stitch "C" (No. 03). Press the "+" side of (stitch width d adjustment key) to enter the selected character. N Turn on the sewing machine. a Press the stitch category selection key twice b and confirm that the character stitch indicator lights up. a Stitch width adjustment key X The following display is shown on the 3 LCD. N a Selected pattern No. b The position of the selected pattern No. c The total number of entered characters a Stitch category selection key b Character stitch indicator Attach the presser foot indicated on the LCD. e Memo ● When you select a character, check that there are no characters in memory. a This indicator shows that no character is stored. If there are any characters in memory, delete them. (For details, refer to "Deleting characters" (page 75).) Press (stitch selection keys) to select c pattern No. 03. a The presser foot to use • For details, refer to "Replacing the presser foot" (page 34). If you would like to only sew this single f character, start sewing. If you would like to sew a sequence of characters, go to step a on "Combining characters" (page 74). • For details on sewing characters, refer to "Sewing the character stitches" (page 76). • For details, refer to step c of "Selecting a stitch" (page 37). 73
-
 1
1 -
2
-
3
-
4
-
5
-
6
-
7
-
8
-
9
-
10
-
11
-
12
-
13
-
14
-
15
-
16
-
17
-
18
-
19
-
20
-
21
-
22
-
23
-
24
-
25
-
26
-
27
-
28
-
29
-
30
-
31
-
32
-
33
-
34
-
35
-
36
-
37
-
38
-
39
-
40
-
41
-
42
-
43
-
44
-
45
-
46
-
47
-
48
-
49
-
50
-
51
-
52
-
53
-
54
-
55
-
56
-
57
-
58
-
59
-
60
-
61
-
62
-
63
-
64
-
65
-
66
-
67
-
68
-
69
-
 70
70 -
 71
71 -
 72
72 -
 73
73 -
 74
74 -
 75
75 -
 76
76 -
 77
77 -
 78
78 -
 79
79 -
 80
80 -
81
-
82
-
83
-
84
-
85
-
86
-
87
-
88
-
89
-
90
-
91
-
92
-
93
-
94
-
95
-
96
-
97
-
98
-
99
-
100
-
101
-
102
-
103
-
104
-
105
-
106
-
107
-
108
-
109
-
110
-
111
-
112
 |
 |