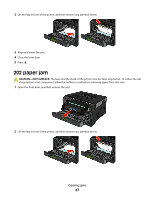
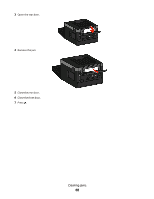
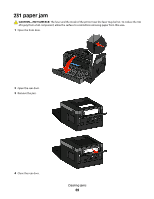
Dell 3330dn Mono Laser Printer User's Guide - Page 64

Accessing jam areas, Jam message numbers and how to access each jam

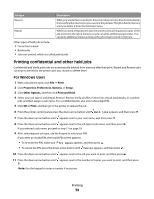
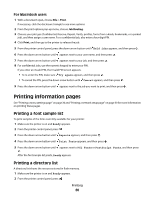
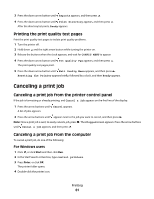
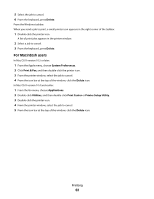
Page 64 highlights

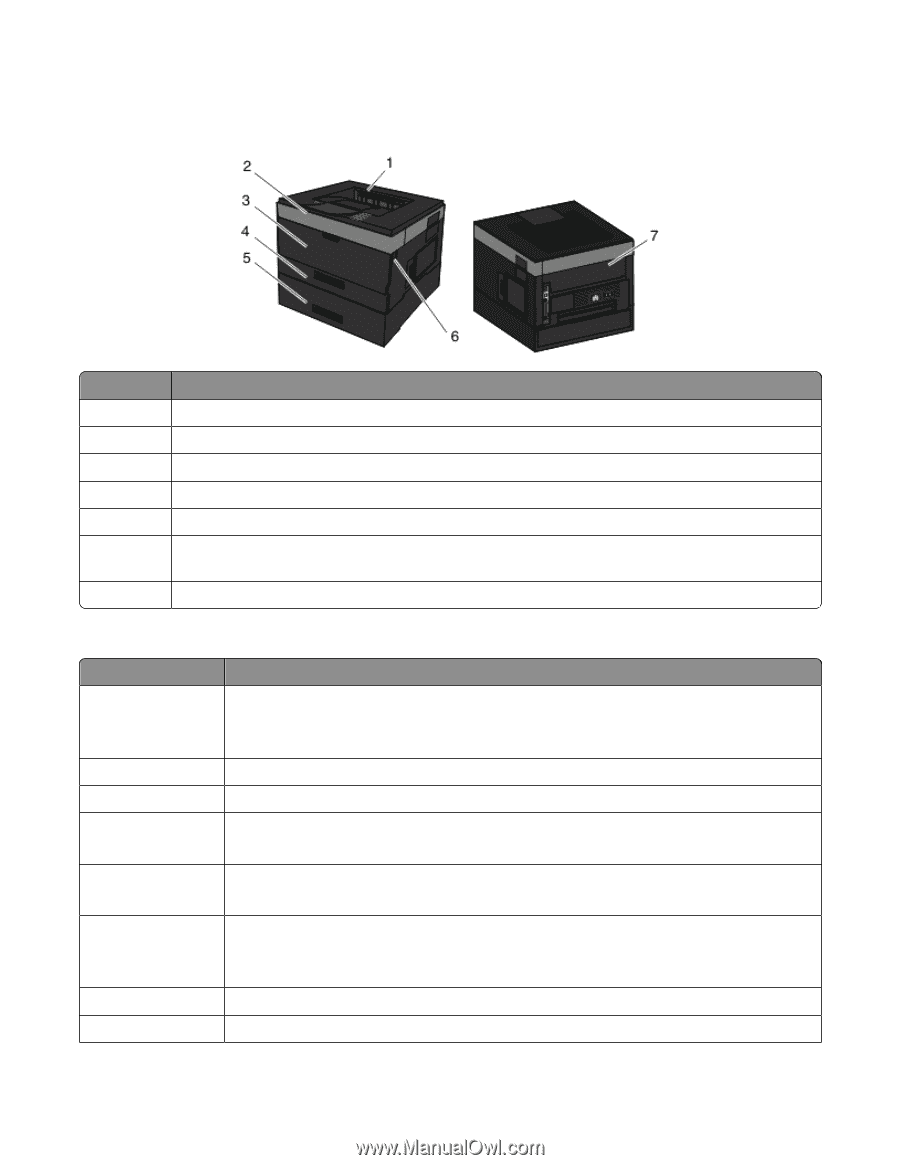
Accessing jam areas Open doors and remove trays to access jam areas. The following illustration shows possible jam areas: Access point Description 1 Standard exit bin 2 Front door 3 Multipurpose feeder door 4 Standard tray (Tray 1) 5 Optional tray (Tray 2) 6 Push button to open the front door. Inside this door is the unit housing the toner cartridge and photoconductor kit. 7 Rear door Jam message numbers and how to access each jam Jam number 200 201 202 231 233 234 235 242 To access the jam Try one or more of the following: • Remove Tray 1. • Open the front door, and then remove the photoconductor kit. Open the front door, and then remove the photoconductor kit. Open the front door, and then open the rear door. Open the front door, and then open the rear door. Note: For alternative access to the jam, remove Tray 1, and then press the lever. Remove Tray 1, and then depress the lever. Note: For alternative access to the jam, open the front door, and then open the rear door. Try one or more of the following: • Open the front door, and then open the rear door. • Remove Tray 1, and then press the lever. Remove the jam from the standard exit bin. Remove Tray 2. Clearing jams 64
  • 1
  • 2
  • 3
  • 4
  • 5
  • 6
  • 7
  • 8
  • 9
  • 10
  • 11
  • 12
  • 13
  • 14
  • 15
  • 16
  • 17
  • 18
  • 19
  • 20
  • 21
  • 22
  • 23
  • 24
  • 25
  • 26
  • 27
  • 28
  • 29
  • 30
  • 31
  • 32
  • 33
  • 34
  • 35
  • 36
  • 37
  • 38
  • 39
  • 40
  • 41
  • 42
  • 43
  • 44
  • 45
  • 46
  • 47
  • 48
  • 49
  • 50
  • 51
  • 52
  • 53
  • 54
  • 55
  • 56
  • 57
  • 58
  • 59
  • 60
  • 61
  • 62
  • 63
  • 64
  • 65
  • 66
  • 67
  • 68
  • 69
  • 70
  • 71
  • 72
  • 73
  • 74
  • 75
  • 76
  • 77
  • 78
  • 79
  • 80
  • 81
  • 82
  • 83
  • 84
  • 85
  • 86
  • 87
  • 88
  • 89
  • 90
  • 91
  • 92
  • 93
  • 94
  • 95
  • 96
  • 97
  • 98
  • 99
  • 100
  • 101
  • 102
  • 103
  • 104
  • 105
  • 106
  • 107
  • 108
  • 109
  • 110
  • 111
  • 112
  • 113
  • 114
  • 115
  • 116
  • 117
  • 118
  • 119
  • 120
  • 121
  • 122
  • 123
  • 124
  • 125
  • 126
  • 127
  • 128
  • 129
  • 130
  • 131
  • 132
  • 133
  • 134
  • 135
  • 136
  • 137
  • 138
  • 139
  • 140
  • 141
  • 142
  • 143
  • 144
  • 145
  • 146
  • 147
  • 148
  • 149
  • 150
  • 151
  • 152
  • 153
  • 154
  • 155
  • 156
  • 157
  • 158
  • 159
  • 160

Accessing jam areas
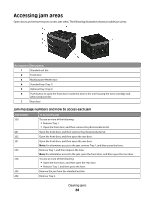
Open doors and remove trays to access jam areas. The following illustration shows possible jam areas:
Access point
Description
1
Standard exit bin
2
Front door
3
Multipurpose feeder door
4
Standard tray (Tray 1)
5
Optional tray (Tray 2)
6
Push button to open the front door. Inside this door is the unit housing the toner cartridge and
photoconductor kit.
7
Rear door
Jam message numbers and how to access each jam
Jam number
To access the jam
200
Try one or more of the following:
Remove Tray 1.
Open the front door, and then remove the photoconductor kit.
201
Open the front door, and then remove the photoconductor kit.
202
Open the front door, and then open the rear door.
231
Open the front door, and then open the rear door.
Note:
For alternative access to the jam, remove Tray 1, and then press the lever.
233
Remove Tray 1, and then depress the lever.
Note:
For alternative access to the jam, open the front door, and then open the rear door.
234
Try one or more of the following:
Open the front door, and then open the rear door.
Remove Tray 1, and then press the lever.
235
Remove the jam from the standard exit bin.
242
Remove Tray 2.
Clearing jams
64