Dynex DX-40L260A12 User Manual (English) - Page 26
Changing channel settings
 |
View all Dynex DX-40L260A12 manuals
Add to My Manuals
Save this manual to your list of manuals |
Page 26 highlights
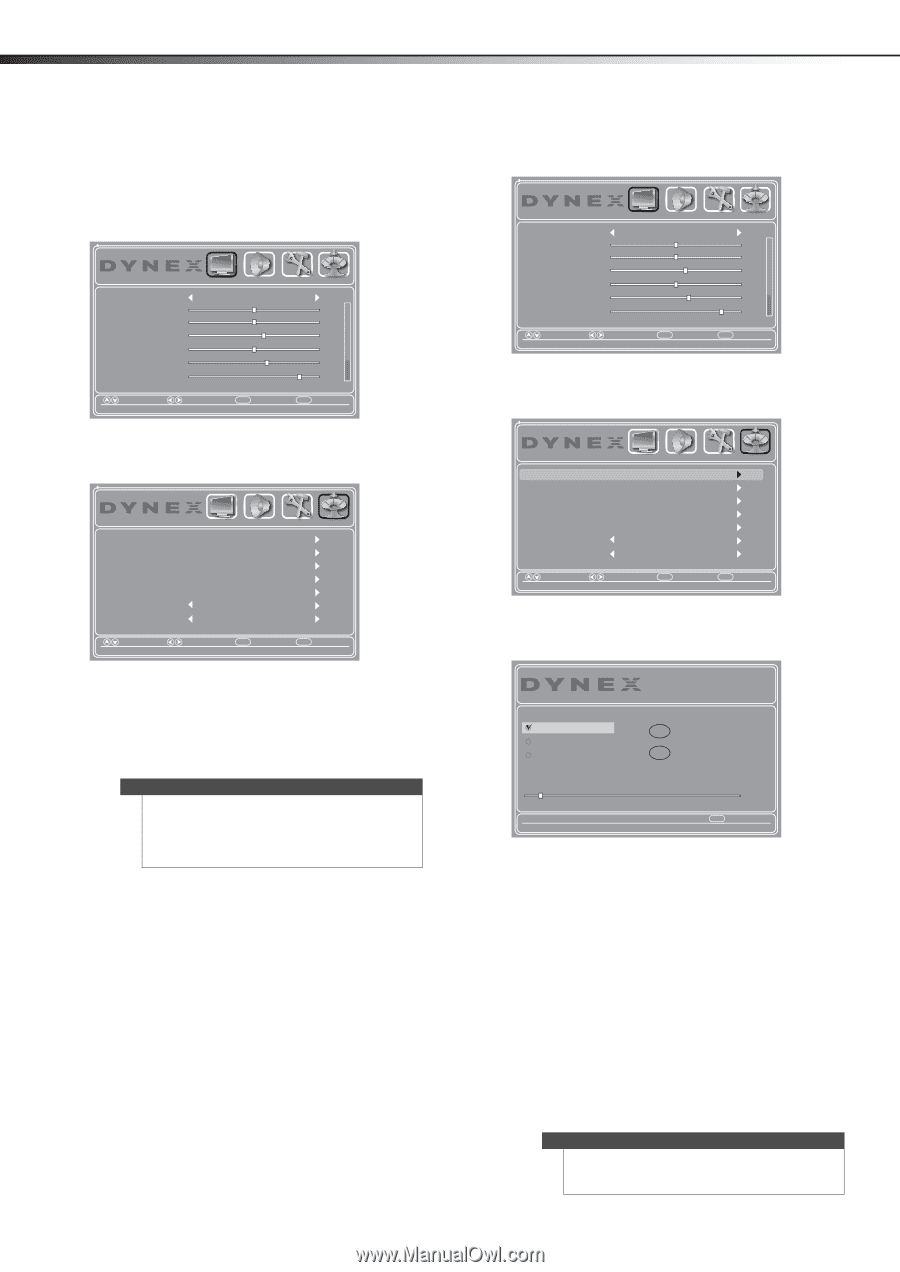
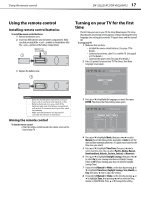
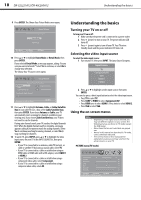
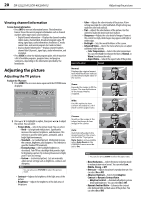
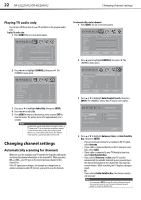
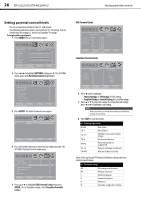
22 DX-32L221A12/DX-40L260A12 Changing channel settings Playing TV audio only You can turn off the picture on your TV and listen to the program audio only. To play TV audio only: 1 Press MENU. The on-screen menu opens. Picture Mode Contrast Brightness Color Tint Sharpness Backlight PICTURE AUDIO SETTINGS CHANNELS Energy Savings 50 50 58 0 +10 43 Move Select Menu Back Adjust settings to affect picture quality Exit Exit 2 Press or to highlight CHANNELS, then press . The CHANNELS menu opens. Auto Channel Search Add/Skip Channels Favorites Channel Labels Channel Strength Audio Only Auto Zoom PICTURE AUDIO SETTINGS CHANNELS Off On Move Select Adjust channel options Menu Back Exit Exit 3 Press or to highlight Audio Only, then press ENTER. 4 Press or to select On. 5 Press MENU to return to the previous menu, or press EXIT to close the menu. The picture turns off in approximately 3 to 5 seconds. Notes • • Audio Only works only when the input source is TV and your TV is receiving a broadcast signal. To exit Audio Only mode, press any button. When you exit Audio Only mode, the Audio Only option is automatically reset to Off. Changing channel settings Automatically scanning for channels When you scan for channels, your TV searches for channels with signals and stores the channel information in the channel list. When you press CH + or CH -, your TV goes to the next or previous channel in the channel list. If the TV signal source changes, for example you change from an outdoor antenna to cable TV (no box), you need to scan for channels. To automatically scan for channels: 1 Press MENU. The on-screen menu opens. Picture Mode Contrast Brightness Color Tint Sharpness Backlight PICTURE AUDIO SETTINGS CHANNELS Energy Savings 50 50 58 0 +10 43 Move Select Menu Back Adjust settings to affect picture quality Exit Exit 2 Press or to highlight CHANNELS, then press . The CHANNELS menu opens. Auto Channel Search Add/Skip Channels Favorites Channel Labels Channel Strength Audio Only Auto Zoom PICTURE AUDIO SETTINGS CHANNELS Off On Move Select Automatically search for channels. Menu Back Exit Exit 3 Press or to highlight Auto Channel Search, then press ENTER. The CHANNELS-Choose Your TV Source screen opens. Setup Wizard Choose Your TV Source Antenna Cable Cable/Satellite Box 0 Digital Channels 0 Analog Channels Scanning for digital channels Channel scan may take 20+ minutes Exit Exit 4 Press or to highlight Antenna, Cable, or Cable/Satellite Box, then press ENTER. • If you are using an antenna for a standard or HD TV signal, select Antenna. • If your cable is connected directly to the TV (using no tuner box), select Cable. • If your cable is connected to your TV through a tuner box, select Cable/Satellite Box. • If you selected Antenna or Cable, your TV searches automatically for available channels in your area and stores the channel information in the channel list. This may take several minutes. While searching, the TV displays a progress report. Or, If you selected Cable/Satellite Box, the channel search is not necessary. Note You can press EXIT to stop the auto channel search, but you will need to run the auto channel search again to create a channel list.
-
 1
1 -
2
-
3
-
4
-
5
-
6
-
7
-
8
-
9
-
10
-
11
-
12
-
13
-
14
-
15
-
16
-
17
-
18
-
19
-
20
-
 21
21 -
 22
22 -
 23
23 -
 24
24 -
 25
25 -
 26
26 -
 27
27 -
 28
28 -
 29
29 -
 30
30 -
 31
31 -
32
-
33
-
34
-
35
-
36
-
37
-
38
-
39
-
40
-
41
-
42
-
43
-
44
 |
 |